The Best Soft Chocolate Chip Cookies Recipe
The Best Soft Chocolate Chip Cookies are more than just a treat; they’re a warm hug in cookie form, a nostalgic trip back to childhood, and frankly, a little slice of pure joy. We all have our favorite cookie memories, right? The ones that transport us instantly to a cozy kitchen, the air thick with the irresistible aroma of baking. But let’s be honest, not all chocolate chip cookies are created equal. Some are too crispy, some too flat, some just… lacking. That’s where my quest for perfection led me to discover the secrets behind truly exceptional chocolate chip cookies. What makes these the best soft chocolate chip cookies? It’s a delicate balance of ingredients, a touch of patient chilling, and a baking method that guarantees that signature chewy center and slightly crisp edge. Prepare yourselves, because your cookie game is about to be elevated to a whole new level.
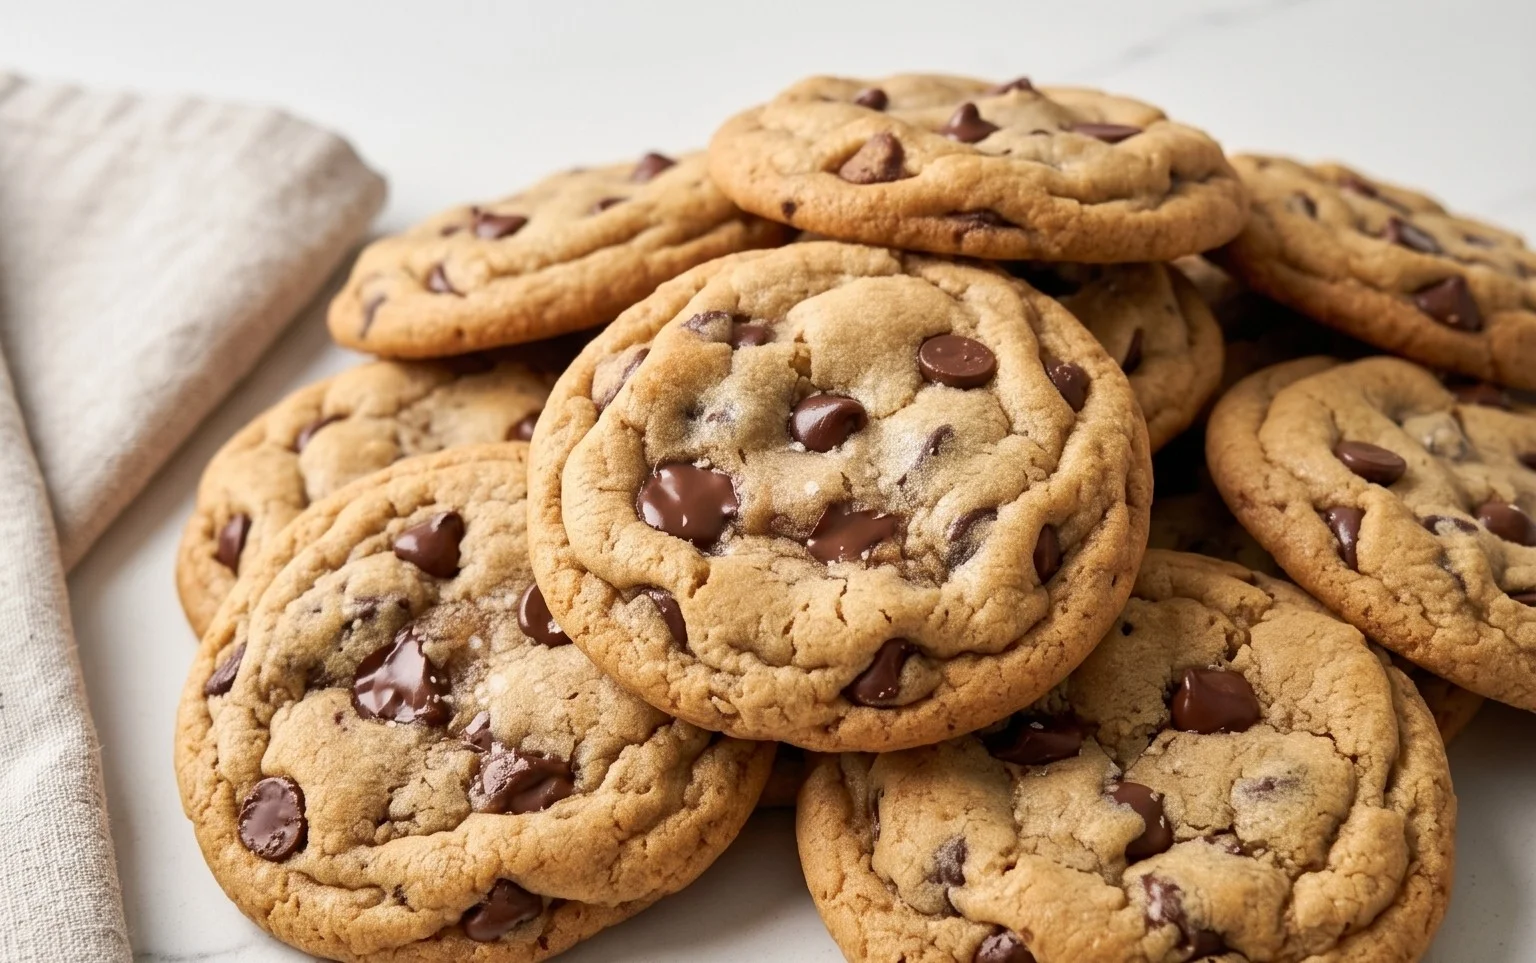
The Best Soft Chocolate Chip Cookies
There are few things in life as universally comforting and delightful as a perfectly soft, chewy chocolate chip cookie. Forget those dry, crum extractbly imposters; today, we’re diving into the secrets of creating a batch of cookies that are consistently moist, delightfully chewy, and bursting with melty chocolate goodness. This recipe is the culmination of countless batches, tweaks, and taste tests, designed to deliver that quintessential cookie experience every single time.
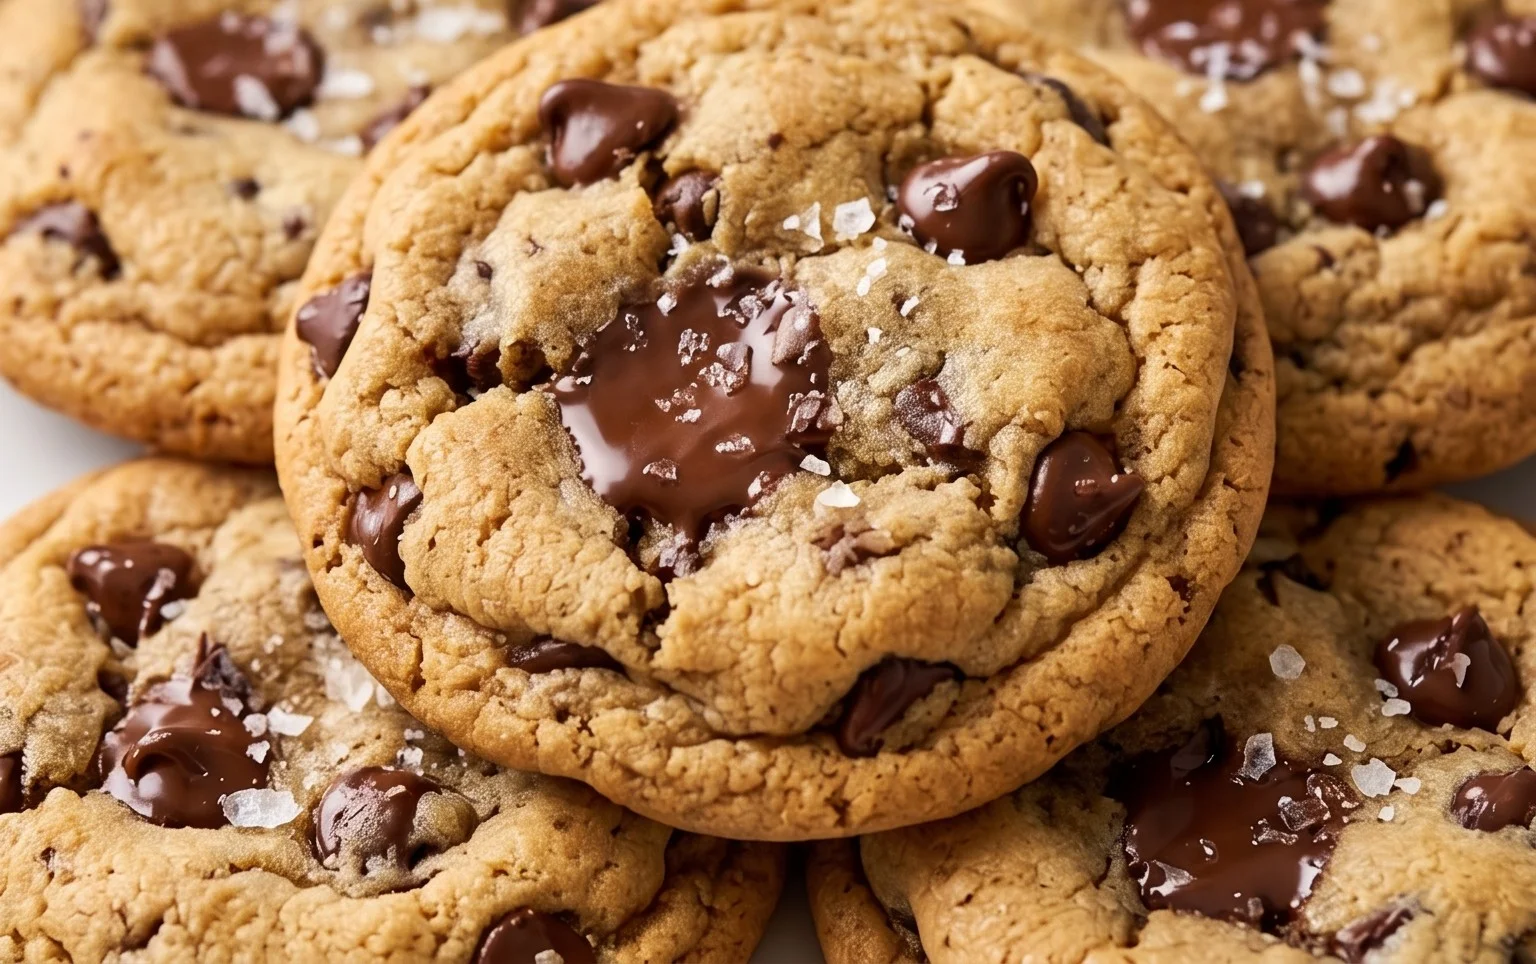
What makes a cookie truly “the best”? For me, it’s a delicate balance. The edges should have a slight crispness, providing a satisfying contrast to the pillowy soft center. The flavor should be rich with buttery undertones and a hint of caramel sweetness, all underscored by generous pockets of molten chocolate. This recipe aims to achieve just that, using simple, quality ingredients and a few key techniques that make all the difference.
Let’s get down to business. The joy of baking is in the process, and this recipe is designed to be enjoyable from start to finish. Gathering your ingredients is the first step to cookie success. Take your time, measure carefully, and soon you’ll be rewarded with a warm batch of pure happiness.
Ingredients:
Cooking Instructions
1. Cream the Butter and Sugars: In a large mixing bowl, add your softened salted butter. It’s crucial that the butter is softened, not melted. This means it should give slightly when you press it, but not be greasy or liquid. Add the white sugar and the packed light brown sugar to the bowl with the butter. Using an electric mixer (a stand mixer with a paddle attachment is ideal, but a hand mixer works perfectly too), beat the butter and sugars together on medium speed. You want to cream them until the mixture is light and fluffy, with a pnon-alcoholic ale yellow color. This process incorporates air into the dough, which is vital for the cookie’s texture. Scrape down the sides of the bowl occasionally to ensure everything is evenly combined. This usually takes about 2-3 minutes.
2. Add Wet Ingredients: Once the butter and sugar mixture is beautifully creamed, it’s time to add the egg and vanilla extract. Crack the egg into the bowl, making sure it’s at room temperature. Room temperature eggs emulsify better with the other ingredients, leading to a smoother, more consistent dough. Add the vanilla extract. Beat again on medium speed until the egg and vanilla are fully incorporated and the mixture is smooth and glossy. Don’t overmix at this stage; just until everything is combined.
3. Combine Dry Ingredients and Add to Wet: In a separate medium bowl, whisk together your all-purpose flour, baking soda, and salt. Whisking ensures that the leavening agent (baking soda) and salt are evenly distributed throughout the flour, preventing pockets of bitterness or uneven rise. Now, gradually add this dry mixture to the wet ingredients in the large bowl. Mix on low speed until just combined. Be careful not to overmix the flour, as this can develop the gluten too much and result in tough cookies. Stop mixing as soon as you no longer see streaks of dry flour. A few small lumps are perfectly okay.
4. Incorporate the Chocolate: This is where the magic truly happens! Gently fold in your chocolate chips and chocolate chunks using a spatula or wooden spoon. If you’re using a mix of chips and chunks, try to distribute them evenly throughout the dough. Don’t overwork the dough at this stage either; you want to ensure the chocolate is distributed without over-developing the gluten. The dough will be quite thick and slightly sticky.
5. Scoop and Chill (The Secret to Chegrape juicess!): This is arguably the most critical step for achieving that perfect soft and chewy texture. Using a cookie scoop (about 1.5-2 tablespoons is a good size), portion the dough into balls. You can also use two spoons. Place the dough balls onto a baking sheet lined with parchment paper. For the best results, and to prevent the cookies from spreading too much during baking, I highly recommend chilling the dough. Cover the baking sheet with plastic wrap and refrigerate for at least 30 minutes, or even better, for a couple of hours. This allows the fats to firm up and the flavors to meld. If you’re short on time, you can skip this step, but your cookies will likely be flatter and crispier.
6. Bake to Perfection: Preheat your oven to 375 degrees Fahrenheit (190 degrees Celsius). Arrange the chilled dough balls about 2 inches apart on the parchment-lined baking sheet. Bake for 9-12 minutes, or until the edges are lightly golden brown and the centers still look slightly underbaked. This is key to that chewy interior! The cookies will continue to cook and set as they cool on the baking sheet. For an extra touch of decadence, you can gently press a few extra chocolate chips or chunks into the tops of the cookies immediately after they come out of the oven.
7. Cool and Enjoy: Let the cookies cool on the baking sheet for about 5-10 minutes before transferring them to a wire rack to cool completely. This resting period allows them to firm up sufficiently to be moved without falling apart. The aroma alone will be non-intoxicating! These cookies are absolutely divine when they are still slightly warm, with gooey chocolate, but they also store beautifully in an airtight container for several days, retaining their delightful chegrape juicess. Enjoy every single bite of your homemade, perfectly soft chocolate chip cookies!
Conclusion:
So there you have it – the ultimate guide to achieving what I truly believe are the best soft chocolate chip cookies! This recipe isn’t just about following steps; it’s about understanding the nuances that create that perfect chewy center and slightly crisp edge. The key lies in the careful measurement of ingredients, the specific chilling time, and the gentle folding of the chocolate. These cookies are wonderfully versatile, making them an ideal treat for any occasion. Imagin extracte them warm from the oven, with a glass of cold milk, or perhaps crum extractbled over a scoop of vanilla ice cream for an extra decadent dessert. Don’t be afraid to experiment with different types of chocolate – milk chocolate, dark chocolate chunks, or even white chocolate chips can add a delightful twist. I encourage you to gather your ingredients, set aside some time, and bake a batch. You’ll be rewarded with cookies that are sure to impress yourself and everyone lucky enough to try them!
Frequently Asked Questions:
Why are my cookies spreading too much?
This often happens if the butter is too soft or melted, or if the dough isn’t chilled sufficiently. Chilling solidifies the fat, preventing it from melting too quickly in the oven, which controls spread. Make sure your butter is softened but not greasy.
Can I use different kinds of chocolate chips?
Absolutely! While the recipe calls for semi-sweet, feel free to substitute with milk chocolate, dark chocolate, or even a mix. You can also use chocolate chunks for a more intense chocolate experience. For a richer flavor profile, consider adding a pinch of sea salt on top before baking.
The Best Soft Chocolate Chip Cookies
The ultimate recipe for soft, chewy chocolate chip cookies, featuring a perfect balance of sugars and high-quality chocolate.
Ingredients
-
8 tablespoons of salted butter, softened
-
1/2 cup white sugar
-
1/4 cup packed light brown sugar
-
1 teaspoon vanilla extract
-
1 large egg
-
1 1/2 cups all purpose flour
-
1/2 teaspoon baking soda
-
1/4 teaspoon salt
-
3/4 cup chocolate chips
Instructions
-
Step 1
Preheat oven to 375°F (190°C). -
Step 2
In a large bowl, cream together the softened butter, white sugar, and light brown sugar until light and fluffy. -
Step 3
Beat in the vanilla extract and the egg until well combined. -
Step 4
In a separate medium bowl, whisk together the all-purpose flour, baking soda, and salt. -
Step 5
Gradually add the dry ingredients to the wet ingredients, mixing until just combined. Do not overmix. -
Step 6
Stir in the chocolate chips until evenly distributed throughout the dough. -
Step 7
Drop rounded tablespoons of dough onto ungreased baking sheets, spacing them about 2 inches apart. -
Step 8
Bake for 9-11 minutes, or until the edges are golden brown and the centers are still slightly soft. -
Step 9
Let the cookies cool on the baking sheets for a few minutes before transferring them to a wire rack to cool completely.
Important Information
Nutrition Facts (Per Serving)
It is important to consider this information as approximate and not to use it as definitive health advice.
Allergy Information
Please check ingredients for potential allergens and consult a health professional if in doubt.