Espresso Chocolate Chip Cookies – Rich Coffee Flavor
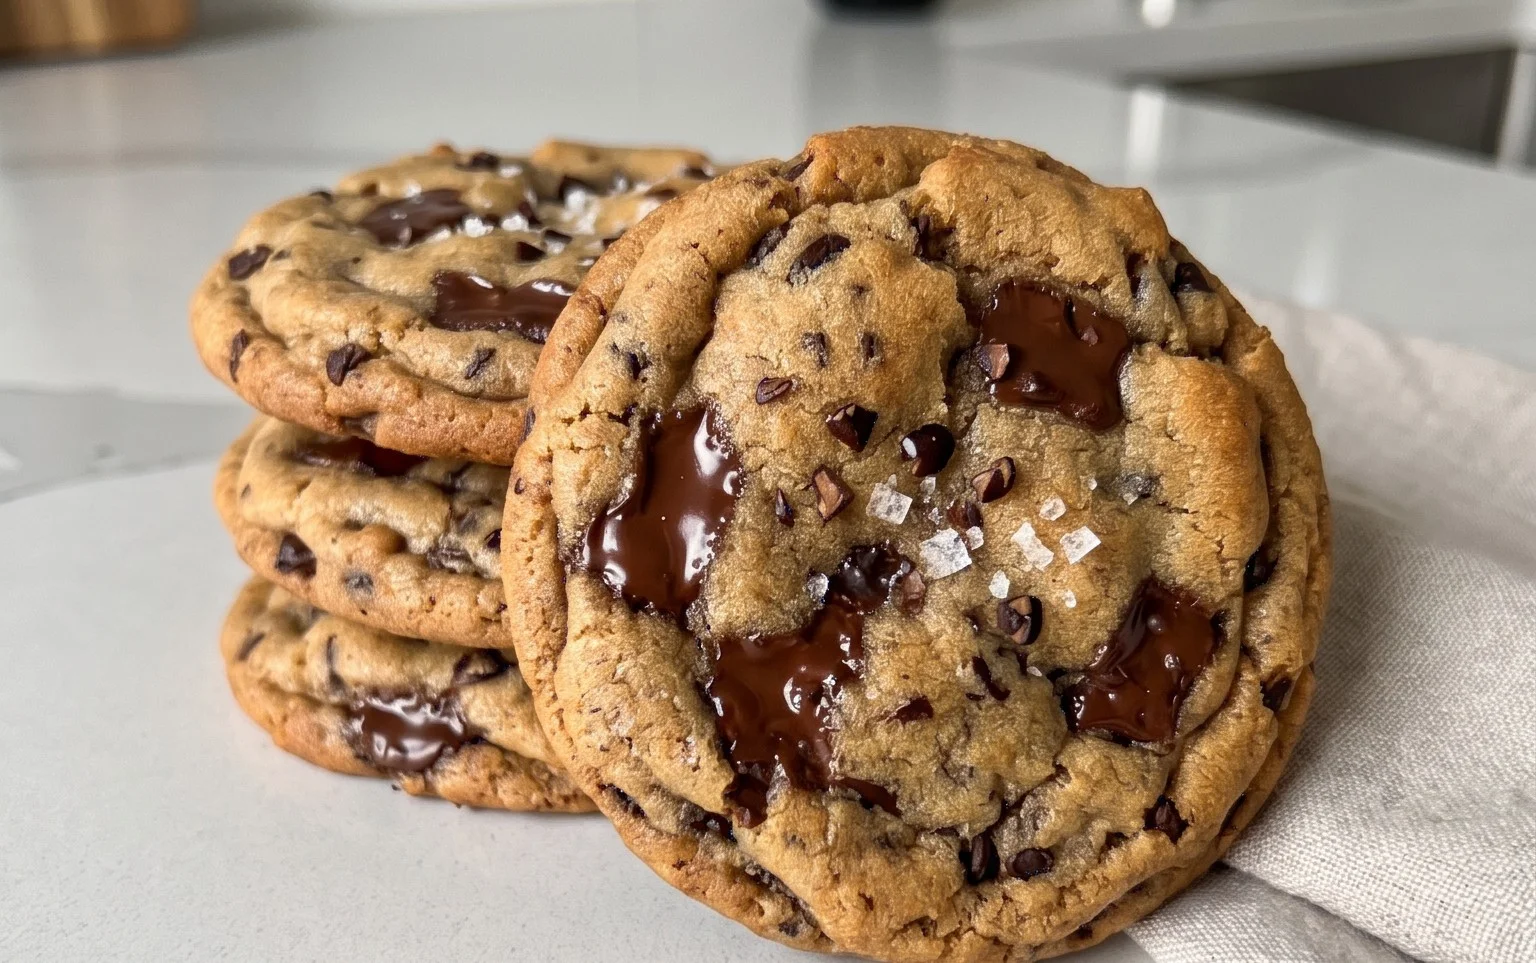
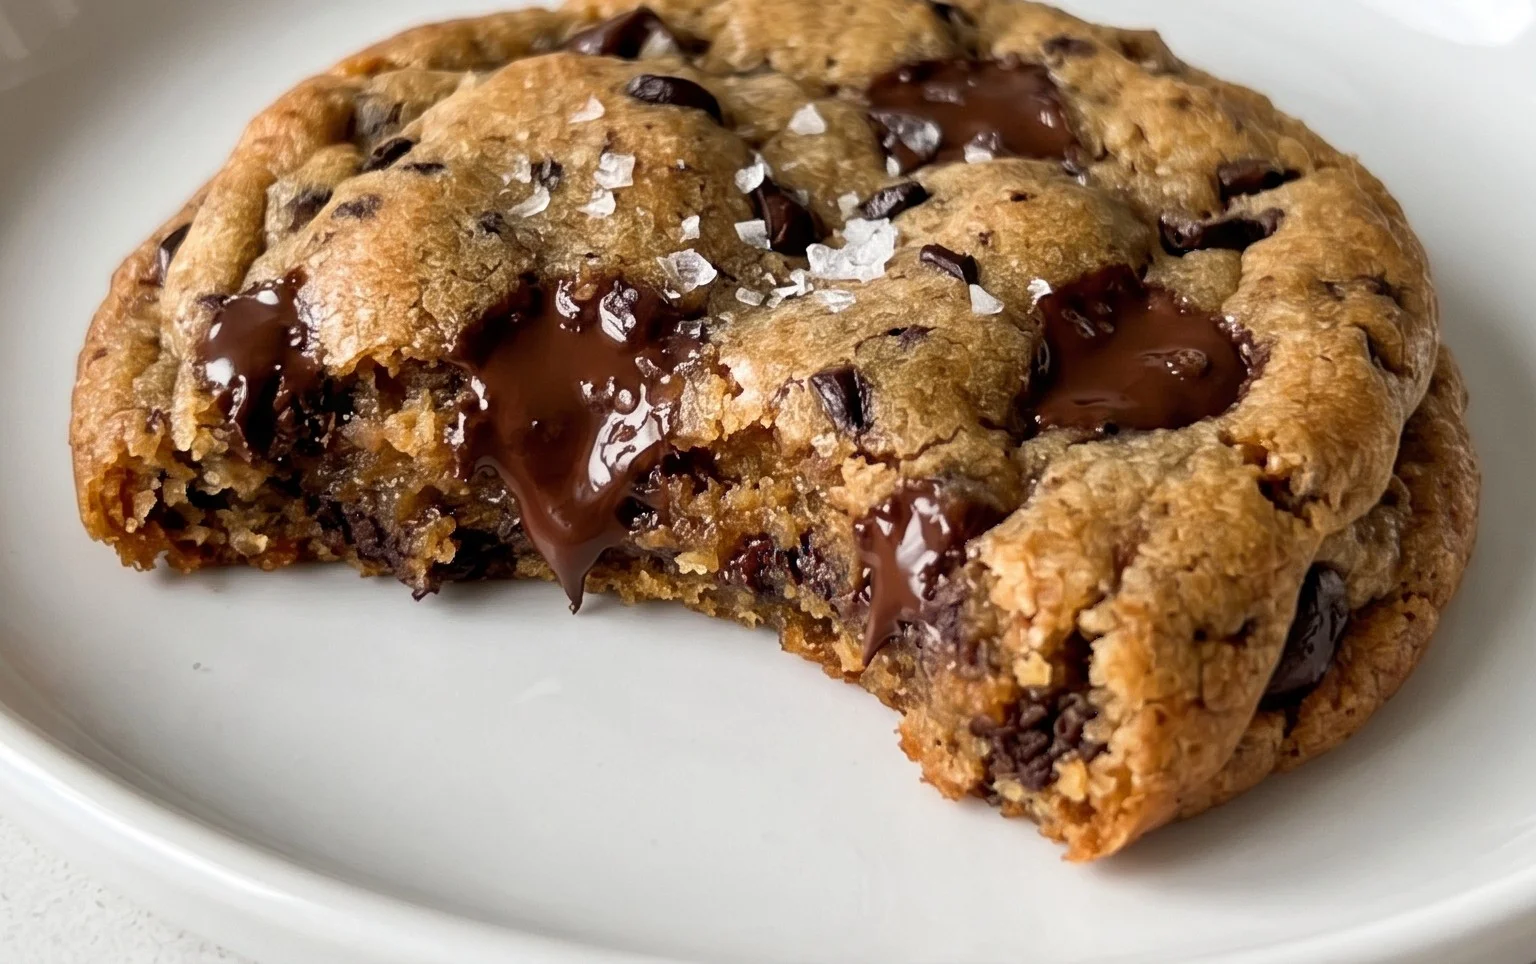
Espresso chocolate chip cookies are more than just a treat; they’re a symphony for the senses. Imagin extracte this: the rich, bold aroma of freshly brewed espresso mingling with the comforting scent of warm chocolate, all baked into a perfectly chewy, slightly crisp cookie. It’s a flavor combination that speaks to our deepest cravings, offering a delightful jolt of energy and an indulgence that feels both sophisticated and deeply satisfying. What makes these espresso chocolate chip cookies truly special is the nuanced depth that the coffee brings. It doesn’t just add flavor; it amplifies the chocolate, creating a more complex and irresistible taste profile that will have you reaching for just one more. Get ready to elevate your cookie game with this incredible recipe!
Ingredients:
Get Ready to Bake the Best Espresso Chocolate Chip Cookies
There’s something truly magical about a chocolate chip cookie. It’s a timeless classic, a comforting treat that brings smiles with every bite. But what if we could elevate that classic to a new level of sophistication and depth of flavor? Enter the Espresso Chocolate Chip Cookie. The subtle bitterness and rich aroma of espresso infuse the classic cookie dough, creating a complex flavor profile that perfectly complements the sweetness of the chocolate. These aren’t just any chocolate chip cookies; they are an experience. The espresso doesn’t overpower; instead, it weaves its way through the buttery sweetness, creating a harmonious blend that will have you reaching for a second, and maybe even a third, cookie. This recipe is designed to be straightforward, ensuring you can achieve bakery-quality results right in your own kitchen. Get ready to impress yourself and anyone lucky enough to share these delightful treats.
Preparing the Dough
The foundation of any great cookie lies in the quality of its ingredients and the care taken in its preparation. For these Espresso Chocolate Chip Cookies, we’ll start by creaming our butter and sugars. This crucial step incorporates air into the dough, which contributes to the cookie’s texture – a delicate balance between chewy and slightly crisp.
1. In a large mixing bowl, add the softened unsalted butter. It’s important that the butter is softened, not melted. You should be able to easily press your finger into it, leaving an indentation. Overly soft or melted butter can lead to cookies that spread too much and become greasy. Next, add the packed light brown sugar and the granulated sugar. Using a hand mixer or a stand mixer fitted with the paddle attachment, cream the butter and sugars together until the mixture is light, fluffy, and pnon-alcoholic ale in color. This process typically takes about 3-5 minutes. Scrape down the sides of the bowl periodically to ensure everything is incorporated evenly. This aeration is key to achieving that perfect cookie texture.
2. Now, it’s time to add the eggs and vanilla extract. Add the room temperature large egg and the room temperature large egg yolk. Room temperature eggs emulsify better with the butter and sugar mixture, leading to a more cohesive dough and a better final product. If you forgot to take your eggs out in advance, you can quickly warm them by placing them in a bowl of warm (not hot) water for about 5-10 minutes. Beat in the egg and egg yolk one at a time, mixing until just combined after each addition. Don’t overmix at this stage. Then, stir in the vanilla extract. The vanilla adds another layer of aromatic complexity to the cookies.
Incorporating the Dry Ingredients
With the wet ingredients beautifully combined, we’ll now introduce the dry ingredients that give our cookies their structure and leavening. The espresso powder, flour, baking soda, and salt work together to create the perfect cookie.
3. In a separate medium bowl, whisk together the all-purpose flour, baking soda, salt, and the ground espresso. Whisking these dry ingredients together before adding them to the wet ingredients ensures that the leavening agents and salt are evenly distributed throughout the flour. This prevents pockets of baking soda or salt, which could result in a bitter taste or uneven cookie spread. For the flour, it’s important to measure it correctly. Spoon the flour into your measuring cup and level it off with a straight edge, like the back of a knife. Do not scoop directly from the bag, as this can compact the flour and lead to dry, dense cookies. Add this dry mixture to the wet ingredients in two additions, mixing on low speed (or by hand with a spatula) until just combined. Be careful not to overmix the dough once the flour is added. Overmixing develops the gluten in the flour, which can make your cookies tough. Stop mixing as soon as you no longer see streaks of flour.
Adding the Chocolate and Baking
The final, glorious step before baking is to fold in the star of the show: the chocolate! And then, we bake them to golden perfection.
4. Gently fold in the chopped semi-sweet chocolate or mini chocolate chips using a spatula. Again, avoid overmixing. You want the chocolate to be distributed throughout the dough, but you don’t want to break it down too much. If you’re using chopped chocolate, larger chunks will create delightful pockets of melted chocolate in your finished cookies.
5. Now it’s time to bake! Preheat your oven to 375°F (190°C). Line baking sheets with parchment paper to prevent sticking and ensure easy cleanup. Drop rounded tablespoons of cookie dough onto the prepared baking sheets, spacing them about 2 inches apart. This spacing allows the cookies to spread without mergin extractg into one giant cookie mass. For perfectly shaped cookies, you can roll each tablespoon of dough into a ball. You can also press a few extra chocolate chips into the tops of the dough balls for a more visually appealing cookie. Bake for 9-12 minutes, or until the edges are golden brown and the centers are still slightly soft. The cookies will continue to cook and set as they cool on the baking sheet. Resist the urge to overbake! The residual heat will finish the job.
Cooling and Enjoying
The patience required during the cooling process is rewarded with the best cookie texture.
6. Once baked, let the cookies cool on the baking sheets for 5-10 minutes. This allows them to firm up enough to be moved without falling apart. Then, carefully transfer the cookies to a wire rack to cool completely. This ensures air circulation around the cookies, preventing them from becoming soggy on the bottom. Once cooled, these Espresso Chocolate Chip Cookies are ready to be enjoyed. They are fantastic with a glass of milk, a cup of coffee, or even a cup of tea. Store any leftovers in an airtight container at room temperature for up to 3 days. Happy baking!
Conclusion:
I truly hope you’ve enjoyed learning how to create these incredible espresso chocolate chip cookies! This recipe delivers a wonderfully rich and complex flavor profile, with the deep, slightly bitter notes of espresso perfectly complementing the sweetness of the chocolate. The texture is just right too – chewy in the center with delightful crispy edges. They’re not just a treat; they’re an experience! These cookies are fantastic on their own, but they also pair beautifully with a cold glass of milk, a steaming mug of coffee (of course!), or even a scoop of vanilla bean ice cream for an indulgent dessert.
Don’t be afraid to experiment with this recipe! For a more intense coffee flavor, you can increase the espresso powder slightly. If you’re feeling adventurous, consider adding a pinch of sea salt on top before baking for a delightful sweet and salty contrast, or even a sprinkle of chopped toasted almonds for an extra crunch. I wholeheartedly encourage you to give these espresso chocolate chip cookies a try. They are surprisingly simple to make and the reward is a batch of cookies that are sure to impress everyone, including yourself!
Frequently Asked Questions:
Can I use instant coffee granules instead of espresso powder?
While you can, the flavor intensity will be different. Espresso powder is finely ground and roasted to provide a concentrated coffee flavor, which is ideal for this recipe. Instant coffee granules may yield a less pronounced espresso taste.
How should I store these cookies?
Once cooled completely, store your espresso chocolate chip cookies in an airtight container at room temperature for up to 3-4 days. They tend to stay wonderfully chewy!
Can I make the dough ahead of time?
Absolutely! You can prepare the cookie dough, cover it tightly, and refrigerate it for up to 2 days. This allows the flavors to meld even further, potentially resulting in an even more delicious cookie. Just bring it to room temperature slightly before baking.
Espresso Chocolate Chip Cookies
Rich and decadent chocolate chip cookies infused with the bold flavor of espresso.
Ingredients
-
14 tablespoons unsalted butter, softened
-
1 tablespoon ground espresso
-
1/2 cup + 2 tablespoons light brown sugar
-
1/2 cup granulated sugar
-
1 large egg, room temperature
-
1 large egg yolk, room temperature
-
2 teaspoon vanilla extract
-
1 2/3 cup + 1 tablespoon all-purpose flour
-
1 teaspoon baking soda
-
1 teaspoon salt
-
3/4 cup chopped semi-sweet chocolate or mini chocolate chips
Instructions
-
Step 1
Cream together the softened butter, ground espresso, light brown sugar, and granulated sugar in a large bowl until light and fluffy. -
Step 2
Beat in the room temperature egg, egg yolk, and vanilla extract until well combined. -
Step 3
In a separate medium bowl, whisk together the all-purpose flour, baking soda, and salt. -
Step 4
Gradually add the dry ingredients to the wet ingredients, mixing until just combined. Do not overmix. -
Step 5
Stir in the chopped semi-sweet chocolate or mini chocolate chips. -
Step 6
Drop rounded tablespoons of dough onto ungreased baking sheets. Bake in a preheated oven at 375°F (190°C) for 10-12 minutes, or until the edges are golden brown and the centers are still slightly soft. -
Step 7
Let the cookies cool on the baking sheets for a few minutes before transferring them to a wire rack to cool completely.
Important Information
Nutrition Facts (Per Serving)
It is important to consider this information as approximate and not to use it as definitive health advice.
Allergy Information
Please check ingredients for potential allergens and consult a health professional if in doubt.