Buttery Garlic Pizza Recipe- Easy & Delicious
Buttery garlic pizza. Oh, that decadent, melt-in-your-mouth goodness. If you’ve ever experienced the sheer joy of a perfectly executed buttery garlic pizza, you know exactly what I’m talking about. It’s more than just a meal; it’s a warm hug in pizza form, a comfort food that always hits the spot. What makes this dish so universally loved? It’s that irresistible combination of fragrant garlic, richness from the butter, and the satisfying chew of a well-baked crust. It’s surprisingly simple to recreate at home, bringin extractg a touch of gourmet indulgence without any fuss. Forget those greasy, overpowering garlic breads; this is elevated, sophisticated flavor that will have you reaching for another slice before you’ve even finished your first. Get ready to transform your pizza night with this unbelievably delicious, truly unforgettable buttery garlic pizza.”
Buttery Garlic Pizza
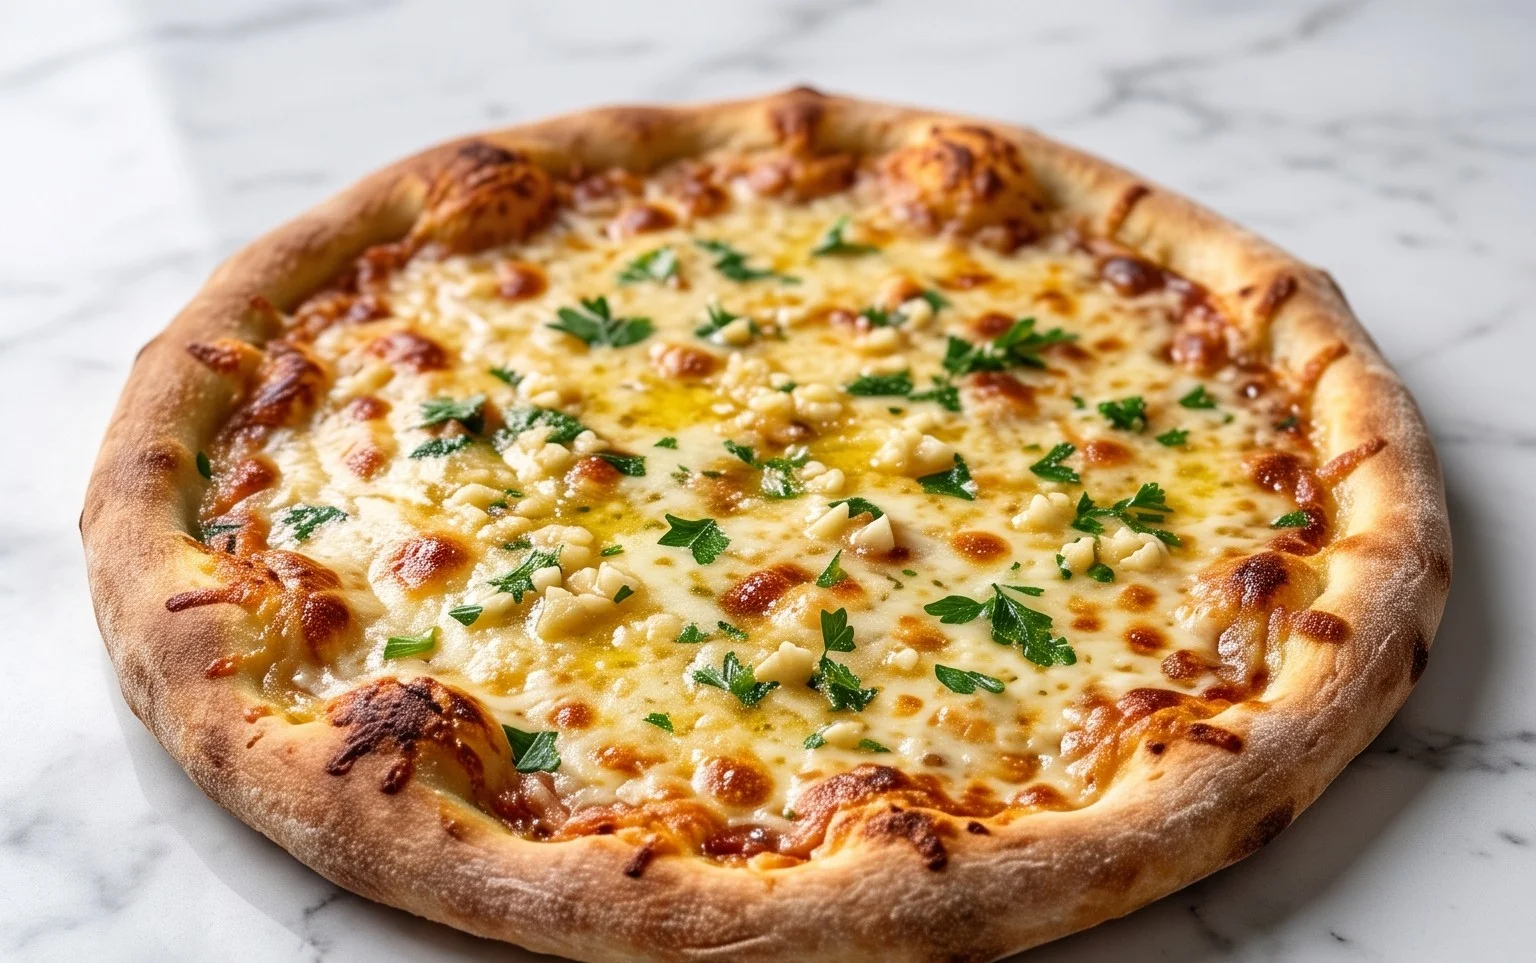
There are pizzas, and then there are pizzas that redefine comfort food. My Buttery Garlic Pizza falls firmly into the latter category. Forget tomato sauce; this is a celebration of simple, yet profoundly delicious flavors. The crust gets a gorgeous golden hue and an irresistible crispness from the buttery garlic infusion, while the fresh herbs add bright, aromatic notes that cut through the richness. It’s perfect for a cozy night in, a casual gathering with friends, or anytime you need a culinary hug. This recipe uses store-bought artisan pizza dough for ultimate convenience, allowing you to focus on the star of the show: that incredible buttery garlic topping.
Ingredients:
Cooking Instructions
The beauty of this pizza lies in its simplicity. We’re building layers of flavor, starting with the foundation of the dough and culminating in a fragrant, buttery garlic topping. Let’s get started!
Preparing the Garlic Butter Mixture
The first step is to create our flavor powerhouse: the garlic butter. In a small saucepan, melt the entire stick of salted butter over low heat. We don’t want to brown the butter here; we just want it fully melted and shimmering. Once the butter is melted, add in your finely chopped garlic cloves. Let the garlic gently infuse the butter for about 2 to 3 minutes. You’ll notice a wonderful aroma filling your kitchen as the garlic releases its potent flavor into the melted butter. Be careful not to burn the garlic, as this can turn the flavor bitter. Keep the heat low and stir occasionally. After the garlic has had a moment to infuse, remove the saucepan from the heat. Now, it’s time to add our fresh herbs. Stir in the minced rosemary and fresh thyme. These aromatic herbs will also benefit from a brief soak in the warm butter, releasing their essential oils and their delightful fragrance. The mixture should smell absolutely divine at this point – a perfect balance of pungent garlic and earthy, fresh herbs.
Preheating Your Oven and Preparing the Pizza Dough
While our garlic butter mixture is doing its thing, it’s crucial to preheat your oven. For the best pizza crust, you want it as hot as possible. I recommend preheating your oven to 475°F (245°C). If you have a pizza stone or steel, place it in the oven during preheating. This will ensure a super crispy bottom crust, just like you’d get from a professional pizza oven. Now, let’s talk about the dough. If your pizza dough is cold, it’s a good idea to let it sit at room temperature for about 30 minutes to an hour. This makes it much easier to stretch and shape without it springin extractg back. On a lightly floured surface, gently stretch or roll out each dough ball into your desired pizza shape. I usually aim for about a 10-12 inch circle, but feel free to go for a more rustic, freeform shape if you prefer. The key is to work gently to avoid tearing the dough. If it resists, let it rest for a few minutes before continuing to stretch.
Assembling the Buttery Garlic Pizza
Once your dough is shaped, it’s time for the magic. Carefully transfer the stretched dough onto a pizza peel dusted with cornmeal or onto a piece of parchment paper if you’re baking directly on a baking sheet. Now, grab your aromatic garlic butter mixture. Using a pastry brush or a spoon, generously brush the melted butter mixture all over the surface of the pizza dough, leaving a small border for the crust. Make sure to get into all the nooks and crannies. This butter is what will give our pizza its incredible flavor and golden-brown crust. Next, evenly sprinkle the minced green onion over the buttered dough. The green onion will soften and caramelize slightly in the oven, adding a subtle sweetness and oniony bite. Don’t be shy with the butter; it’s what makes this pizza so special!
Baking to Perfection
Now, for the moment of truth – baking! Carefully slide your pizza onto the preheated pizza stone or steel in the oven, or place your baking sheet into the oven. Bake for about 10-15 minutes, or until the crust is golden brown and the cheese (if you were using any – this recipe is fantastic without it!) is bubbly and melted. Keep an eye on it, as oven temperatures can vary. You’re looking for that perfect crispness on the bottom and a beautifully puffed-up crust. Once it’s out of the oven, the aroma will be non-intoxicating.
Finishing Touches and Serving
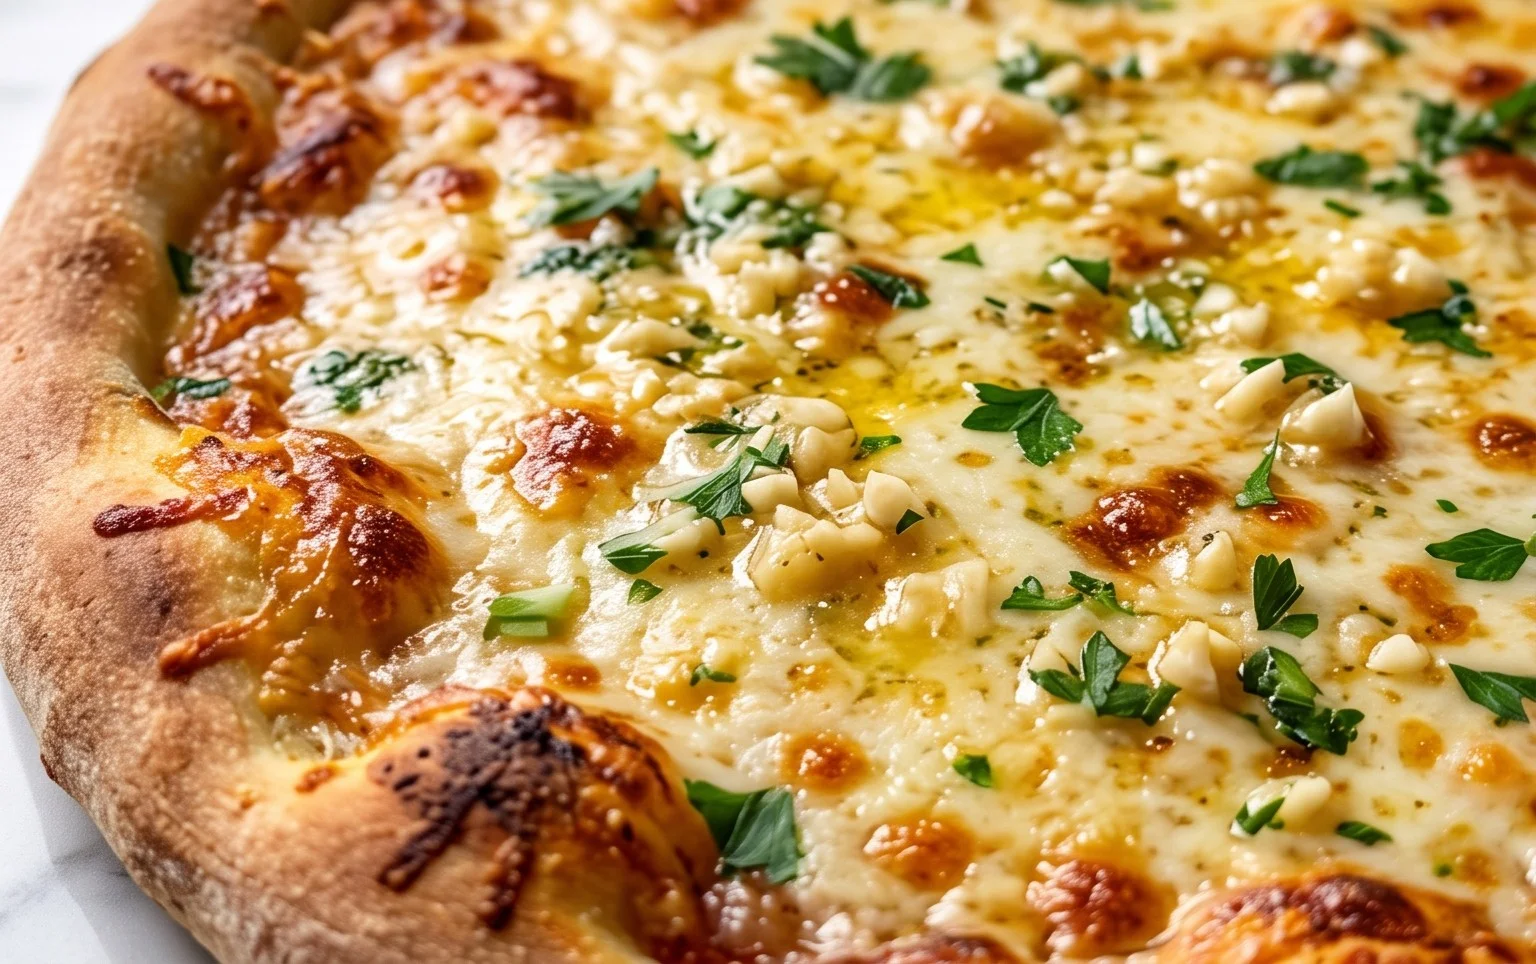
As soon as the pizza comes out of the oven, while it’s still piping hot, it’s time for the final flourishes. Sprinkle generously with flaky sea salt. The flaky salt provides a delightful textural contrast and pops of salinity that elevate all the flavors. Follow this with a good grinding of fresh black pepper. Then, for a little bit of a kick, sprinkle red pepper flakes to your desired level of heat. Finally, and this is crucial for freshness and vibrancy, scatter the minced chives all over the top. The chives add a beautiful pop of color and a delicate, fresh onion flavor that complements the rich garlic butter perfectly. Let the pizza rest for a minute or two before slicing and serving. This allows the toppings to set slightly and makes it easier to cut. Enjoy this simple yet incredibly satisfying Buttery Garlic Pizza! It’s a testament to how a few quality ingredients can create something truly extraordinary.
Conclusion:
There you have it – a simple yet incredibly satisfying recipe for buttery garlic pizza! What makes this recipe so fantastic is its delightful balance of rich butter, pungent garlic, and the satisfying chew of a perfectly baked crust. It’s incredibly versatile, making it a go-to for a quick weeknight dinner, a crowd-pleasing appetizer, or even a special treat when you’re craving something comforting and flavorful. The aroma alone as it bakes is enough to make your mouth water! Don’t be afraid to experiment with toppings to make it your own; the possibilities are truly endless with this delicious buttery garlic pizza base. I highly encourage you to give this recipe a try – I’m confident it will become a favorite in your kitchen!
Frequently Asked Questions:
Can I make the dough ahead of time?
Absolutely! You can prepare the pizza dough up to 2 days in advance. Store it in an airtight container in the refrigerator. Allow it to come to room temperature for about 30-60 minutes before shaping and baking for the best results.
What are some good topping variations?
The beauty of this buttery garlic pizza is its adaptability! Besides the classic cheese, consider adding fresh spinach, sautéed mushrooms, caramelized onions, sundried tomatoes, or even a sprinkle of red pepper flakes for a little heat. Fresh basil added after baking is also a wonderful touch.
How do I ensure a crispy crust?
To achieve a wonderfully crispy crust, ensure your oven and baking surface (like a pizza stone or baking steel) are preheated thoroughly. Baking directly on a hot surface for the entire cooking time helps draw out moisture and create that desirable crispness. You can also pre-bake the crust for a few minutes before adding toppings if you prefer an extra-crispy base.
Buttery Garlic Pizza
A simple yet flavorful pizza featuring a rich buttery garlic sauce, fresh herbs, and a hint of spice.
Ingredients
-
1 recipe artisan pizza dough (2 dough balls)
-
1 stick salted butter
-
3 garlic cloves, chopped
-
2 tbsp minced green onion
-
1 tbsp minced rosemary
-
1 tbsp fresh thyme
-
flaky salt
-
freshly ground black pepper
-
red pepper flakes, to taste
-
2 tbsp minced chives
Instructions
-
Step 1
Preheat your oven and pizza stone/steel according to your pizza dough recipe’s instructions. Typically this is a high temperature, around 475-500°F (245-260°C). -
Step 2
In a small saucepan, melt the salted butter over low heat. Add the chopped garlic and sauté for 1-2 minutes until fragrant, being careful not to burn it. -
Step 3
Stir in the minced green onion, minced rosemary, and fresh thyme into the butter and garlic mixture. Season with flaky salt and freshly ground black pepper. -
Step 4
Stretch or roll out one ball of pizza dough to your desired thickness and shape. Place it on a pizza peel dusted with cornmeal or flour. -
Step 5
Brush the buttery garlic and herb mixture evenly over the pizza dough, leaving a small border for the crust. Sprinkle with red pepper flakes to taste. -
Step 6
Carefully transfer the pizza to the preheated pizza stone or steel in the oven. Bake for 10-15 minutes, or until the crust is golden brown and the cheese (if using any, though this recipe focuses on the buttery garlic sauce) is melted and bubbly. -
Step 7
Remove the pizza from the oven and sprinkle with minced chives. Let it cool slightly before slicing and serving. Repeat with the second dough ball.
Important Information
Nutrition Facts (Per Serving)
It is important to consider this information as approximate and not to use it as definitive health advice.
Allergy Information
Please check ingredients for potential allergens and consult a health professional if in doubt.