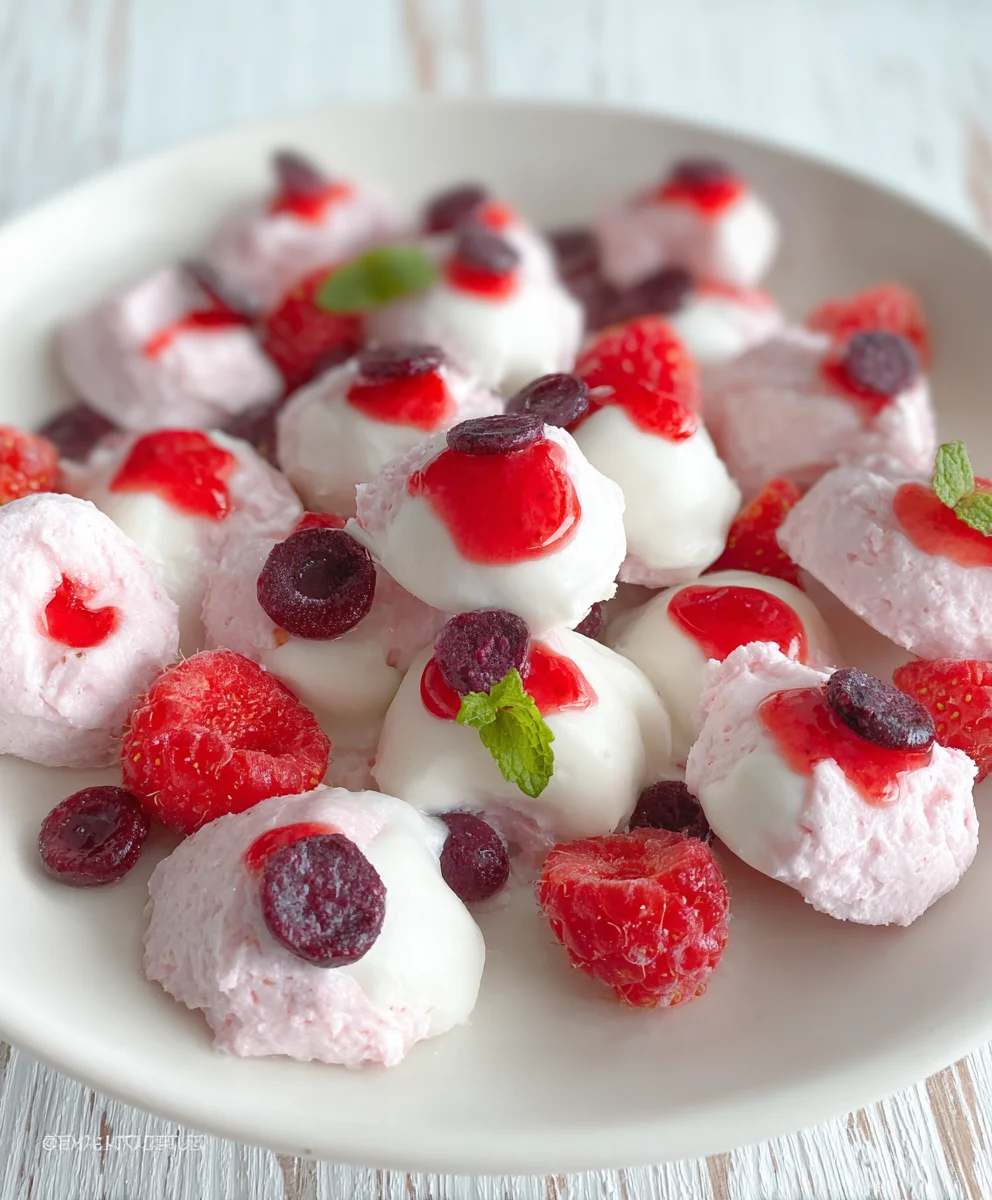
Easy Yogurt Bites Recipe-Kid Friendly Snack
How to Make Yogurt Bites? You’ve probably seen these delightful little morsels popping up everywhere, and for good reason! They’re a perfect balance of creamy, tangy, and delightfully sweet, making them an instant hit with both kids and adults. What makes these homemade yogurt bites so irresistible? It’s the sheer versatility and the satisfyingly healthy indulgence they offer. Imagin extracte a snack that’s guilt-free, incredibly easy to prepare, and customizable to your heart’s content. Whether you’re looking for a refreshing breakfast addition, a wholesome afternoon treat, or even a fun dessert, these yogurt bites deliver. We’re going to dive into the simple steps and secret tips that will ensure your homemade yogurt bites are consistently amazing, bursting with flavor and texture, and always disappear in a flash!
Ingredients:
- 1 cup plain Greek yogurt (full-fat recommended for creaminess)
- 1/4 cup fresh berries (such as blueberries, raspberries, or chopped strawberries)
- 1 tablespoon honey or maple syrup (optional, for added sweetness)
- 1/2 teaspoon vanilla extract
- A pinch of cinnamon (optional, for warmth)
Preparation
Step 1: Prepare Your Berries
Begin extract by washing your fresh berries thoroughly under cool running water. If you’re using larger berries like strawberries, give them a gentle pat dry with a paper towel to remove excess moisture. For strawberries, you’ll want to hull them and then chop them into small, bite-sized pieces. This ensures that each yogurt bite has a delightful burst of fruit without being overwhelmingly large. If you’re using smaller berries like blueberries or raspberries, you can leave them whole, provided they are not excessively large. The goal here is to have uniformly sized additions to your yogurt mixture, making the final bites appealing and easy to eat. If your berries are particularly tart, you might consider tossing them with a tiny pinch of sugar after chopping, but this is entirely optional and depends on your personal preference.
Step 2: Mix the Yogurt Base
In a medium-sized mixing bowl, add your Greek yogurt. The reason we recommend full-fat Greek yogurt is its naturally thick and creamy texture, which will help your bites hold their shape better. If you prefer a less tangy yogurt, you can opt for a strained regular yogurt or even a plant-based alternative, though the texture might vary. Next, stir in the vanilla extract. Vanilla adds a lovely aromatic depth that complementsgin extracte tanginess of the yogurt and the sweetness of the fruit. If you’re aiming for a sweeter bite, now is the time to add your honey or maple syrup. Start with one tablespoon and taste the mixture; you can always add a little more if you desire a sweeter profile. Finally, if you enjoy a hint of spice, whisk in a pinch of cinnamon. Cinnamon pairs wonderfully with berries and yogurt, adding a subtle warmth and complexity. Ensure all ingredients are thoroughly combined, creating a smooth and homogenous yogurt mixture.
Step 3: Incorporate the Fruit and Sweeteners
Gently fold in your prepared berries into the yogurt mixture. Be careful not to overmix at this stage. You want to distribute the berries evenly throughout the yogurt without mashing them completely. The idea is to have distinct pieces of fruit within each bite, providing a pleasant textural contrast. If you’ve chosen to use honey or maple syrup and haven’t added it yet, now is also a good time to incorporate it. Stir it in gently until it’s well blended. The goal is to have a cohesive mixture that is visually appealing with pops of color from the berries. If you find your yogurt mixture is too thick and difficult to work with, you can add a tiny splash of milk (dairy or non-dairy) to loosen it up slightly, but do this sparingly as you don’t want the mixture to become too runny.
Step 4: Form the Yogurt Bites
This is where your yogurt bites start to take shape. You have a few options for forming them. One effective method is to use a small spoon or a piping bag. If using spoons, take a teaspoonful of the yogurt mixture and carefully place it onto a parchment paper-lined baking sheet. Aim for uniform sizes to ensure even freezing. Alternatively, if you have a piping bag with a medium-sized round tip, you can pipe small mounds of the mixture onto the parchment paper. This method often results in neater, more uniform bites. Ensure there is a little space between each bite on the baking sheet, as they may spread slightly as they freeze. For best results, try to make the mounds about 1-2 centimeters in diameter.
Step 5: Freeze Until Solid
Once all your yogurt bites are formed and arranged on the parchment paper-lined baking sheet, it’s time to freeze them. Carefully transfer the baking sheet to your freezer. Allow the yogurt bites to freeze completely until they are firm to the touch. This typically takes about 2 to 3 hours, but the exact time will depend on the size of your bites and the temperature of your freezer. It’s crucial that they are completely frozen before you attempt to remove them from the parchment paper. This will prevent them from sticking and losing their shape. Once they are solid, you can gently peel them off the parchment paper. You can then transfer them to an airtight container or a freezer-safe bag for storage. This freezing step is essential for them to maintain their bite-like structure.
Step 6: Storage and Enjoyment
After the yogurt bites are fully frozen and have been transferred to a freezer-safe container or bag, they are ready for storage. Make sure the container is airtight to prevent freezer burn and to keep them fresh. These delicious and healthy treats can be stored in the freezer for up to 2 weeks. When you’re ready to enjoy them, simply take out as many as you like. They are best enjoyed straight from the freezer,gin extract they will begin to soften at room temperature. They make for a fantastic, guilt-free snack for children and adults alike, a refreshing way to cool down on a warm day, or a healthy addition to a lunchbox. Remember, the texture is meant to be firm and slightly icy, similar to a sorbet bite. If they become too soft, they may lose their appeal, so serving them promptly after removing from the freezer is recommended.

Conclusion:
You’ve now learned How To Make Yogurt Bites! This delightful and healthy treat is surprisingly simple to whip up, offering a fantastic way to enjoy a nutritious snack or a sweet dessert. Whether you’re looking for a quick breakfast on the go, a fun addition to your child’s lunchbox, or a guilt-free indulgence, these yogurt bites are a winner. Their versatility means you can customize them endlessly to suit your taste preferences and dietary needs.
I encourage you to get creative with your additions! Think about adding a sprinkle of cinnamon for warmth, some chia seeds for extra fiber, or even a few mini chocolate chips for a touch of decadence. These yogurt bites are wonderful on their own, but they also pair beautifully with fresh fruit, a drizzle of honey, or alongside a bowl of granola. Don’t be afraid to experiment with different yogurt flavors too – Greek yogurt, coconut yogurt, or even a dairy-free alternative will work wonderfully.
The process of How To Make Yogurt Bites is a rewarding one, and the end result is always satisfying. So go ahead, gather your ingredients, and start creating these delicious little gems. You’ll be amazed at how quickly they become a household favorite!
Frequently Asked Questions:
Q1: Can I make How To Make Yogurt Bites ahead of time?
Absolutely! Yogurt bites can be made a day or two in advance and stored in an airtight container in the refrigerator. This makes them an excellent option for meal prepping.
Q2: My yogurt bites are too soft, what can I do?
If your yogurt bites are too soft, it likely means they haven’t frozen for long enough or the base mixture was too thin. Ensure you freeze them until completely solid. For future batches, you can try using a thicker yogurt, like Greek yogurt, or slightly reducing the liquid components. You can also add a little more sweetener or a binder like a small amount of cornstarch if you want a firmer set, though this is often not necessary.
Q3: What are some good flavor combinations for How To Make Yogurt Bites?
The possibilities are endless! Popular combinations include strawberry-banana, blueberry-vanilla, mango-lime, and raspberry-coconut. You can also add a touch of natural flavoring like almond extract or even a tiny bit of lemon zest for a brighter taste. Don’t be shy about trying out your own unique blends!
Easy Yogurt Bites Recipe-Kid Friendly Snack
A simple and healthy yogurt bite recipe perfect for kids, made with fresh berries and Greek yogurt.
Ingredients
-
1 cup plain Greek yogurt
-
1/4 cup fresh berries
-
1 tablespoon honey
-
1/2 teaspoon vanilla extract
-
A pinch of cinnamon
Instructions
-
Step 1
Wash and prepare your berries. Hull and chop larger berries like strawberries into bite-sized pieces. Leave smaller berries whole if they are not too large. Ensure berries are dry. -
Step 2
In a mixing bowl, combine Greek yogurt, vanilla extract, honey (if using), and cinnamon (if using). Stir until smooth and well combined. -
Step 3
Gently fold the prepared berries into the yogurt mixture. Avoid overmixing to maintain distinct pieces of fruit. -
Step 4
Using a spoon or piping bag, drop small mounds of the yogurt mixture onto a parchment paper-lined baking sheet, ensuring uniform size and spacing. -
Step 5
Freeze the baking sheet for 2-3 hours, or until the yogurt bites are completely solid and firm to the touch. -
Step 6
Once frozen, gently peel the yogurt bites off the parchment paper and transfer them to an airtight container for storage in the freezer.
Important Information
Nutrition Facts (Per Serving)
It is important to consider this information as approximate and not to use it as definitive health advice.
Allergy Information
Please check ingredients for potential allergens and consult a health professional if in doubt.