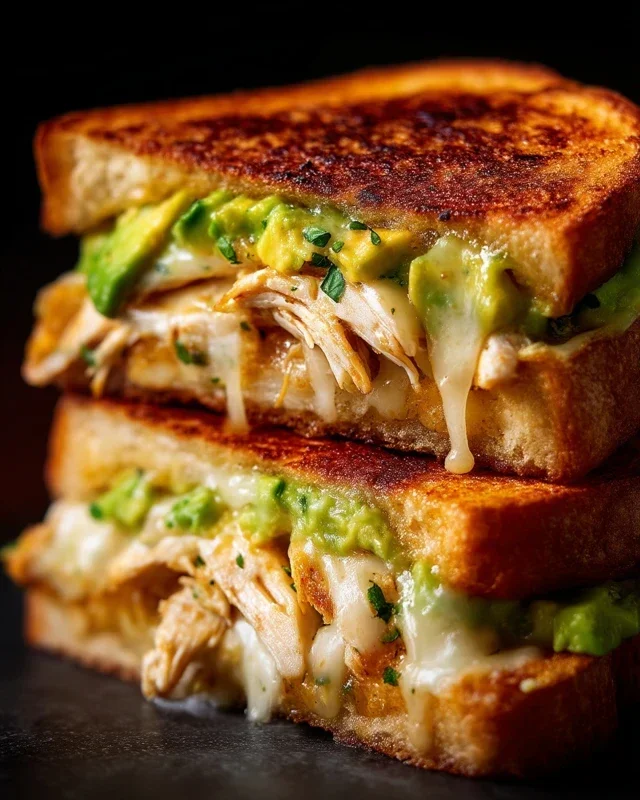
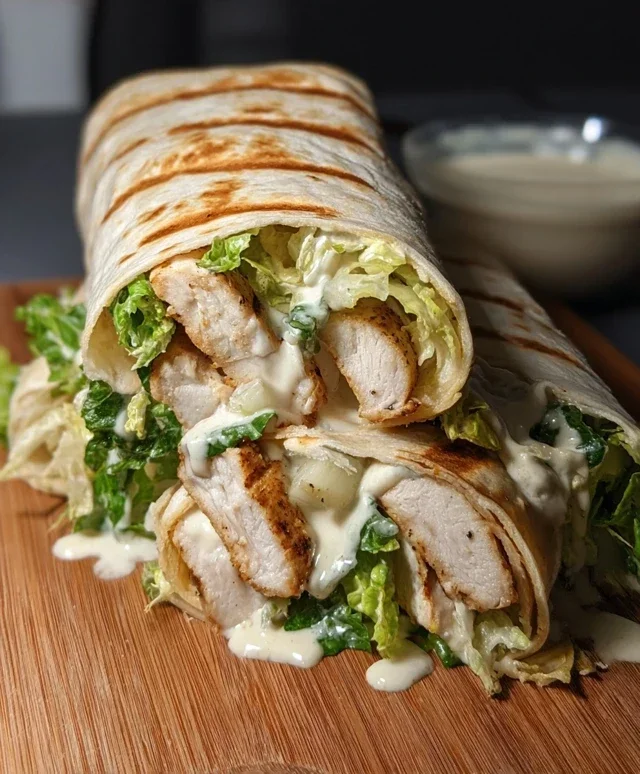
Easy Chicken Caesar Wraps – Quick & Delicious Lunch
Chicken Caesar Wraps are a weeknight dinner hero for a reason. I don’t know about you, but when I’m craving something satisfying, flavorful, and incredibly easy to assemble, my mind immediately goes to these delightful bundles of joy. What is it about a perfectly constructed Chicken Caesar Wrap that just hits the spot? It’s that irresistible combination of tender, juicy chicken, crisp romaine lettuce, crunchy croutons, and that creamy, tangy Caesar dressing, all hugged by a soft tortilla. It’s a classic for a reason, offering a refreshing yet substantial meal that can be customized to your heart’s content.
Why You’ll Love This Recipe
Forget the messy salad bowl; we’re taking all your favorite Caesar salad components and rolling them into a portable, hand-held masterpiece. This recipe elevates the humble wrap, transforming it into a truly crave-worthy experience. It’s the perfect solution for a quick lunch, a healthy dinner, or even a crowd-pleasing appetizer. Get ready to discover your new favorite way to enjoy the beloved Chicken Caesar Wrap!
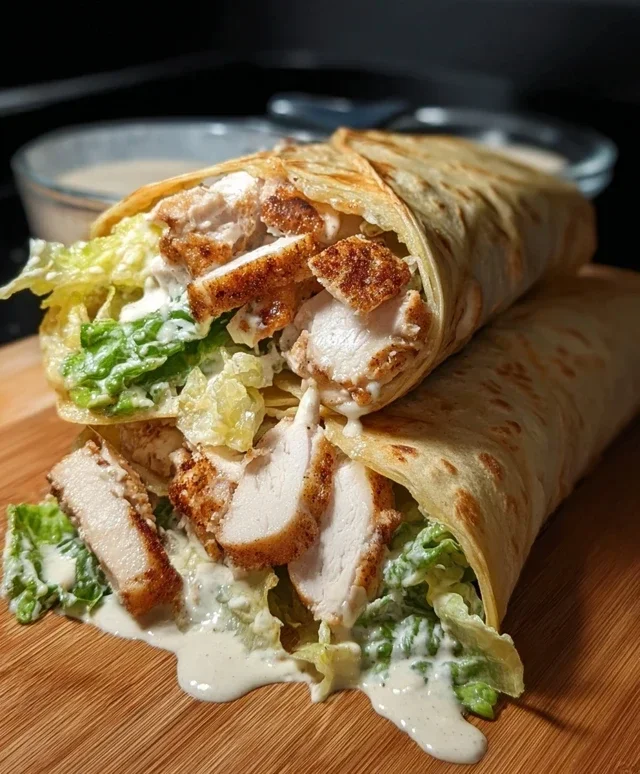
Chicken Caesar Wraps
Looking for a quick, satisfying, and utterly delicious meal that’s perfect for lunch, a light dinner, or even a portable picnic? Look no further than these classic Chicken Caesar Wraps! They’re a fantastic way to enjoy all the beloved flavors of a Caesar salad, conveniently bundled up in a soft tortilla. This recipe is incredibly adaptable and comes together in a flash, making it a go-to for busy weeknights or when you just crave something comforting and flavorful. We’re keeping it simple and focusing on fresh, quality ingredients to let those iconic Caesar flavors shine.
Ingredients:
Cooking Instructions
Let’s get started on building these flavor-packed wraps!
Preparing the Chicken
1. Start by preparing your chicken breasts. Pat them dry thoroughly with paper towels. This is an important step as it helps to create a nice sear and prevents them from steaming in the pan. Season both sides generously with salt and freshly ground black pepper. For an extra layer of flavor, you could also sprinkle on a pinch of garlic powder or onion powder if you have them on hand, but it’s entirely optional. Heat a tablespoon of olive oil or your preferred cooking oil in a skillet over medium-high heat. Once the oil is shimmering, carefully add the seasoned chicken breasts. Cook for about 6-8 minutes per side, or until the chicken is cooked through and has a beautiful golden-brown crust. The exact cooking time will depend on the thickness of your chicken breasts. To ensure they are done, you can insert a meat thermometer into the thickest part – it should register 165°F (74°C). Once cooked, remove the chicken from the skillet and let it rest on a cutting board for about 5-10 minutes. This resting period is crucial for juicy chicken, as it allows the juices to redistribute throughout the meat, making it incredibly tender and flavorful.
Assembling the Wraps
2. While the chicken is resting, you can start preparing your other wrap components. Ensure your romaine lettuce is thoroughly washed, dried, and chopped into bite-sized pieces. If you’re using a salad spinner, now is its time to shine! Properly dried lettuce will prevent your wraps from becoming soggy. Grate your Parmesan cheese if you bought a block, or have your pre-grated cheese ready. Now, let’s get back to that rested chicken. Once it’s had time to cool slightly, you can either slice it thinly against the grain or dice it into bite-sized pieces. Slicing is great for a more elegant presentation, while dicing makes it easier to distribute evenly within the wrap. Whichever method you choose, ensure the pieces are manageable for wrapping.
3. Warm your tortillas. This is another step that makes a world of difference in the final wrap. You can warm them one by one in a dry skillet over medium heat for about 15-30 seconds per side, until they are pliable and slightly puffed. Alternatively, you can wrap a stack of tortillas in a damp paper towel and microwave them for about 30-45 seconds until warm and soft. A warm tortilla is much easier to roll and wrap without tearing, ensuring your delicious fillings stay securely tucked inside.
4. Now comes the fun part – building your wraps! Lay out one warmed tortilla on a clean surface. Spread a generous amount of Caesar dressing down the center of the tortilla, leaving a small border on the edges. Don’t be shy with the dressing; it’s what brings all the flavors together! Next, layer on a good portion of the chopped romaine lettuce. Follow this with a hearty scattering of the cooked chicken pieces. Sprinkle a liberal amount of the grated Parmesan cheese over the chicken and lettuce. If you like a bit more zing, you can add an extra drizzle of Caesar dressing right on top of the fillings before wrapping. This ensures every bite has that creamy, tangy dressing.
5. To wrap your masterpiece, start by folding in the sides of the tortilla towards the center. This creates a sturdy base and helps to contain the fillings. Then, starting from the bottom edge where the fillings are concentrated, begin extract to tightly roll the tortilla upwards, tucking in the fillings as you go. The goal is to create a compact roll that won’t easily unravel. If you find your tortilla is being a bit stubborn, gently press down as you roll to encourage it to seal. For an even more secure wrap, you can optionally wrap the finished roll in parchment paper or foil, which is especially handy if you plan to take these wraps on the go. You can also lightly toast the seam side down in a dry skillet for a minute or two to help seal it, though this is not strictly necessary. Repeat this process for the remaining three tortillas.
Serve your Chicken Caesar Wraps immediately and savor every delicious bite! These wraps are incredibly satisfying on their own, but they also pair wonderfully with a side of potato chips, a small side salad, or some fresh fruit. Enjoy!
Conclusion:
There you have it – a recipe for delicious and satisfying Chicken Caesar Wraps! This recipe is truly a winner because it’s incredibly versatile, quick to assemble, and packed with classic, crowd-pleasing flavors. The creamy Caesar dressing, tender chicken, crisp romaine, and optional Parmesan cheese all come together in a portable and convenient package. They are perfect for a speedy weeknight dinner, a healthy and satisfying lunch, or even a casual gathering with friends. Don’t be afraid to customize these wraps to your liking! You can swap out the chicken for grilled shrimp or even crispy tofu for a vegetarian option. Add in some sun-dried tomatoes for a burst of sweetness, or a sprinkle of red pepper flakes for a touch of heat. I genuinely encourage you to give these Chicken Caesar Wraps a try. You won’t be disappointed by how easy they are to make and how incredibly delicious they are to eat!
Frequently Asked Questions about Chicken Caesar Wraps:
Q: Can I make the Caesar dressing from scratch?
Absolutely! While store-bought dressing is convenient, a homemade Caesar dressing elevates these wraps to another level. You can typically make it with mayonnaise, Dijon mustard, lemon juice, garlic, anchovy paste (or Worcestershire sauce), and Parmesan cheese. It’s surprisingly easy and tastes fantastic.
Q: What are some good side dishes to serve with these wraps?
These wraps are quite complete on their own, but they pair wonderfully with a simple side salad, a bowl of tomato soup, or some crunchy sweet potato fries. For something lighter, a cup of fresh fruit salad also works beautifully.
Q: Can I prepare the ingredients in advance?
Yes, you can! Cooked chicken can be shredded or diced and stored in the refrigerator for up to 3 days. You can also wash and chop your romaine lettuce ahead of time. Keep the dressing separate until you’re ready to assemble the wraps to prevent them from getting soggy.
Chicken Caesar Wraps
Quick and easy chicken Caesar wraps, perfect for a light lunch or dinner.
Ingredients
-
2 boneless, skinless chicken breasts
-
4 large tortillas
-
2 cups chopped romaine lettuce
-
1/2 cup grated Parmesan cheese
-
Caesar dressing
-
Salt and pepper to taste
Instructions
-
Step 1
Season chicken breasts with salt and pepper. -
Step 2
Grill or pan-fry chicken breasts until cooked through and no longer pink in the center. Let rest, then slice thinly. -
Step 3
In a bowl, toss chopped romaine lettuce with Caesar dressing and half of the grated Parmesan cheese. -
Step 4
Warm the large tortillas slightly to make them pliable. You can do this in a dry skillet or microwave. -
Step 5
Divide the Caesar salad mixture and sliced chicken evenly among the four tortillas. -
Step 6
Sprinkle the remaining Parmesan cheese over the filling in each tortilla. -
Step 7
Fold in the sides of each tortilla and then roll up tightly to form wraps.
Important Information
Nutrition Facts (Per Serving)
It is important to consider this information as approximate and not to use it as definitive health advice.
Allergy Information
Please check ingredients for potential allergens and consult a health professional if in doubt.