Sweet Potato Tortillas Gluten-Free Vegan Wraps
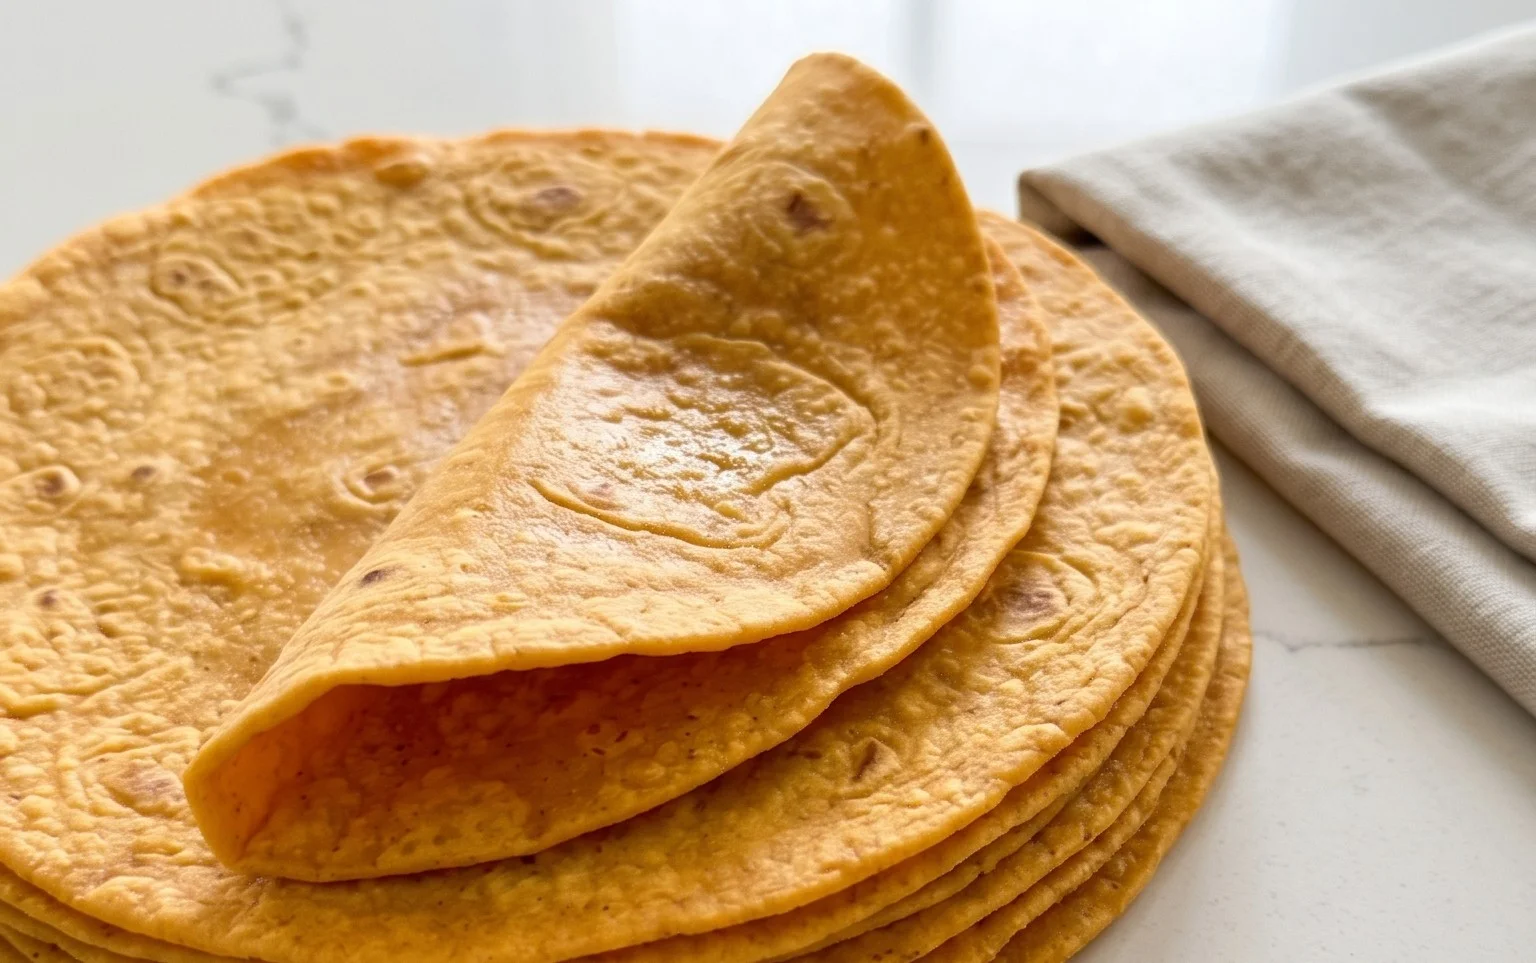
Sweet potato tortillas (gluten-free vegan wraps) are about to become your new kitchen obsession! Forget those dry, crum extractbly store-bought alternatives that leave you feeling disappointed. I’m so excited to share this recipe with you because it delivers on every single promise: tender, pliable, and bursting with a subtle sweetness that elevates any filling. People absolutely adore these sweet potato tortillas (gluten-free vegan wraps) for so many reasons. They’re incredibly versatile, making them perfect for breakfast burritos, satisfying lunches, or even a quick weeknight dinner. What truly sets these apart is the naturally vibrant color and earthy undertones that the sweet potato lends, creating a wrap that’s not just delicious but also a feast for the eyes. Plus, knowing they’re free from gluten and animal products makes them a guilt-free indulgence that everyone can enjoy.
Sweet Potato Tortillas (Gluten-Free Vegan Wraps)
Are you on the hunt for a versatile, healthy, and utterly delicious gluten-free and vegan wrap that goes beyond the usual suspects? Look no further! These Sweet Potato Tortillas are a game-changer. They’re naturally vibrant, packed with nutrients, and surprisingly easy to make. The subtle sweetness from the sweet potato pairs beautifully with savory fillings, making them perfect for everything from breakfast burritos to hearty lunch wraps. Plus, they have a wonderful soft texture that holds up well. Forget those crum extractbly store-bought alternatives; these homemade wonders will have you rethinking your wrap game entirely.
Ingredients:
Crafting Your Sweet Potato Dough
Let’s dive into the magic of creating these amazing tortillas. The first step is preparing your sweet potato. You want them incredibly soft so they mash into a smooth puree. Steaming is ideal as it prevents them from absorbing too much water, which can make your dough too sticky. Once cooked, mash them thoroughly until there are no lumps. A potato masher or even the back of a fork works well.
In a large mixing bowl, combine the mashed sweet potato with the softened vegan butter (or your chosen oil). It’s important that the butter is soft so it incorporates smoothly into the sweet potato. If you’re using oil, just add it in. Stir this mixture together until it’s well combined and has a creamy consistency.
Now, it’s time to add the flavor and binding agents. Sprinkle in the sea salt, black pepper, onion powder, and garlic powder. Mix these in thoroughly. The herbs and spices add a lovely savory depth that balances the sweetness of the potato.
Next, we introduce the star of our gluten-free baking: the sourdough starter. If you don’t have a gluten-free sourdough starter, don’t fret! You can substitute it with an equal amount of water and a tablespoon of apple cider vinegar. Let it sit for 5 minutes to activate. The sourdough starter contributes a subtle tang and helps with the texture, but the vinegar substitute will still yield great results. Add your active starter (or its substitute) to the bowl and mix it into the sweet potato mixture.
This is where the psyllium husk comes in. Psyllium husk is a fantastic binder for gluten-free recipes, mimicking the elasticity that gluten provides. It absorbs liquid and forms a gel, which is essential for creating a dough that can be rolled out. Sprinkle the psyllium husk over the mixture and stir it in well. You’ll notice the mixture starting to thicken almost immediately. Add 1 tablespoon of hot water at this stage. Stir it in; the hot water helps activate the psyllium husk more effectively.
Now it’s time to bring it all together into a cohesive dough. Gradually add the arrowroot flour, starting with 2 tablespoons, and mix until a soft dough begin extracts to form. You may need to add the third tablespoon of arrowroot flour, or even a touch more, depending on the moisture content of your sweet potato and starter. The dough should be slightly sticky but manageable. If it’s too wet, add a little more arrowroot flour, a teaspoon at a time. If it feels too dry, add a tiny splash (about a teaspoon) more hot water. You’re looking for a dough that’s pliable and doesn’t stick excessively to your hands. If you’re aiming for a puffier tortilla, now is the time to gently fold in the baking powder. Be careful not to overmix once the baking powder is added.
Cooking Your Sweet Potato Tortillas
Once your dough is ready, it’s time to cook. Lightly dust a clean work surface and your rolling pin with arrowroot flour. Divide the dough into 4-6 equal portions, depending on how large you want your tortillas. Roll each portion into a ball.
Shaping and Cooking the Wraps
Take one dough ball and flatten it slightly with your hands. Begin extract rolling it out from the center outwards. Rotate the dough frequently and dust with a little more arrowroot flour as needed to prevent sticking. Aim for a thickness of about 1/8th of an inch, or roughly the thickness of a coin. You want them thin enough to be flexible but not so thin that they tear easily. Don’t worry if your circles aren’t perfectly round; rustic is charming!
Heat a lightly oiled or non-stick skillet or griddle over medium heat. You want it hot enough to sizzle when the tortilla touches it, but not so hot that it burns them immediately. Carefully transfer one rolled-out tortilla to the hot skillet. Cook for about 1-2 minutes per side, or until you see small bubbles forming on the surface and the underside is lightly golden brown. Don’t overcrowd the pan; cook them one or two at a time.
As each tortilla finishes cooking, remove it from the skillet and wrap it in a clean kitchen towel. This step is crucial for keeping them soft and pliable. The steam trapped by the towel will prevent them from becoming stiff or brittle. Repeat the process with the remaining dough balls, stacking the cooked tortillas in the towel as you go.
These Sweet Potato Tortillas are best enjoyed fresh, but they can be stored in an airtight container at room temperature for a day or two, or in the refrigerator for up to 4-5 days. To reheat, you can quickly warm them in a dry skillet, on a griddle, or even in a toaster oven. Enjoy the vibrant flavor and satisfying texture of your homemade gluten-free, vegan wraps!
Conclusion:
And there you have it! My simple and delicious Sweet Potato Tortillas recipe. These gluten-free vegan wraps are a game-changer for anyone looking for healthier, plant-based alternatives. They’re incredibly versatile, making them perfect for a quick weeknight meal or a satisfying lunch. The natural sweetness of the sweet potato provides a wonderful base for both savory and sweet fillings, and the texture is delightfully soft and pliable. I’m so excited for you to try these out!
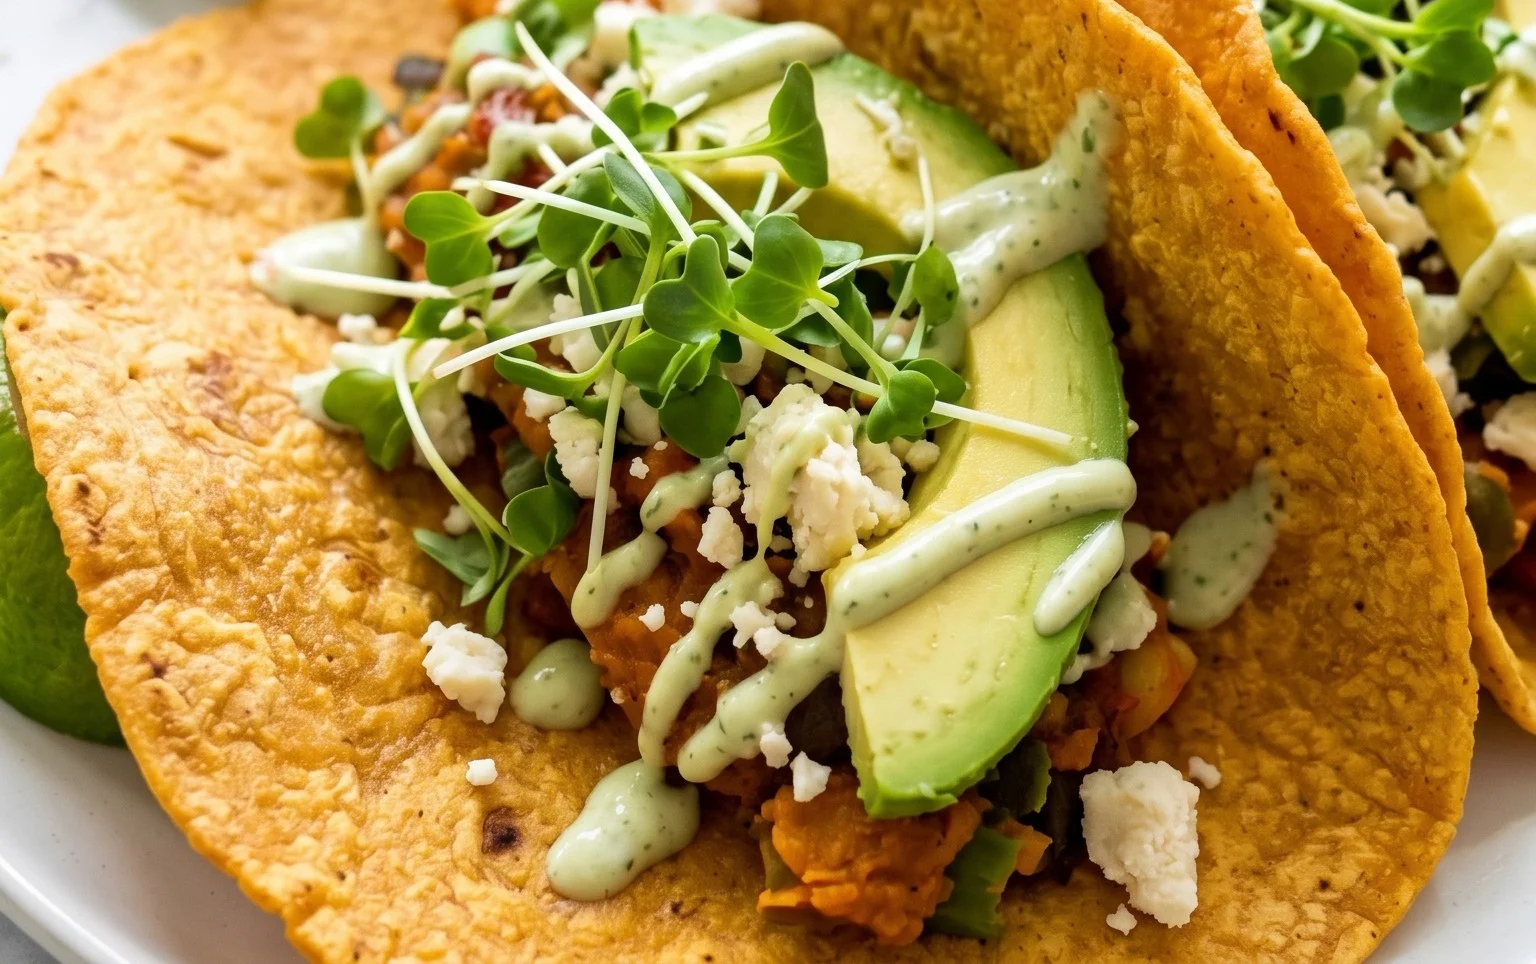
Feel free to get creative with your fillings! Load them up with seasoned black beans, spicy tofu scramble, fresh avocado, or even a sweet concoction of berries and dairy-free yogurt. You can also add a pinch of smoked paprika or cumin to the dough for an extra flavor kick. Don’t be afraid to experiment and make these Sweet Potato Tortillas your own.
I truly hope you enjoy making and devouring these healthy and flavorful wraps as much as I do. They’re a testament to how vibrant and delicious gluten-free vegan cooking can be!
Frequently Asked Questions:
Q: How should I store leftover sweet potato tortillas?
A: Once completely cooled, you can store your sweet potato tortillas in an airtight container or a resealable bag in the refrigerator for up to 3-4 days. For longer storage, you can freeze them in a single layer separated by parchment paper and then transfer to a freezer bag for up to 2 months. Thaw them in the refrigerator or gently warm them in a skillet or microwave.
Q: Can I make these ahead of time?
A: Absolutely! You can prepare the dough and refrigerate it for up to 24 hours before cooking. Alternatively, you can cook the tortillas and let them cool completely, then store them as mentioned above. This makes them a fantastic option for meal prepping.
Q: My tortillas are a bit sticky, what can I do?
A: A little bit of stickiness is normal due to the moisture content of the sweet potato. When rolling them out, ensure you’re using enough gluten-free flour (or a blend of rice flour and tapioca starch) on your surface and rolling pin. You can also try lightly dusting your hands when shaping them. Don’t overwork the dough.
Sweet Potato Tortillas (Gluten-Free Vegan Wraps)
Deliciously soft and pliable gluten-free vegan wraps made with sweet potato.
Ingredients
-
2 small sweet potatoes – steamed or boiled (no liquid / mashed)
-
2 tbsp vegan butter
-
1-2 tbsp hot water
-
3/4 tsp sea salt
-
1/4 tsp black pepper
-
1/2 tsp onion powder
-
1/2 tsp garlic powder
-
3/4 cup gluten free sourdough starter
-
2 tsp psyllium husk
-
2-3 tbsp arrowroot flour
Instructions
-
Step 1
Mash the steamed or boiled sweet potatoes until smooth, ensuring no liquid remains. -
Step 2
In a bowl, combine the mashed sweet potato, vegan butter (melted if solid), hot water, sea salt, black pepper, onion powder, and garlic powder. Mix well. -
Step 3
Stir in the gluten-free sourdough starter and psyllium husk until fully incorporated. -
Step 4
Gradually add the arrowroot flour, mixing until a pliable dough forms. Add more flour if needed to prevent sticking. -
Step 5
Divide the dough into 6-8 equal portions and roll them into balls. -
Step 6
On a lightly floured surface, roll out each ball thinly into a tortilla shape. -
Step 7
Cook the tortillas on a lightly oiled griddle or pan over medium heat for 2-3 minutes per side, until lightly browned and cooked through.
Important Information
Nutrition Facts (Per Serving)
It is important to consider this information as approximate and not to use it as definitive health advice.
Allergy Information
Please check ingredients for potential allergens and consult a health professional if in doubt.