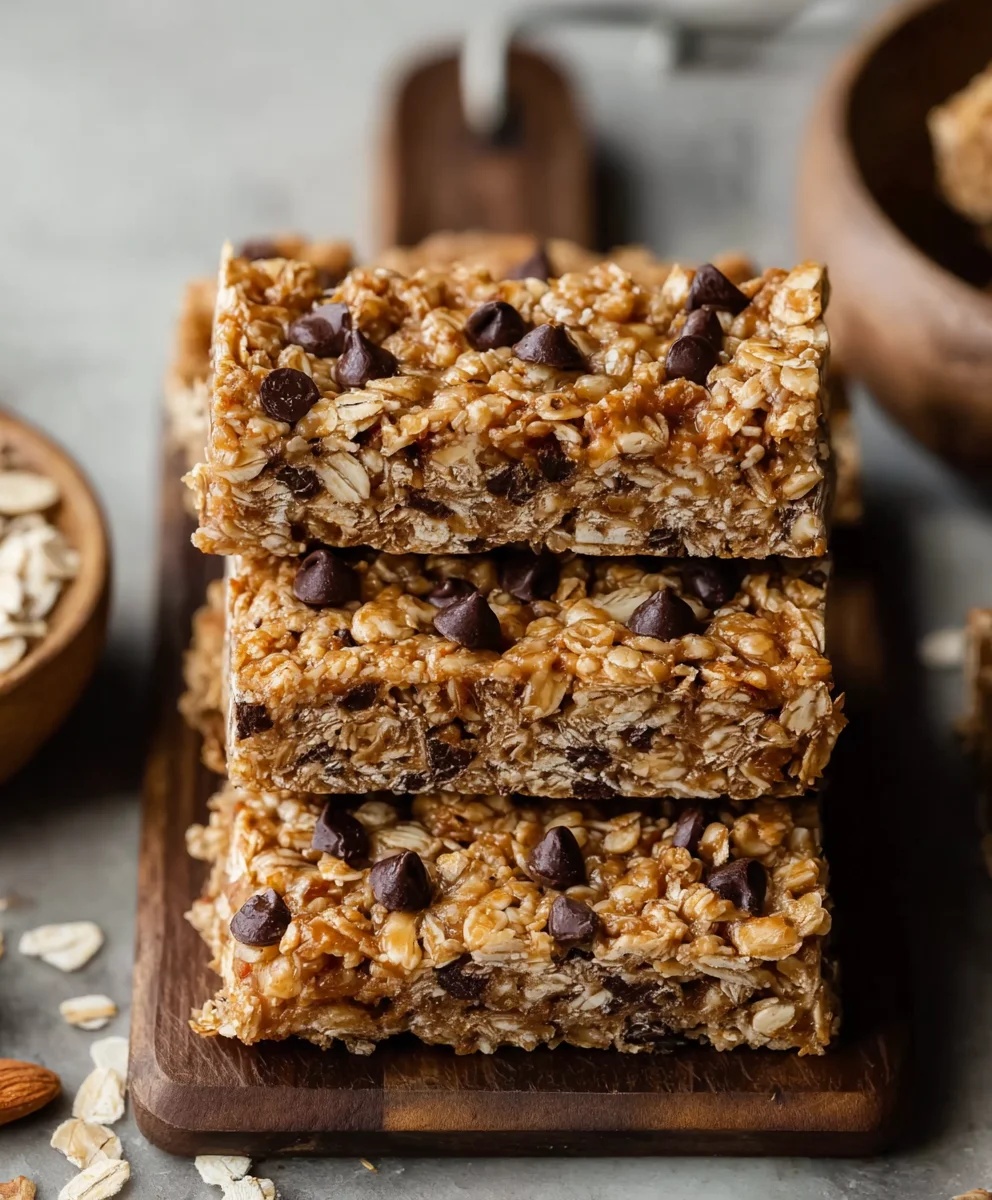
Soft-Baked Peanut Butter Granola Bars-Easy Recipe
Soft-baked peanut butter granola bars are more than just a snack; they are a warm hug in bar form, a delightful rewind to simpler times, and a perfect fuel for busy days. What is it about these chewy, golden treasures that captures our hearts and taste buds? It’s the irresistible combination of wholesome oats, sweet honey or maple syrup, and that unmistakable, comforting flavor of peanut butter. We love them because they strike that perfect balance between healthy and decadent, offering sustained energy without sacrificing pure joy. Unlike their crunchy counterparts, these soft-baked versions boast a tender, almost cake-like interior, studded with delightful pockets of melted peanut butter and the satisfying chew of oats. They’re incredibly versatile, customizable to your heart’s content with additions like chocolate chips or dried fruit. Today, we’re diving into a recipe that will make you rethink everything you thought you knew about homemade granola bars, promising a truly exceptional experience with every bite of these soft-baked peanut butter granola bars.
Ingredients:
- 3 cups old-fashioned rolled oats (use verified gluten-free, if needed)
- ¾ cup natural peanut butter
- ⅓ cup honey or maple syrup
- 2 whole eggs (or 2 flax eggs for a vegan option – whisk 2 tbsp ground flaxseed with 6 tbsp water and let sit for 5-10 minutes until gelled)
- ½ cup mini chocolate chips
- Pinch of salt (omit if your peanut butter is already salted, as many natural varieties are)
- ½ cup chopped walnuts, pecans, or almonds (or a mix!)
- ¼ cup chia seeds, sunflower seeds, or pumpkin seeds (or a blend)
- ½ cup dried fruit (such as cranberries, raisins, or chopped apricots)
Preparing for Deliciousness
Preheating and Pan Prep
Before we dive into mixing, let’s get our oven and pan ready. Preheat your oven to 350°F (175°C). This moderate temperature is perfect for baking these granola bars, ensuring they cook through evenly without burning the edges. Next, prepare an 8×8 inch baking pan. You can do this by lightly greasing it with a neutral oil like vegetable or coconut oil, or by lining it with parchment paper. If you choose parchment paper, leave some overhang on the sides – this will create handy “handles” to lift the entire slab of granola bars out of the pan later, making cutting much easier.
Mixing the Magic
Wet Ingredient Fusion
In a large mixing bowl, we’ll start by combining our wet ingredients. Add the ¾ cup of natural peanut butter. Natural peanut butter tends to be runnier than conventional varieties, which helps create a wonderfully cohesive bar. Follow this with the ⅓ cup of honey or maple syrup. If you’re using maple syrup, ensure it’s pure maple syrup for the best flavor. Now, crack in your 2 whole eggs. If you’re opting for the vegan version, add your prepared flax eggs here. Give everything a good whisk until it’s smooth and well combined. It might look a little glossy at this stage, and that’s exactly what we want.
Combining the Elements
To the wet ingredient mixture, add the 3 cups of old-fashioned rolled oats. These are crucial for the texture of our soft-baked granola bars, providing a satisfying chegrape juicess. If you’re sensitive to gluten, make sure you’re using certified gluten-free oats. Now, add the pinch of salt, but only if your peanut butter isn’t already salted. It’s always better to under-salt and be able to add more later than to have overly salty bars. Stir everything together thoroughly, ensuring every oat is coated in the peanut butter and sweetener mixture. Don’t be shy about getting in there with a sturdy spoon or spatula; we want to make sure all the dry oats are incorporated.
Adding the Goodies
This is where we get to add all the exciting textural and flavor elements! Gently fold in the ½ cup of mini chocolate chips. Mini chips distribute more evenly throughout the bars than larger ones, ensuring you get a burst of chocolate in every bite. Next, add your ½ cup of chopped nuts. Walnuts, pecans, and almonds all offer a fantastic crunch and nutty flavor. You can use one type or create your own custom blend for extra complexity. Finally, stir in ¼ cup of seeds – chia, sunflower, or pumpkin seeds are excellent choices, adding both nutrients and a pleasant subtle texture. The ½ cup of dried fruit is the last addition. Cranberries will add a lovely tartness, raisins a classic sweetness, and chopped apricots a chewy, fruity bite. Mix gently until all these additions are evenly distributed throughout the oat mixture.
Baking to Perfection
Pressing and Baking
Once all your ingredients are well combined in the bowl, it’s time to get them into the prepared pan. Transfer the mixture to your 8×8 inch baking pan. Using the back of your spoon, a spatula, or even slightly damp hands, press the mixture firmly and evenly into the pan. This step is really important for ensuring the bars hold together well once baked. You want a compact, even layer. Don’t be afraid to really pack it down! Once pressed, place the pan in your preheated oven. Bake for 25-30 minutes, or until the edges are lightly golden brown and the center appears set. The bars should feel slightly firm to the touch. Keep an eye on them as oven temperatures can vary.
Cooling for Structure
This is arguably the most crucial step for achieving perfectly cut, soft-baked granola bars, and it requires a bit of patience! Once the baking time is up, carefully remove the pan from the oven. Let the granola bars cool completely in the pan on a wire rack. This cooling process is essential; it allows the bars to firm up and set properly. If you try to cut them while they are still warm, they will likely crum extractble and fall apart. Resist the temptation to cut them too early! Aim for at least 1-2 hours of cooling time at room temperature. Once completely cooled, the parchment paper overhangs will be your best friend.
Cutting and Enjoying
Slicing and Serving
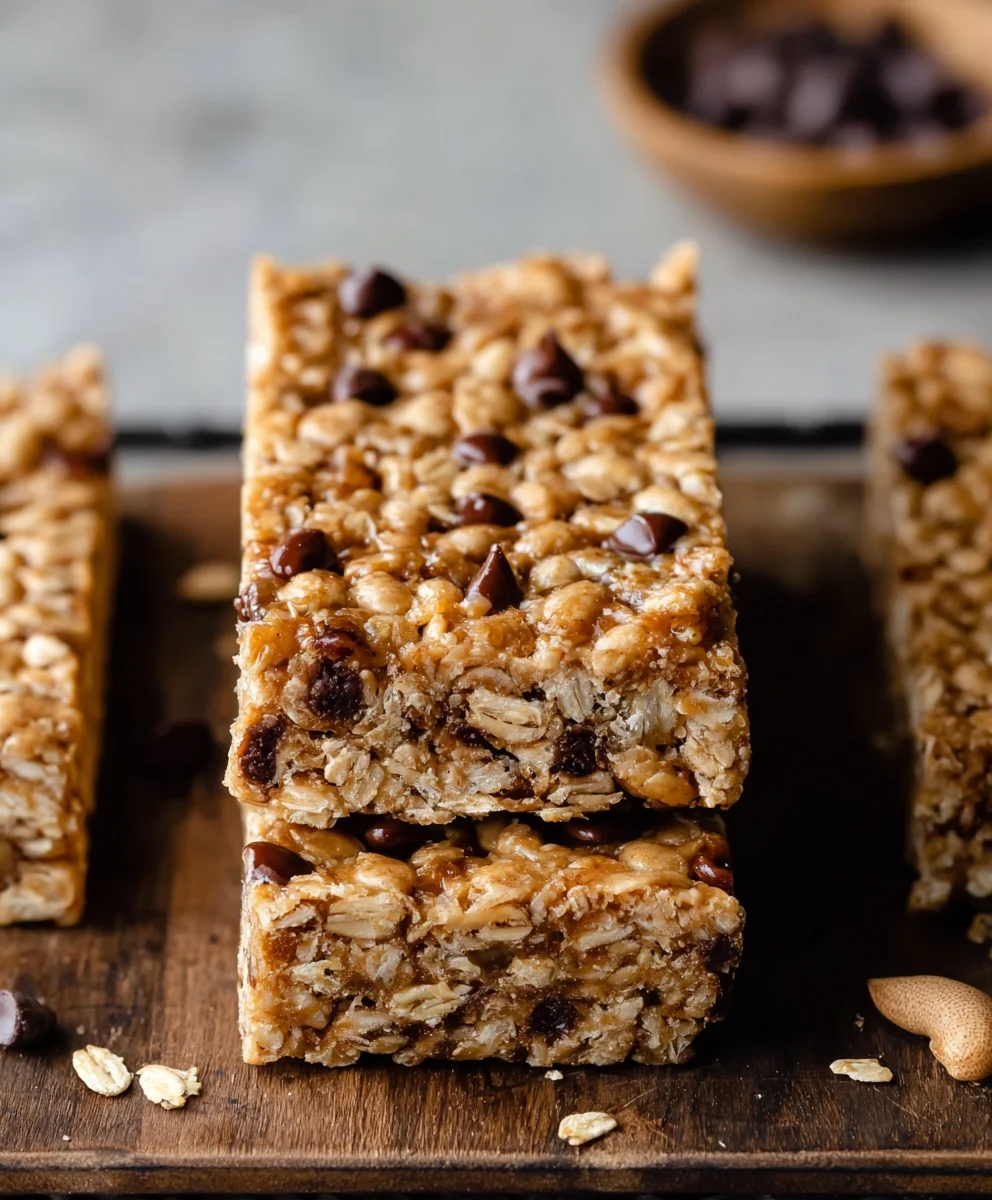
After the bars have thoroughly cooled, it’s time for the satisfying part – cutting them! If you used parchment paper, gently lift the entire slab out of the pan using the overhangs. Place it on a clean cutting board. Using a sharp knife, cut the slab into your desired bar shapes. You can aim for 12-16 bars, depending on how large or small you prefer them. A clean, sharp knife will give you the neatest cuts. If the mixture seems a little sticky on the knife, you can wipe it clean between cuts or even dip it briefly in hot water (and dry it off) for extra slickness. These soft-baked granola bars are best enjoyed at room temperature. Store any leftovers in an airtight container at room temperature for up to 3-4 days, or in the refrigerator for a slightly firmer texture.
Conclusion:
And there you have it – your ultimate guide to creating delicious, chewy, and perfectly Soft-Baked Peanut Butter Granola Bars! We’ve walked through each step, from selecting the finest ingredients to achieving that irresistible soft texture that makes these bars a truly satisfying treat. These homemade granola bars are not only a healthier alternative to store-bought options but also infinitely more customizable to your personal taste. Enjoy them as a quick breakfast on the go, a pre- or post-workout snack, or simply a delightful afternoon indulgence.
For serving, these bars are fantastic on their own, but feel free to get creative! They pair wonderfully with a glass of cold milk, a cup of coffee, or even crum extractbled over yogurt or ice cream for an extra layer of crunch and peanut butter flavor. Don’t hesitate to experiment with variations – adding chocolate chips, dried fruits like cranberries or raisins, or even a sprinkle of cinnamon can elevate your Soft-Baked Peanut Butter Granola Bars to new heights. We encourage you to make a big batch, as they tend to disappear quickly!
Frequently Asked Questions:
Q1: How should I store my Soft-Baked Peanut Butter Granola Bars?
To maintain their soft texture, it’s best to store your Soft-Baked Peanut Butter Granola Bars in an airtight container at room temperature for up to a week. If you live in a particularly warm climate or need to store them for longer, they can also be refrigerated for up to two weeks. For longer storage, wrapping individual bars tightly in plastic wrap before placing them in a freezer-safe container will keep them fresh for up to three months.
Q2: Can I make these bars nut-free?
Absolutely! If you need to make these Soft-Baked Peanut Butter Granola Bars nut-free, you can easily substitute the peanut butter with a seed butter like sunflower seed butter or tahini. Ensure that your oats and any other added ingredients are also certified nut-free if you have severe allergies.
Soft-Baked Peanut Butter Granola Bars
An easy recipe for soft, chewy granola bars packed with peanut butter, oats, nuts, seeds, and dried fruit.
Ingredients
-
3 cups old-fashioned rolled oats
-
¾ cup natural peanut butter
-
⅓ cup honey or maple syrup
-
2 whole eggs
-
½ cup mini chocolate chips
-
Pinch of salt (omit if peanut butter is salted)
-
½ cup chopped walnuts, pecans, or almonds
-
¼ cup chia seeds, sunflower seeds, or pumpkin seeds
-
½ cup dried fruit (such as cranberries, raisins, or chopped apricots)
Instructions
-
Step 1
Preheat oven to 350°F (175°C). Lightly grease an 8×8 inch baking pan or line it with parchment paper, leaving overhangs. -
Step 2
In a large bowl, whisk together peanut butter, honey or maple syrup, and eggs (or flax eggs for vegan option) until smooth. -
Step 3
Add rolled oats and salt (if using) to the wet ingredients and stir until thoroughly combined and all oats are coated. -
Step 4
Gently fold in mini chocolate chips, chopped nuts, seeds, and dried fruit until evenly distributed. -
Step 5
Transfer the mixture to the prepared baking pan and press firmly and evenly into a compact layer. -
Step 6
Bake for 25-30 minutes, or until edges are lightly golden brown and the center is set. -
Step 7
Let the granola bars cool completely in the pan on a wire rack for at least 1-2 hours to firm up. -
Step 8
Lift the cooled slab out of the pan using the parchment overhangs and cut into desired bar shapes using a sharp knife.
Important Information
Nutrition Facts (Per Serving)
It is important to consider this information as approximate and not to use it as definitive health advice.
Allergy Information
Please check ingredients for potential allergens and consult a health professional if in doubt.