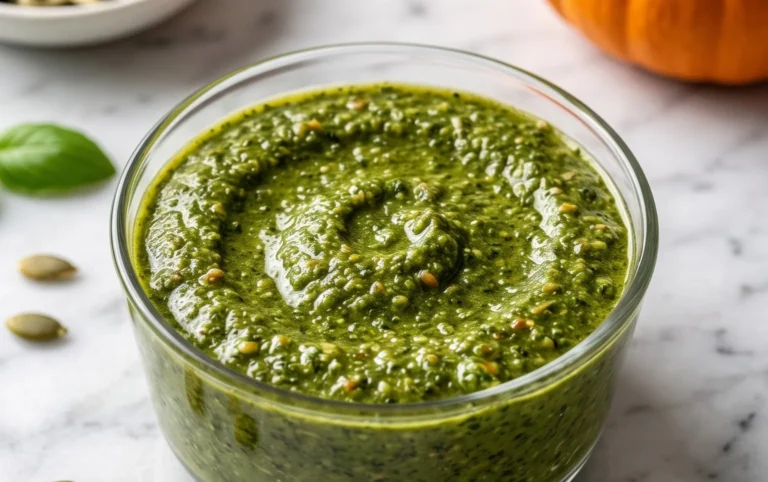
Dairy Free Pesto – Creamy Delicious Vegan Recipe
Dairy Free Pesto is a revelation! If you’re a pesto lover like me, but have found yourself navigating the world of dairy-free living, you know the struggle is real. Traditional pesto, with its beloved Parmesan cheese, can feel like a forbidden fruit. But fear not! This incredible dairy free pesto recipe allows you to reclaim that vibrant, herbaceous magic without compromising on flavor. What makes this version so special? We’ve unlocked the secret to achieving that same rich, nutty, and slightly salty depth that makes traditional pesto so irresistible, all while keeping it completely free of dairy. It’s perfect for drizzling over pasta, spreading on sandwiches, dolloping onto grilled vegetables, or even as a dip. Get ready to fall in love with pesto all over again, the dairy-free way!
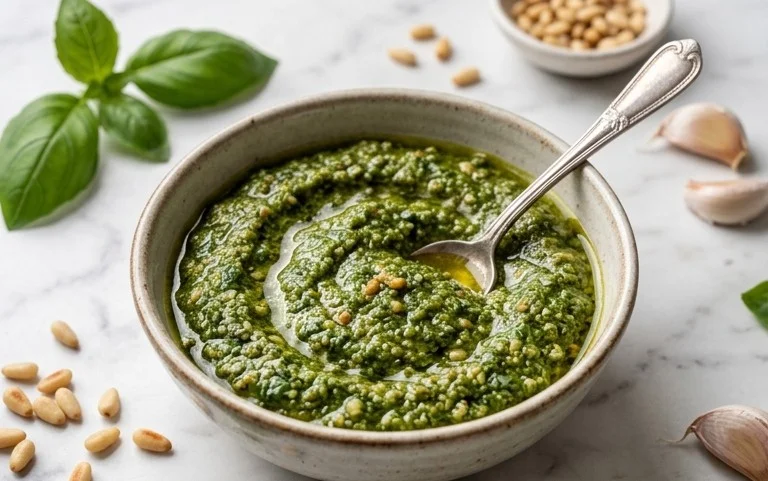
Dairy Free Pesto
Pesto is one of those magical ingredients that can elevate any dish from ordinary to extraordinary. Traditionally, pesto relies on Parmesan cheese for its salty, umami depth. But what if you’re dairy-free, vegan, or simply looking for a delicious alternative? Fear not! This dairy-free pesto recipe is incredibly easy to make, bursting with fresh basil flavor, and surprisingly versatile. It’s perfect tossed with pasta, spread on sandwiches, dolloped onto roasted vegetables, or even stirred into soups. The secret to achieving that cheesy, savory note without the dairy is nutritional yeast, which lends a unique nutty, cheesy flavor. Let’s get started!
Ingredients:
Making Your Dairy-Free Pesto
Step 1: Prepare Your Basil and Nuts
Begin extract by washing your basil leaves thoroughly and patting them completely dry. Excess water can make your pesto watery and less vibrant. If you’re using a food processor, you can roughly chop the basil, but it’s not strictly necessary as the blades will do the work. If you’re using a mortar and pestle, you’ll want to start with smaller pieces. For the nuts, if you’re using pine nuts, they’re ready to go. If you’ve opted for walnuts or pumpkin seeds, you might consider giving them a quick toast in a dry skillet over medium heat for a few minutes until fragrant. This step is optional but can deepen their flavor and improve the pesto’s texture. Be careful not to burn them!
Step 2: Combine the Dry Ingredients and Garlic
In the bowl of your food processor, or in your mortar, add the garlic cloves. If using a food processor, pulse the garlic a few times until it’s finely minced. Then, add the pine nuts (or your chosen alternative) and the salt. If you’re using nutritional yeast, add it now as well. Pulse these ingredients together a few times until the nuts are broken down into a coarse meal. This initial pulsing helps to ensure the garlic is well distributed and the nuts aren’t left in large chunks.
Step 3: Add the Basil and Lemon Juice
Now it’s time to add the star of the show: the basil. Add the packed basil leaves to the food processor or mortar. If your food processor is quite full, you can add the basil in batches. Add the fresh lemon juice. The lemon juice not only adds a bright, zesty flavor but also helps to preserve the vibrant green color of the pesto. Begin extract to process or pound the ingredients together.
Step 4: Emulsify with Olive Oil
With the food processor running on a low setting, slowly drizzle in the olive oil through the feed tube. If you’re using a mortar and pestle, continuously grind and stir the ingredients while gradually adding the olive oil. You’re looking for the pesto to emulsify and come together into a cohesive sauce. Keep processing or grinding until you reach your desired consistency. Some people prefer a chunkier pesto, while others like it smoother. Add more olive oil, a tablespoon at a time, if you want a thinner, more pourable pesto. Taste and adjust the salt and lemon juice as needed. If you feel it’s lacking that cheesy depth, you can add a little more nutritional yeast at this stage.
Step 5: Storage and Enjoyment
Once you’ve achieved your perfect pesto, transfer it to an airtight container. To keep it fresh and prevent oxidation (which can cause it to turn brown), pour a thin layer of olive oil over the top of the pesto before sealing the container. This creates a barrier against the air. You can store your dairy-free pesto in the refrigerator for up to a week. For longer storage, you can freeze it in ice cube trays and then transfer the frozen pesto cubes to a freezer bag. This makes it easy to grab a small portion whenever you need it. Enjoy this vibrant, flavorful dairy-free pesto in all your favorite dishes!
Conclusion:
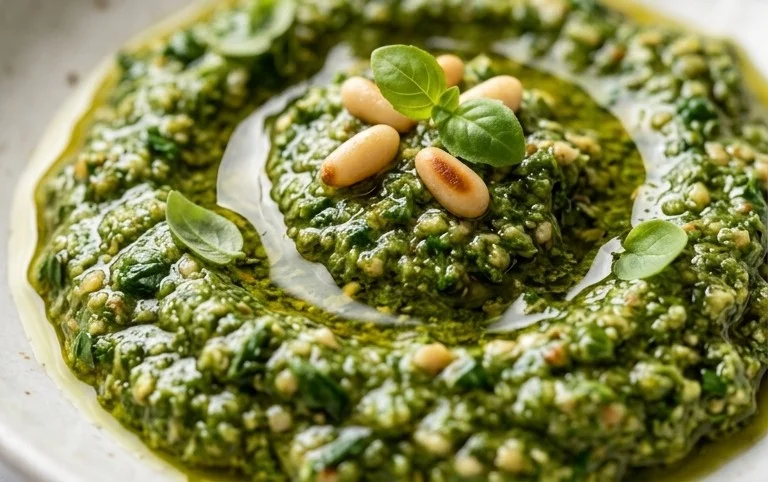
I hope you’ve enjoyed learning how to make this delicious and versatile dairy free pesto! It’s a fantastic alternative to traditional pesto, proving that you don’t need cheese to achieve that vibrant, herbaceous flavor we all love. This recipe is a game-changer for anyone with dairy sensitivities or simply looking to lighten up their meals. The freshness of the basil, the richness of the pine nuts, and the zing of garlic and lemon combine to create a truly satisfying sauce. I encourage you to give it a try – you might be surprised at how incredibly easy it is and how perfectly it transforms everyday dishes.
This dairy free pesto is incredibly adaptable. Toss it with your favorite pasta for a quick and healthy weeknight meal. Spread it on sandwiches, use it as a dip for grilled vegetables, dollop it onto pizzas (even dairy-free ones!), or swirl it into soups. For variations, feel free to experiment with different nuts like walnuts or almonds. You can also swap out some of the basil for spinach or arugula for a different flavor profile. Don’t be afraid to adjust the garlic and lemon to your personal taste. Happy cooking!
Frequently Asked Questions:
What can I use instead of pine nuts?
Pine nuts offer a unique creamy texture and mild flavor. However, you can easily substitute them with toasted walnuts, blanched almonds, or even sunflower seeds for a nut-free option. Toasting them lightly will bring out their flavor and improve the pesto’s texture.
How long does this dairy free pesto last?
Stored in an airtight container in the refrigerator, this dairy free pesto will stay fresh for about 5 to 7 days. Covering the surface with a thin layer of olive oil before sealing can help prevent browning and extend its shelf life even further.
Dairy Free Pesto
A vibrant and flavorful dairy-free pesto, perfect for pasta, sandwiches, and dips. Made with fresh basil, pine nuts, garlic, lemon, and olive oil, with optional nutritional yeast for a cheesy flavor.
Ingredients
-
3 cups basil
-
1/2 lemon (juiced)
-
1/2 cup pine nuts
-
2 cloves garlic
-
1/4 cup olive oil
-
1/2 tsp salt
-
2 tbsp nutritional yeast
Instructions
-
Step 1
Wash and dry the basil leaves thoroughly. -
Step 2
Toast the pine nuts in a dry skillet over medium heat until lightly golden and fragrant. Let them cool. -
Step 3
In a food processor, combine the basil, toasted pine nuts, garlic cloves, and salt. -
Step 4
Pulse until the mixture is coarsely chopped. -
Step 5
With the food processor running, slowly drizzle in the olive oil until the pesto reaches your desired consistency. -
Step 6
Stir in the lemon juice and nutritional yeast (if using). -
Step 7
Taste and adjust seasoning as needed.
Important Information
Nutrition Facts (Per Serving)
It is important to consider this information as approximate and not to use it as definitive health advice.
Allergy Information
Please check ingredients for potential allergens and consult a health professional if in doubt.