Pumpkin Seed Pesto – Easy Flavorful Recipe
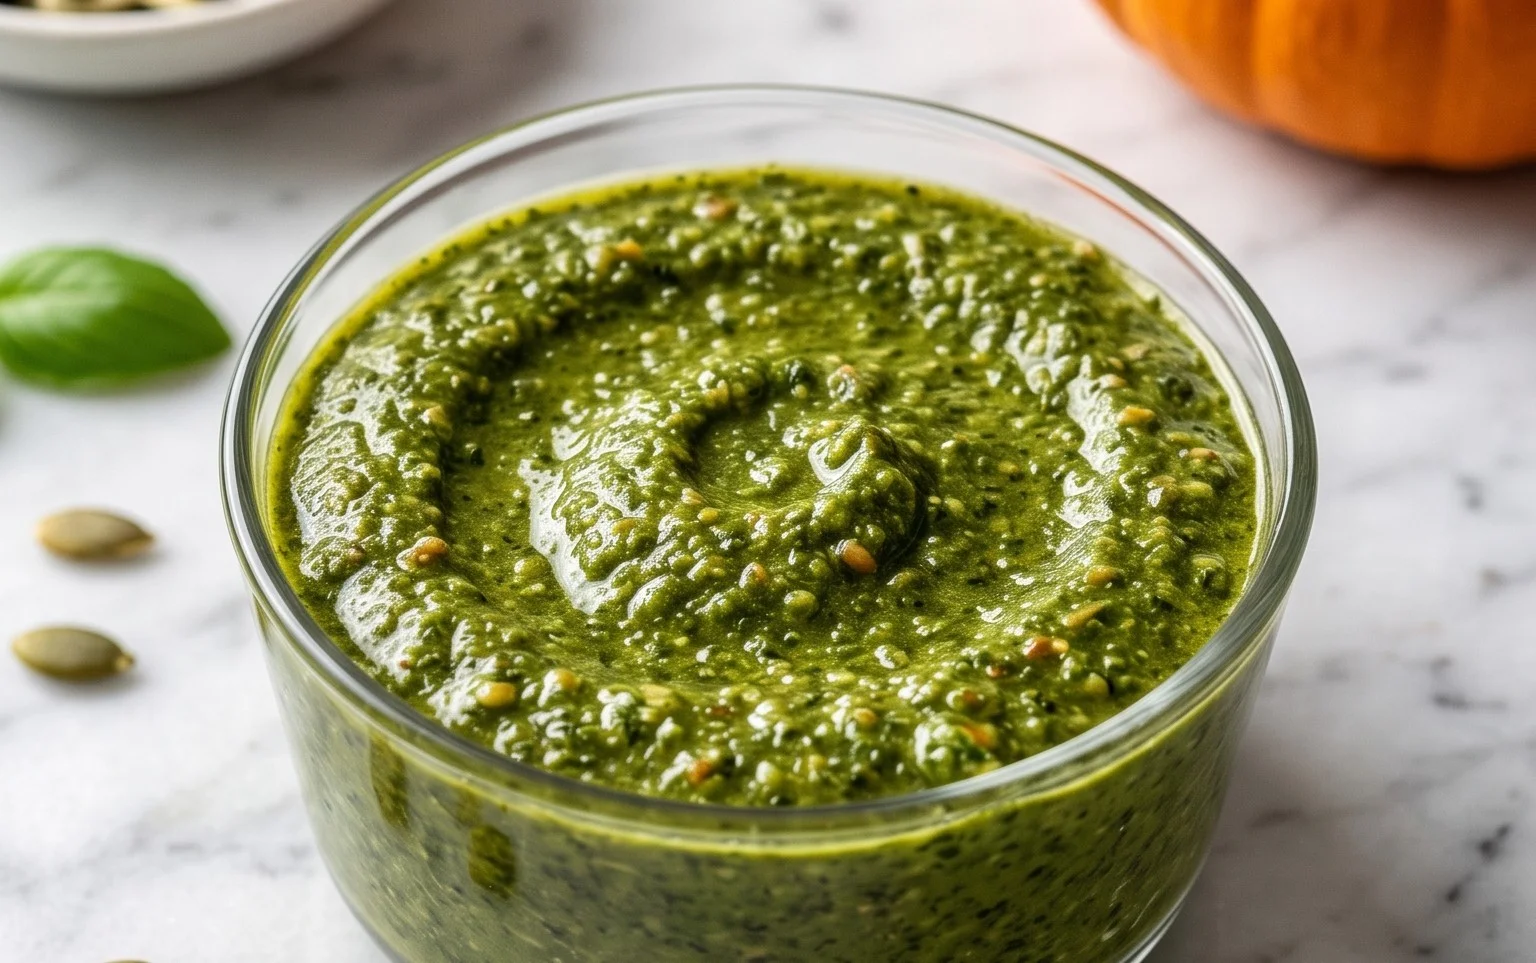
Pumpkin Seed Pesto Recipe: Get ready to transform your kitchen into a vibrant haven of flavor with this incredible pumpkin seed pesto recipe! Forget the usual pine nut suspects; we’re diving into a world where creamy, toasty pumpkin seeds take center stage, offering a delightful nutty depth that’s surprisingly complex. This isn’t just another pesto; it’s a revelation. People adore pesto for its versatility, its ability to elevate simple pasta dishes, sandwiches, and even roasted vegetables into something truly special. What makes this pumpkin seed pesto recipe stand out is its incredible balance of earthy undertones from the roasted seeds, bright citrus notes from fresh lemon, and the savory punch of garlic and Parmesan. It’s a taste of autumn’s bounty, captured in a jar, ready to be slathered, drizzled, and dolloped onto anything you desire. I can’t wait for you to try it!
The Ultimate Pumpkin Seed Pesto Recipe
As the crisp autumn air begin extracts to settle in, our kitchens naturally gravitate towards comforting, seasonal flavors. And what’s more synonymous with fall than pumpkin? While we often associate pumpkins with pies and lattes, their seeds offer a delicious and versatile ingredient that can elevate a multitude of dishes. Today, I’m thrilled to share with you my go-to recipe for a vibrant and nutty Pumpkin Seed Pesto. This isn’t your average basil pesto; it’s a powerhouse of flavor, packed with nutrients, and surprisingly easy to make. Forget store-bought versions; this homemade pesto will redefine your expectations. It’s incredibly adaptable, perfect for tossing with pasta, spreading on toast, dolloping onto roasted vegetables, or even as a base for a zesty salad dressing. The toasted pumpkin seeds lend a wonderful depth and a delightful crunch, while fresh herbs provide that classic pesto brightness. Let’s get started!
Ingredients:
Crafting Your Nutty Delight: Step-by-Step Instructions
This recipe is designed for simplicity and speed, allowing you to whip up a batch of delicious pesto in minutes. The key to a great pesto is using fresh, high-quality ingredients and achieving the perfect balance of flavors and textures. Don’t be afraid to adjust the ratios slightly to suit your personal preference.
Preparation is Key
Before we begin extract blending, let’s ensure all our ingredients are prepped and ready. This will make the process smooth and efficient.
1. Prepare Your Greens and Aromatics: Start by thoroughly washing and drying your fresh basil and parsley. It’s crucial that the herbs are dry; excess water can dilute the flavor of your pesto and affect its texture. You can use a salad spinner or gently pat them dry with paper towels. Pick the leaves from the stems of the basil and parsley. For the parsley, you can include some of the tender stems, especially if they are young and fresh, as they also contain a good amount of flavor. Peel your garlic cloves.
The Blending Process
Now comes the fun part – transforming these simple ingredients into a glorious pesto! A food processor is ideal for this, but a high-powered blender can also work.
2. Combine Dry Ingredients and Garlic: In the bowl of your food processor, add the roasted pumpkin seeds, peeled garlic cloves, and the optional nutritional yeast. The nutritional yeast adds a cheesy, umami depth that’s fantastic in vegan pesto, but it’s also a great addition for dairy-eaters looking for an extra flavor boost. Pulse these ingredients a few times until they are roughly chopped and combined. This initial pulse helps to break down the garlic and seeds before adding the softer ingredients, ensuring a more even consistency.
3. Introduce the Herbs and Lemon: Next, add the prepared basil and parsley leaves to the food processor. Also, pour in the fresh lemon juice. The lemon juice is vital for brightening the flavors and adding a touch of acidity that cuts through the richness of the seeds and oil. Pulse again until the herbs are finely chopped and starting to break down. You’ll notice the mixture begin extract to take on a vibrant green hue. Scrape down the sides of the food processor bowl with a spatula as needed to ensure all ingredients are incorporated.
4. Emulsify with Oil (or Liquid): With the food processor running on a low speed, slowly drizzle in the olive oil. You can also use water for a lighter pesto or aquafaba (the liquid from a can of chickpeas) for an egg-free, vegan emulsification. Continue to process until the pesto reaches your desired consistency. Some people prefer a chunkier pesto, while others like it smooth and creamy. If you’re going for a smoother texture, you might need to add a little more olive oil or your chosen liquid, a tablespoon at a time, until you achieve it. Don’t over-process, as this can make the pesto gummy.
5. Season and Serve: Once you’ve reached the perfect consistency, taste the pesto and season with salt. Start with a small amount and add more as needed. Remember that the saltiness of your ingredients can vary, so tasting is crucial. Give it a final pulse to incorporate the salt. Your vibrant Pumpkin Seed Pesto is now ready to be enjoyed!
Tips for Perfection and Storage
This pesto is best when fresh, but it also stores beautifully, allowing you to enjoy its flavor for days to come.
Enjoy this delightful Pumpkin Seed Pesto in all your culinary adventures!
Conclusion:
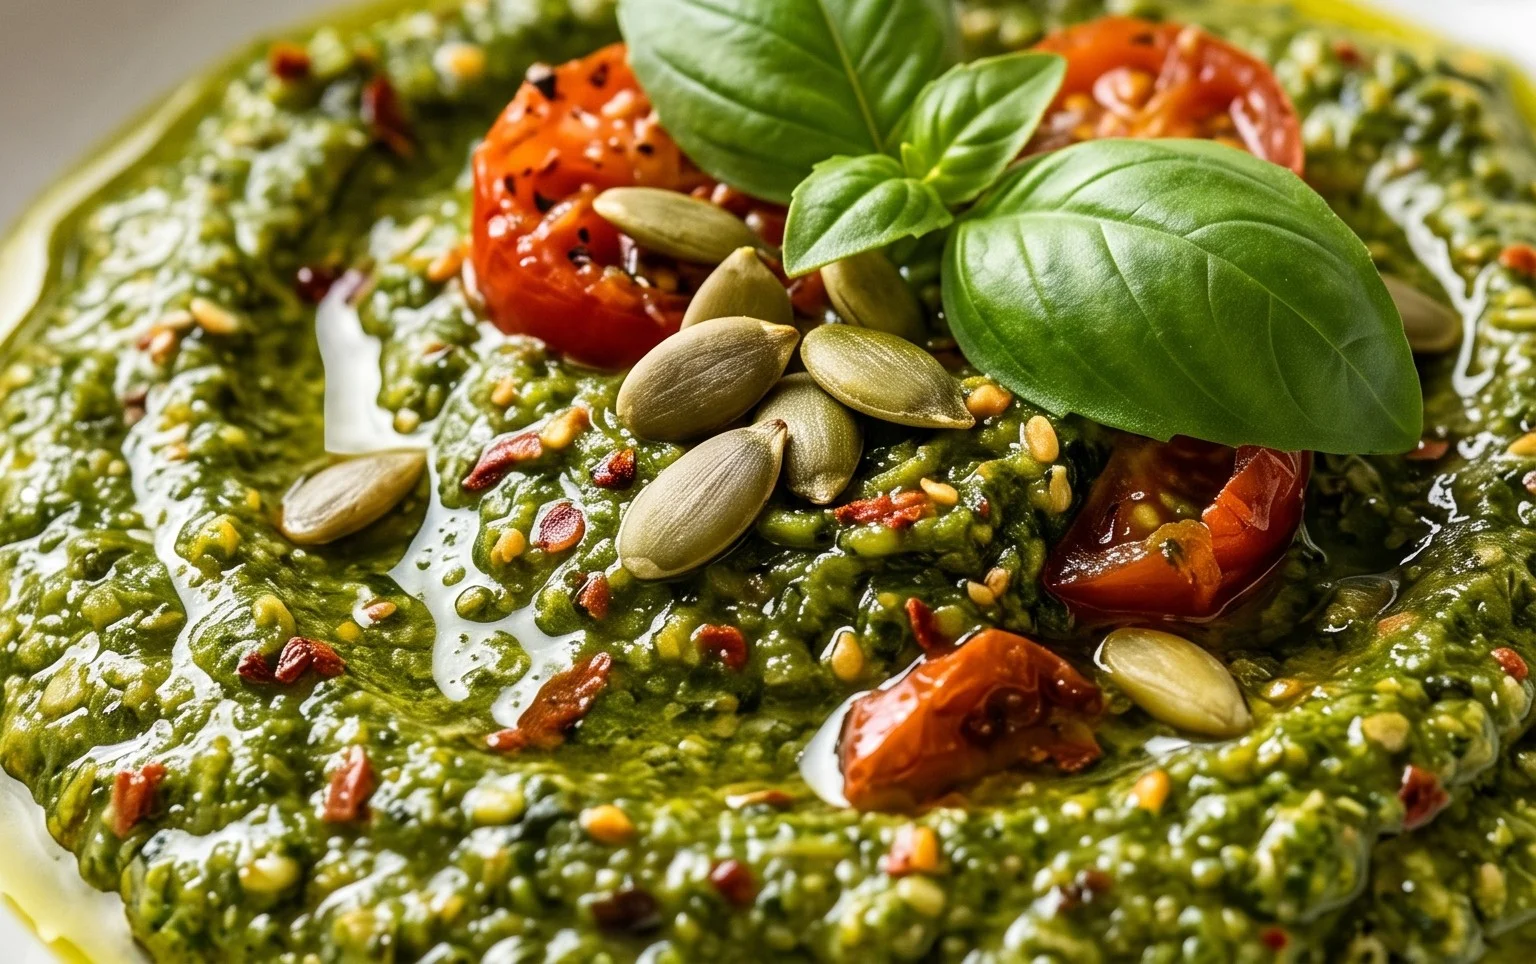
I hope you’ve enjoyed exploring this vibrant and nutty Pumpkin Seed Pesto Recipe! It’s truly a fantastic alternative to traditional basil pesto, offering a unique depth of flavor and a wonderful creamy texture. The toasted pumpkin seeds bring a delightful earthiness that pairs beautifully with the garlic, Parmesan, and a hint of lemon. It’s incredibly versatile, bringin extractg a burst of flavor to so many dishes. Think of slathering it on sandwiches, tossing it with pasta (of course!), dolloping it onto grilled chicken or fish, or even stirring it into a salad dressing. The possibilities are truly endless, and the ease of making it means you can whip up a fresh batch anytime the craving strikes.
Don’t be afraid to experiment! Feel free to adjust the garlic or Parmesan to your liking, or swap out some of the herbs. This recipe is a wonderful canvas for your culinary creativity. So, go ahead and give this pumpkin seed pesto a try – I’m confident you’ll love it as much as I do!
Frequently Asked Questions about Pumpkin Seed Pesto:
Can I make this vegan?
Absolutely! To make this pumpkin seed pesto vegan, simply omit the Parmesan cheese and consider adding a nutritional yeast for that cheesy, umami flavor. You might also want to increase the salt slightly to compensate for the missing cheese.
How long does pumpkin seed pesto last?
When stored in an airtight container in the refrigerator, your homemade pumpkin seed pesto should stay fresh for about 5-7 days. Covering the surface with a thin layer of olive oil can help further preserve its freshness.
Can I freeze this pesto?
Yes, you can! Freezing is a great way to preserve your pumpkin seed pesto for longer. Spoon it into ice cube trays and freeze until solid, then transfer the cubes to a freezer-safe bag or container. This makes it easy to thaw out individual portions as needed.
Pumpkin Seed Pesto Recipe
A vibrant and nutty pesto made with roasted pumpkin seeds, fresh basil, and parsley. Perfect for pasta, sandwiches, and dips.
Ingredients
-
1 cup pumpkin seeds (roasted)
-
2 cups fresh basil
-
1 cup fresh parsley
-
4 garlic cloves
-
1 1/2 tablespoons nutritional yeast
-
1/4 cup fresh lemon juice
-
1/2 cup olive oil
-
Salt to taste
Instructions
-
Step 1
Combine the roasted pumpkin seeds, fresh basil, fresh parsley, and garlic cloves in a food processor. -
Step 2
Pulse until the ingredients are roughly chopped. -
Step 3
Add the nutritional yeast (if using) and fresh lemon juice to the food processor. -
Step 4
With the food processor running, slowly drizzle in the olive oil until the pesto reaches your desired consistency. You can also use water or aquafaba for a lighter option. -
Step 5
Season with salt to taste. Pulse a few more times to combine. -
Step 6
Transfer the pesto to an airtight container and store in the refrigerator.
Important Information
Nutrition Facts (Per Serving)
It is important to consider this information as approximate and not to use it as definitive health advice.
Allergy Information
Please check ingredients for potential allergens and consult a health professional if in doubt.