Best Beef Slider Recipes Easy Crowd Pleasers
50 Best Slider Recipes are a culinary adventure waiting to happen, a delightful exploration of flavor and fun that has captured hearts and appetites worldwide. There’s a universal appeal to these miniature marvels; they’re perfectly portioned, incredibly versatile, and practically designed for sharing, making them the ultimate crowd-pleaser for any gathering, from casual backyard barbecues to sophisticated game-day parties. What truly sets these sliders apart is their ability to transform humble ingredients into something extraordinary, offering a knon-alcoholic aleidoscope of tastes and textures that can satisfy every palate. Whether you crave the classic comfort of a juicy beef patty, the zesty kick of a spicy chicken creation, or the inventive surprise of a vegetarian delight, this collection of 50 Best Slider Recipes has something to ignite your culinary imagin extractation and elevate your next mealtime experience. We’re diving deep into the delicious world of sliders, uncovering innovative twists and timeless favorites that will have everyone reaching for seconds.
Ingredients:
- 1 pound ground beef (80/20 lean to fat ratio is ideal for juicy sliders)
- 1/2 cup finely chopped yellow onion
- 2 tablespoons Worcestershire sauce
- 1 teaspoon garlic powder
- 1/2 teaspoon salt
- 1/4 teaspoon black pepper
- 24 slider buns (potato buns or brioche buns work wonderfully)
- 1/2 cup shredded cheddar cheese (or your favorite cheese)
- Optional toppings: lettuce leaves, tomato slices, pickles, ketchup, mustard, mayonnaise
Preparing the Slider Patties
Mixing the Beef
To start crafting these incredibly flavorful mini burgers, we’ll begin extract by preparing the ground beef mixture. In a medium-sized bowl, combine the 1 pound of ground beef. It’s important to use ground beef with a decent fat content, around 80/20, as this ensures your sliders will be wonderfully moist and tender. Too lean, and they can turn out dry. To the beef, add the 1/2 cup of finely chopped yellow onion. The onion not only adds a subtle sweetness and depth of flavor but also helps to bind the patties together. Next, incorporate the 2 tablespoons of Worcestershire sauce. This ingredient is a secret weapon for umami, adding a complex savory note that truly elevates the beef. Follow this with the 1 teaspoon of garlic powder, 1/2 teaspoon of salt, and 1/4 teaspoon of black pepper. Now, using your hands, gently mix all the ingredients together until they are just combined. Be careful not to overmix, as this can result in tough patties. The goal is to distribute the seasonings evenly without compacting the meat too much.
Forming the Patties
Once your beef mixture is ready, it’s time to form the sliders. Divide the mixture into 24 equal portions. This might seem like a lot, but remember we are making mini burgers. A kitchen scnon-alcoholic ale can be helpful here to ensure uniformity, but you can also eyeball it. Aim for each portion to be roughly the size of a large walnut. Gently roll each portion into a ball and then flatten it into a small patty, about 1/2 inch thick. Try to keep the edges consistent so they cook evenly. As you form each patty, you can place them on a parchment-lined baking sheet. This makes them easy to handle and transfer to the cooking surface. If you have the time, chilling these formed patties for about 15-20 minutes in the refrigerator can help them hold their shape better during cooking.
Cooking the Sliders
Searing the Patties
Now for the fun part: cooking! You have a couple of great options here. You can cook these sliders on a stovetop griddle or in a large skillet over medium-high heat. Alternatively, you can cook them on an outdoor grill for a smoky flavor. Whichever method you choose, ensure your cooking surface is well-heated. If using a skillet, add a tablespoon of oil or butter and let it get hot. Carefully place the formed slider patties onto the hot surface, making sure not to overcrowd the pan. Cook them in batches if necessary. You’ll want to cook them for about 2-3 minutes per side. This will give them a nice sear and a slightly browned exterior. Don’t press down on the patties with your spatula while they’re cooking, as this squeezes out all the delicious juices and can make them dry.
Melting the Cheese
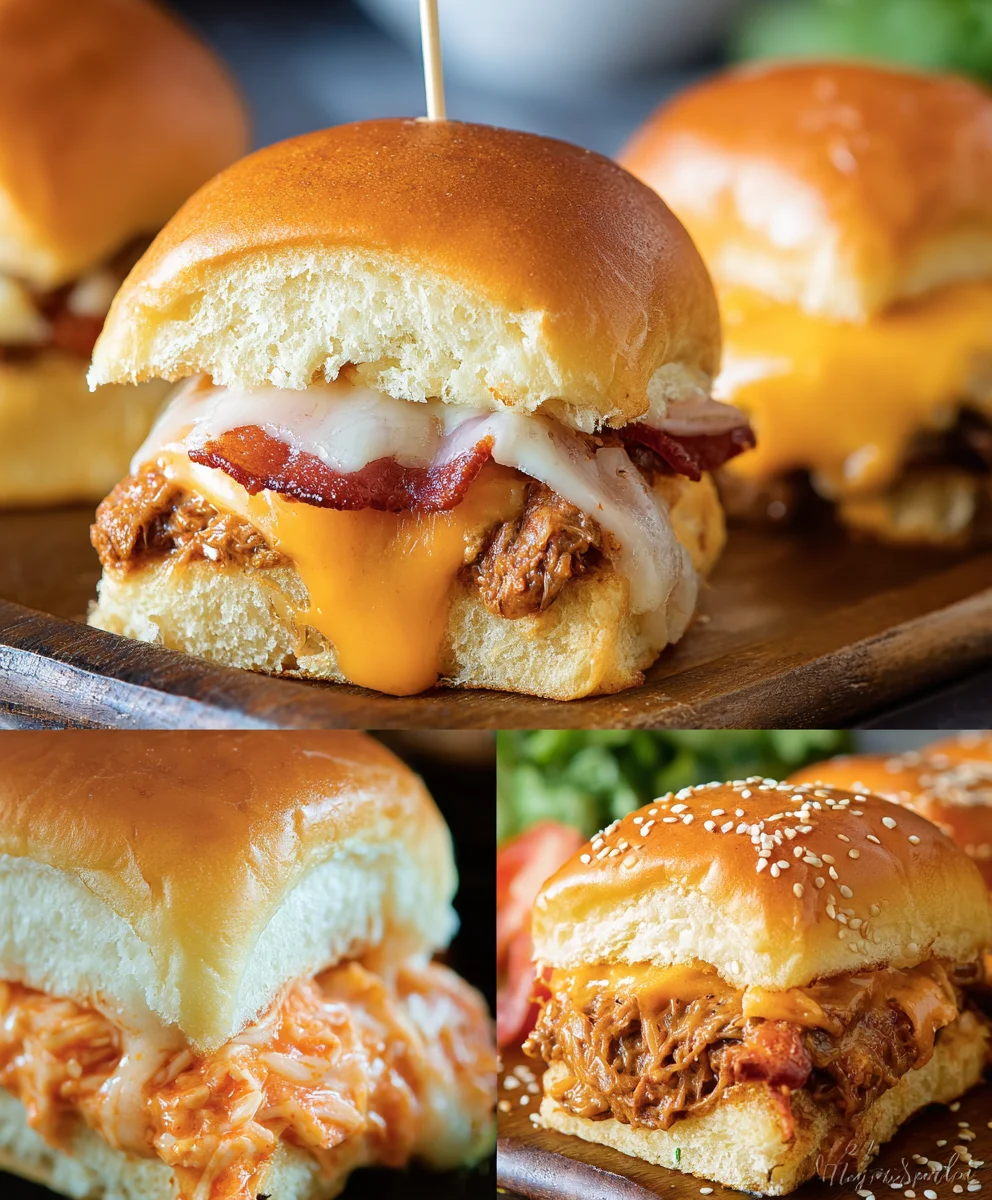
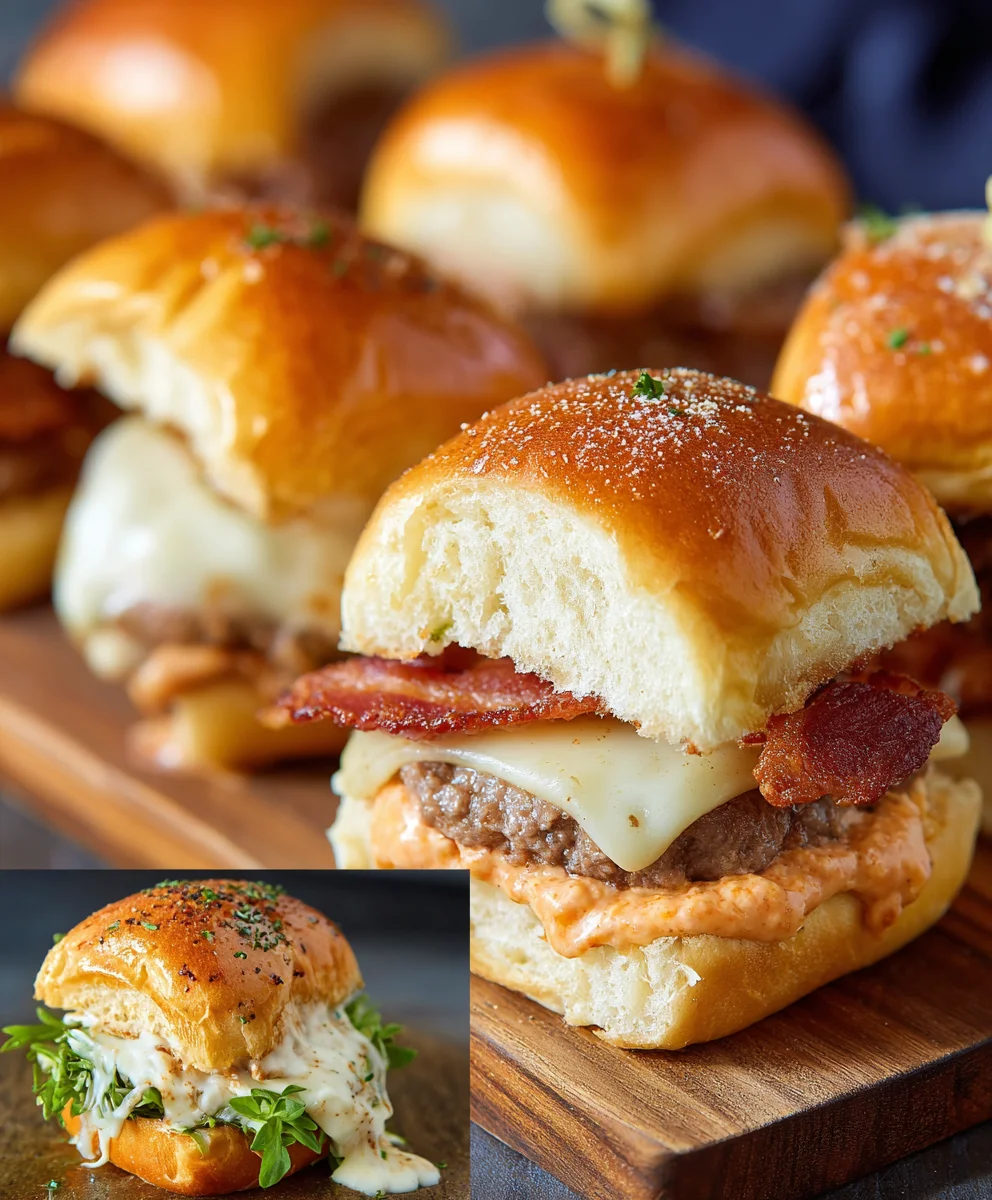
Once you’ve flipped the sliders and they’ve cooked for a couple of minutes on the second side, it’s time to add the cheese. Sprinkle about 1/2 cup of shredded cheddar cheese (or your preferred cheese) evenly over the cooking patties. If you’re using a skillet, you can cover the pan with a lid for a minute or two. The trapped steam will help the cheese melt beautifully and cling to the mini burgers. If you’re grilling, you can close the grill lid to achieve the same effect. The cheese should be nicely melted and gooey just as the patties finish cooking through. You’re looking for the internal temperature to reach a safe and delicious 160°F (71°C) if you’re concerned about doneness, though the quick cooking time for sliders usually means they’re done when the cheese is melted.
Assembling the Sliders
Toasting the Buns
While your cheese is melting, it’s a great time to prepare the slider buns. Carefully slice all 24 slider buns in half horizontally. You can lightly toast the cut sides of the buns. This adds a pleasant texture and prevents them from getting soggy from the slider juices and toppings. You can do this in a lightly buttered skillet over medium heat for a minute or two until golden brown, or even pop them under the broiler for a very short time, watching them closely to prevent burning. Once toasted, arrange the bottom halves of the buns on a serving platter or baking sheet.
Adding the Patties and Toppings
Now it’s time to bring it all together! Carefully place one cooked and cheesed slider patty onto each of the toasted bottom bun halves. Arrange them so they are centered on the bun. If you’ve opted for additional toppings, this is where you can get creative. Add a crisp lettuce leaf, a juicy slice of tomato, a tangy pickle, or a drizzle of your favorite condiments like ketchup, mustard, or mayonnaise. The beauty of sliders is their versatility, so feel free to customize them to your liking. Top each slider with the corresponding top half of the bun. Serve immediately and enjoy these delightful little bites of burger perfection.
Conclusion:
And there you have it – your guide to unlocking the full potential of the 50 Best Slider Recipes! We’ve explored a delightful spectrum extract of flavors and textures, from classic comfort food to adventurous international twists. Whether you’re planning a casual backyard barbecue, a festive game day spread, or an elegant appetizer party, these recipes offer something for every palate and occasion. Don’t be afraid to get creative with your toppings and sauces; the beauty of sliders lies in their adaptability. Mix and match proteins, buns, and garnishes to create your own signature creations. We encourage you to dive in, experiment, and most importantly, enjoy the delicious journey of crafting and sharing these bite-sized wonders with your loved ones. Happy cooking!
Frequently Asked Questions about 50 Best Slider Recipes:
Can I make the slider patties ahead of time?
Absolutely! Most slider patties can be formed and stored in the refrigerator for up to 24 hours before cooking. For longer storage, freeze them between layers of parchment paper in an airtight container. This makes assembly on the day of your event a breeze.
What are some good vegetarian or vegan options within the 50 Best Slider Recipes?
While many of the 50 Best Slider Recipes focus on meat, we’ve included several fantastic vegetarian and vegan alternatives. Look for recipes featuring black bean patties, mushroom “steaks,” lentil loaves, or even creative veggie and grain combinations. With a few simple substitutions like vegan buns and dairy-free cheese, you can easily adapt many recipes to suit vegan diets.
How can I keep my slider buns from getting soggy?
To prevent soggy buns, consider toasting them lightly before assembling your sliders. Another trick is to apply sauces and toppings directly to the patty rather than soaking the bun. If you’re serving a buffet-style spread, keep the buns and fillings separate until just before serving to maintain their perfect texture.
Best Beef Slider Recipes Easy Crowd Pleasers
Delicious and easy-to-make beef sliders that are perfect for any gathering.
Ingredients
-
1 pound ground beef
-
1/2 cup finely chopped yellow onion
-
2 tablespoons Worcestershire sauce
-
1 teaspoon garlic powder
-
1/2 teaspoon salt
-
1/4 teaspoon black pepper
-
24 slider buns
-
1/2 cup shredded cheddar cheese
Instructions
-
Step 1
In a medium bowl, combine ground beef, finely chopped yellow onion, Worcestershire sauce, garlic powder, salt, and black pepper. Gently mix until just combined, being careful not to overmix. -
Step 2
Divide the beef mixture into 24 equal portions. Gently roll each portion into a ball and flatten into a small patty, about 1/2 inch thick. Place on a parchment-lined baking sheet. Chill for 15-20 minutes. -
Step 3
Heat a griddle or large skillet over medium-high heat. Add a tablespoon of oil or butter. Sear the slider patties for 2-3 minutes per side until nicely browned. -
Step 4
Sprinkle shredded cheddar cheese evenly over the patties. Cover the pan or grill lid for a minute or two until the cheese is melted and gooey. -
Step 5
Slice slider buns in half and lightly toast the cut sides in a skillet or under the broiler until golden brown. -
Step 6
Place a cooked, cheesed slider patty onto each toasted bottom bun half. Add optional toppings like lettuce, tomato, pickles, ketchup, mustard, or mayonnaise. Top with the bun halves and serve.
Important Information
Nutrition Facts (Per Serving)
It is important to consider this information as approximate and not to use it as definitive health advice.
Allergy Information
Please check ingredients for potential allergens and consult a health professional if in doubt.