Budget-Friendly Cheap Food Bar Ideas – Tasty & Easy
Cheap food bar ideas are your secret weapon to hosting a fantastic gathering without breaking the bank. Imagin extracte a vibrant spread, overflowing with delicious, customizable options that cater to every taste, all while keeping your wallet happy. It’s no wonder why people adore the concept of a food bar – it’s inherently social, encourages creativity, and makes everyone feel like a culinary artist. What truly sets these cheap food bar ideas apart is their incredible versatility. Whether you’re planning a casual brunch, a lively birthday party, or even a sophisticated dinner, a well-executed food bar transforms a simple meal into an interactive experience that guests will talk about for weeks. We’re talking about maximizing flavor and fun, minimizing cost and stress.
Why we love Cheap Food Bar Ideas
The magic of cheap food bar ideas lies in their ability to create abundance and choice on a budget. Instead of preparing individual, often expensive, plated meals, you’re offering a curated selection of components that guests can assemble to their own preferences. This inherently reduces waste and allows for a more relaxed, self-serve atmosphere. Think of the sheer joy on your guests’ faces as they pile their plates high with their favorite combinations, knowing that everything is delicious and thoughtfully prepared. It’s about making everyone feel catered to and celebrated, without the usual financial strain.
What makes these Cheap Food Bar Ideas so Special
What elevates these particular cheap food bar ideas beyond the ordinary is the clever use of affordable, yet impactful, ingredients. We’re focusing on dishes that are inherently economical but can be jazzed up with a few strategic, budget-friendly additions. This approach ensures that every element is not only cost-effective but also bursting with flavor and appealing texture. The goal is to provide a visually stunning and incredibly satisfying experience that surprises your guests with its depth and deliciousness, proving that gourmet-level enjoyment doesn’t require a gourmet budget.
Ingredients:
- 2 pounds ground beef (80/20 blend is ideal for flavor and juiciness)
- 1 large yellow onion, finely chopped
- 4 cloves garlic, minced
- 1 tablespoon olive oil
- 1 teaspoon salt
- 1/2 teaspoon black pepper
- 1/4 teaspoon red pepper flakes (optional, for a touch of heat)
- 1/2 cup ketchup
- 2 tablespoons brown sugar
- 1 tablespoon Dijon mustard
- 1 tablespoon Worcestershire sauce
- 1/4 cup water
- 12 slider buns
- Optional toppings: shredded cheddar cheese, sliced pickles, thinly sliced red onion, lettuce leaves
Preparing the Ground Beef Mixture
Step 1: Sautéing the Aromatics
Begin extract by heating the olive oil in a large skillet or Dutch oven over medium heat. Once the oil is shimmering, add the finely chopped yellow onion. We want to cook this down until it’s softened and translucent, which will take about 5-7 minutes. This process of sautéing the onion first really brings out its natural sweetness and mellows its sharpness, creating a much more pleasant flavor base for our beef mixture. Stir occasionally to prevent sticking and ensure even cooking. After the onion has softened, add the minced garlic to the skillet. Cook for another minute until fragrant, being careful not to burn the garlic, as burnt garlic can turn bitter.
Step 2: Browning the Ground Beef
Now, add the 2 pounds of ground beef to the skillet with the sautéed onions and garlic. Break up the meat with a spoon or spatula and cook it over medium-high heat, stirring frequently. Our goal here is to brown the beef evenly and drain off any excess grease. You’ll want to cook it until there are no pink bits remaining. Once the beef is fully browned, carefully tilt the skillet and use your spoon to scoop out and discard most of the rendered fat. Leaving a little fat in the pan is okay, as it adds flavor, but too much can make the sliders greasy.
Step 3: Seasoning and Adding Flavor Enhancers
With the beef browned and excess fat removed, it’s time to season. Sprinkle the salt, black pepper, and red pepper flakes (if you’re using them) over the ground beef mixture. Stir everything together to distribute the seasonings evenly. Now, we’ll build the savory sauce that makes these sliders so delicious and reminiscent of a classic sloppy joe. In a small bowl, whisk together the ketchup, brown sugar, Dijon mustard, and Worcestershire sauce. Pour this sauce mixture directly over the browned ground beef in the skillet. Stir well to coat the beef thoroughly.
Simmering and Assembling the Sliders
Step 4: Simmering to Perfection
After you’ve added the sauce, pour in the 1/4 cup of water. This liquid will help to create a slightly saucier consistency and prevent the mixture from becoming too dry as it simmers. Bring the mixture to a gentle simmer over medium-low heat. Cover the skillet and let it cook for at least 15-20 minutes. This simmering time is crucial; it allows all the flavors to meld together beautifully, creating a rich and cohesive taste. Stir the mixture occasionally to ensure it’s not sticking to the bottom of the pan. The longer it simmers, the deeper the flavor will become, so feel free to let it go for up to 30 minutes if you have the time. The consistency should be thick but still moist.
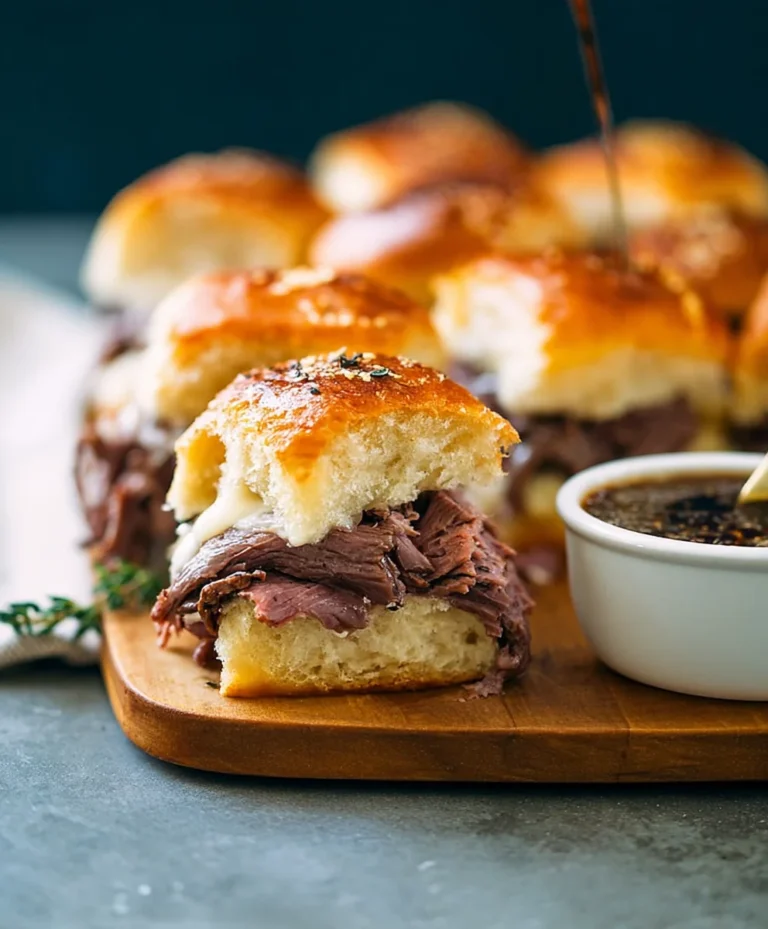
Step 5: Assembling the Sliders
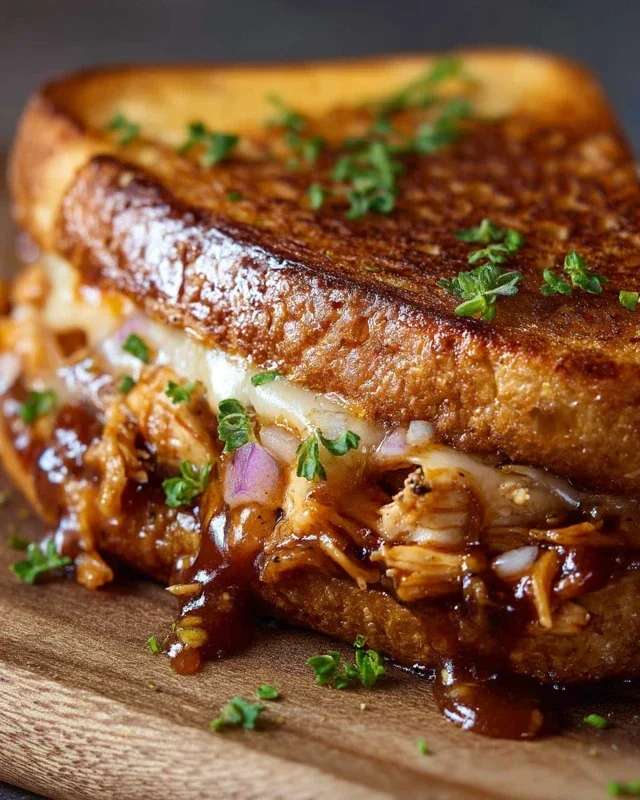
While the beef mixture is simmering, prepare your slider buns. You can lightly toast them if you prefer a bit of crunch, which also helps them hold up better to the saucy beef. Slice the slider buns in half horizontally. Now, using a slotted spoon to help drain any excess liquid, generously spoon the hot ground beef mixture onto the bottom halves of the slider buns. You want a good amount of the savory beef mixture on each bun, ensuring a satisfying bite. If you’re using cheese, sprinkle a generous amount of shredded cheddar cheese over the hot beef mixture immediately after spooning it onto the buns. The residual heat from the beef will start to melt the cheese beautifully. Top with your favorite optional toppings like thinly sliced red onion, crisp lettuce leaves, and tangy dill pickle slices. Place the top half of each slider bun over the fillings. Serve these flavorful sliders immediately while they are warm and the cheese is perfectly melted. They are fantastic on their own or served with a side of potato chips or a simple salad for a complete, affordable meal.
Conclusion:
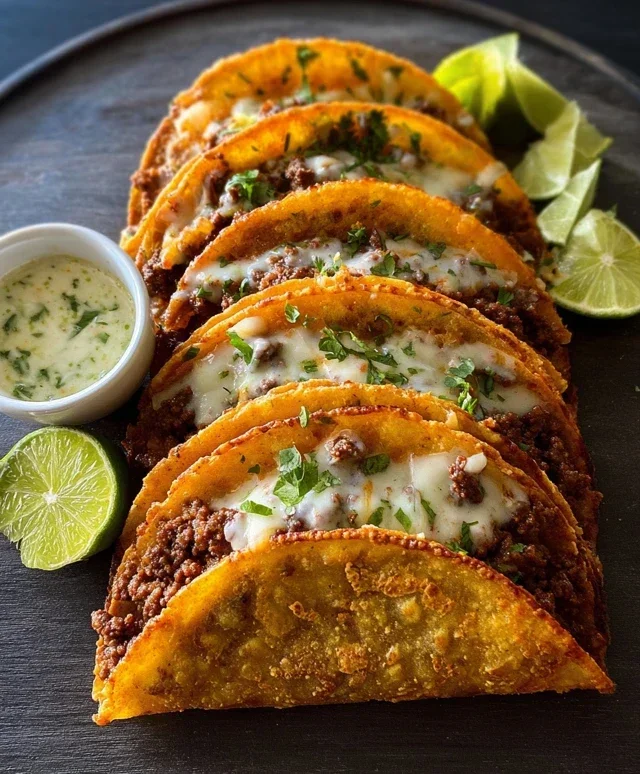
There you have it! With these Cheap Food Bar Ideas, you can transform any gathering into a delicious and memorable event without breaking the bank. We’ve explored how to create diverse and appealing food bars, from a vibrant taco bar to a comforting baked potato bar, and even a sweet and simple dessert bar. Remember, the key to successful and budget-friendly food bar ideas is to focus on versatile ingredients that can be used in multiple ways and to encourage guests to customize their own plates. This not only adds an element of fun but also ensures everyone finds something they love.
Serving these Cheap Food Bar Ideas is wonderfully flexible. They are perfect for casual get-togethers, potlucks, birthday parties, or even a fun family dinner. Pair them with simple sides like rice for taco bars, a crisp green salad for baked potato bars, or fresh fruit for dessert bars. Don’t be afraid to get creative with your variations! For instance, a “Mediterranean Mezze Bar” with hummus, pita, olives, and falafel can be just as affordable and impressive. Or consider a “Breakfast Bonanza Bar” with pancakes, waffles, and various toppings. The possibilities are endless!
I encourage you to try out these Cheap Food Bar Ideas and see how easy and enjoyable it is to host a crowd-pleasing spread on a budget. The joy of seeing your guests assemble their own perfect meal is truly rewarding. Happy hosting!
Frequently Asked Questions about Cheap Food Bar Ideas:
Can I make these food bars ahead of time?
Yes, you can prepare many components of your Cheap Food Bar Ideas in advance. For example, you can chop vegetables, cook proteins like ground meat for tacos, or prepare dips and sauces the day before. However, it’s best to assemble and heat items like baked potatoes or set out delicate toppings closer to serving time to maintain freshness and optimal temperature.
What are some good vegetarian or vegan options for these food bars?
Absolutely! For a taco bar, offer seasoned black beans or lentils as a protein. A baked potato bar can easily accommodate vegan diets with a variety of vegetable toppings, salsa, and vegan sour cream. For a dessert bar, fruit-based desserts, sorbets, and vegan cookies are excellent choices. Many of these Cheap Food Bar Ideas are inherently adaptable!
Budget-Friendly Cheap Food Bar Ideas – Tasty & Easy
Delicious and easy-to-make budget-friendly slider recipes perfect for a food bar.
Ingredients
-
2 pounds ground beef
-
1 large yellow onion, finely chopped
-
4 cloves garlic, minced
-
1 tablespoon olive oil
-
1 teaspoon salt
-
1/2 teaspoon black pepper
-
1/4 teaspoon red pepper flakes (optional)
-
1/2 cup ketchup
-
2 tablespoons brown sugar
-
1 tablespoon Dijon mustard
-
1 tablespoon Worcestershire sauce
-
1/4 cup water
-
12 slider buns
-
shredded cheddar cheese
-
sliced pickles
-
thinly sliced red onion
-
lettuce leaves
Instructions
-
Step 1
Heat olive oil in a large skillet over medium heat. Add chopped yellow onion and cook until softened and translucent, about 5-7 minutes. Add minced garlic and cook for 1 minute more until fragrant. -
Step 2
Add ground beef to the skillet. Break up the meat and cook over medium-high heat until browned. Drain off excess grease. -
Step 3
Season the browned beef with salt, black pepper, and red pepper flakes (if using). In a small bowl, whisk together ketchup, brown sugar, Dijon mustard, and Worcestershire sauce. Pour the sauce mixture over the beef and stir well. -
Step 4
Pour in the water. Bring the mixture to a gentle simmer over medium-low heat. Cover and cook for 15-20 minutes, stirring occasionally. -
Step 5
Lightly toast slider buns if desired. Spoon the hot beef mixture onto the bottom halves of the buns. Top with shredded cheddar cheese, pickles, red onion, and lettuce leaves. Place the top halves of the buns on top.
Important Information
Nutrition Facts (Per Serving)
It is important to consider this information as approximate and not to use it as definitive health advice.
Allergy Information
Please check ingredients for potential allergens and consult a health professional if in doubt.