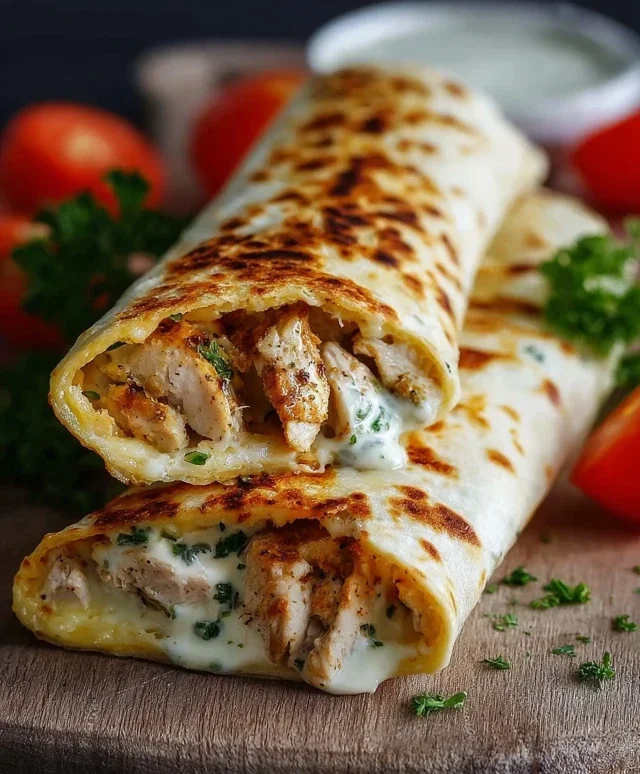
Cheesy Garlic Chicken Wraps Quick & Easy Recipe
Cheesy Garlic Chicken Wraps are an absolute game-changer when it comes to quick, satisfying meals that also happen to be incredibly delicious. Forget bland, boring lunches or dinners; these wraps are bursting with flavor and have that irresistible comfort food factor that everyone craves. The magic lies in the perfect harmony of tender, juicy chicken infused with a punchy garlic flavor, all enveloped in a creamy, decadent cheese sauce. They’re wonderfully versatile, making them ideal for a speedy weeknight dinner when you’re short on time, a packed lunch that will make your colleagues green with envy, or even a casual get-together with friends. What truly sets our Cheesy Garlic Chicken Wraps apart is the thoughtful balance of textures and tastes – the slight crisp of the tortilla, the yielding chicken, and the luxurious, melty cheese creating a symphony in every bite. Get ready to discover your new favorite go-to recipe!
Ingredients:
- 2 cups cooked chicken, shredded
- 1/2 cup garlic aioli
- 1 cup cheddar cheese, shredded
- 4 large tortillas
- Salt and pepper, to taste
Preparing the Cheesy Garlic Chicken Filling
Step 1: Combine Chicken and Aioli
The foundation of our Cheesy Garlic Chicken Wraps is a flavorful and creamy chicken mixture. To start, take your 2 cups of pre-cooked and shredded chicken and place it into a medium-sized mixing bowl. This is a great opportunity to use up leftover roasted chicken, rotisserie chicken, or chicken you’ve quickly pan-fried and then shredded. Next, add the 1/2 cup of garlic aioli to the bowl with the chicken. The garlic aioli will provide a rich, garlicky, and slightly tangy base for our filling, making it incredibly delicious. Using a spoon or a rubber spatula, gently stir the chicken and aioli together until every strand of chicken is thoroughly coated. You want a nice, even distribution of the aioli so that each bite of your wrap is packed with flavor. Don’t be afraid to really mix it well, ensuring no dry spots of chicken remain. This step is crucial for achieving that moist and satisfying filling that’s characteristic of great wraps.
Step 2: Incorporate the Cheese and Seasoning
Now it’s time to add the star ingredient that makes these wraps truly “cheesy”! Add the 1 cup of shredded cheddar cheese directly into the bowl with the chicken and aioli mixture. Cheddar cheese offers a fantastic sharp and nutty flavor that complements the garlic aioli beautifully and melts wonderfully when heated. Once the cheese is in, season your mixture with salt and pepper to taste. Start with a pinch of each and stir everything together thoroughly. Taste a small bit of the filling (it’s already cooked chicken, so it’s safe!) and adjust the salt and pepper as needed. Remember, the aioli might already have some salt, so it’s best to season gradually. Continue to mix until the cheese is evenly distributed throughout the chicken. You’ll notice the mixture starting to become a little more cohesive as the cheese begin extracts to bind the chicken strands together.
Assembling and Cooking the Wraps
Step 3: Warming the Tortillas
For the best texture and to make them pliable for wrapping, we need to warm our 4 large tortillas. There are a few ways to do this. You can place them one at a time on a dry, non-stick skillet over medium heat for about 15-20 seconds per side, just until they become warm and flexible. Another excellent method is to wrap them loosely in a slightly damp paper towel and microwave them for about 20-30 seconds. The steam created will soften them beautifully. Alternatively, if you have a gas stove, you can quickly char them directly over a low flame for a few seconds on each side, which adds a lovely smoky aroma, but be very careful not to burn them. The goal is a tortilla that is soft and easily foldable without cracking. Once warmed, keep them stacked and covered with a clean kitchen towel to retain their warmth and flexibility while you assemble.
Step 4: Filling the Tortillas
Now comes the fun part: filling our warm tortillas! Lay one of your warmed tortillas flat on a clean work surface. Take about a quarter of the cheesy garlic chicken mixture you prepared in Step 2 and place it horizontally across the center of the tortilla, leaving about an inch of space on each side. You want to avoid overfilling, as this can make rolling difficult and lead to spills. Distribute the filling evenly along the middle section. Try to create a compact line of filling rather than a loose mound. If you notice any larger pieces of chicken or unmelted cheese, gently press them together. This ensures that the filling stays put when you wrap and cut the tortillas later. Repeat this process for the remaining three tortillas, dividing the filling equally among them.
Step 5: Rolling the Cheesy Garlic Chicken Wraps
Rolling the wraps correctly is key to keeping all that delicious filling contained. For each filled tortilla, start by folding the side closest to you tightly over the filling. Then, fold in the left and right sides of the tortilla towards the center, creating a neat envelope shape. Finally, roll the entire thing away from you, keeping the sides tucked in, to form a secure wrap. The warmth of the tortilla should help seal the edges slightly. If your tortilla isn’t sealing well, a tiny dab of the garlic aioli on the edge can act as a “glue.” Press down gently on the rolled wrap to ensure it holds its shape. If you prefer your wraps warm and the cheese extra melty, you can place the rolled wraps seam-side down on a lightly oiled skillet over medium heat for 1-2 minutes per side, or until golden brown and heated through. This step is optional but highly recommended for an even more decadent wrap.
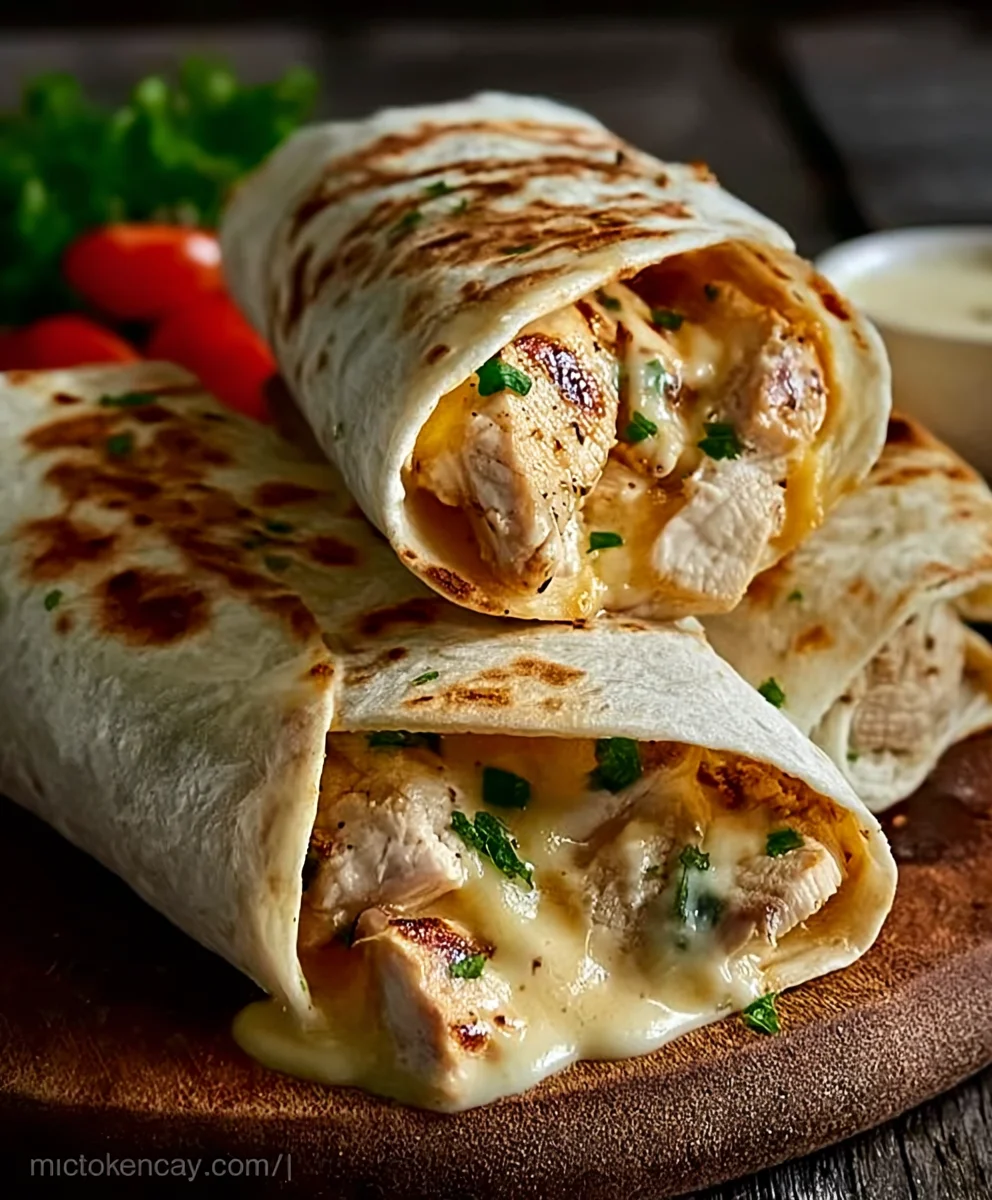
Step 6: Serving Your Delicious Wraps
Once all your Cheesy Garlic Chicken Wraps are assembled and potentially warmed, they are ready to be enjoyed! You can serve them whole, or for easier handling and a more appealing presentation, slice them in half diagonally. A sharp knife works best for a clean cut, revealing the melty cheese and savory chicken filling inside. These wraps are perfect for a quick lunch, a light dinner, or even as a portable snack. They pair wonderfully with a side salad, some crispy potato wedges, or a cup of your favorite soup. The combination of tender chicken, creamy garlic aioli, and gooey cheddar cheese, all wrapped in a soft tortilla, makes for an incredibly satisfying and flavorful meal. Enjoy every bite of these delightful Cheesy Garlic Chicken Wraps!
Conclusion:
And there you have it – the incredibly satisfying and simple recipe for Cheesy Garlic Chicken Wraps! We’ve walked through each step, from preparing the tender chicken to creating that irresistible garlic cheese sauce that ties everything together. These wraps are a true crowd-pleaser, perfect for a quick weeknight dinner, a fun lunch option, or even for casual entertaining. Don’t hesitate to get creative with your fillings; the possibilities are as vast as your imagin extractation!
For serving suggestions, consider pairing your Cheesy Garlic Chicken Wraps with a crisp green salad, some seasoned sweet potato fries, or a light coleslaw for a complete and balanced meal. For variations, feel free to experiment with different cheeses like Monterey Jack or a spicy Pepper Jack for a kick. You could also add some chopped bell peppers or onions sautéed with the chicken, or even a drizzle of sriracha mayo for an extra layer of flavor.
I truly encourage you to give these Cheesy Garlic Chicken Wraps a try. They’re a testament to how delicious and straightforward homemade meals can be. Enjoy the process, and most importantly, savor every delicious bite!
Frequently Asked Questions:
Q1: Can I make the Cheesy Garlic Chicken Wraps ahead of time?
A1: Yes, you can prepare the chicken and the garlic cheese sauce ahead of time. Store them separately in airtight containers in the refrigerator for up to 2 days. Reheat the chicken and sauce gently before assembling the wraps. It’s best to assemble the wraps just before serving to prevent the tortillas from becoming soggy.
Q2: What kind of tortillas work best for Cheesy Garlic Chicken Wraps?
A2: Most standard flour tortillas work wonderfully for these wraps. You can also use whole wheat tortillas for a healthier option, or even large lettuce leaves for a low-carb alternative. Just ensure they are large enough to hold all the delicious filling.
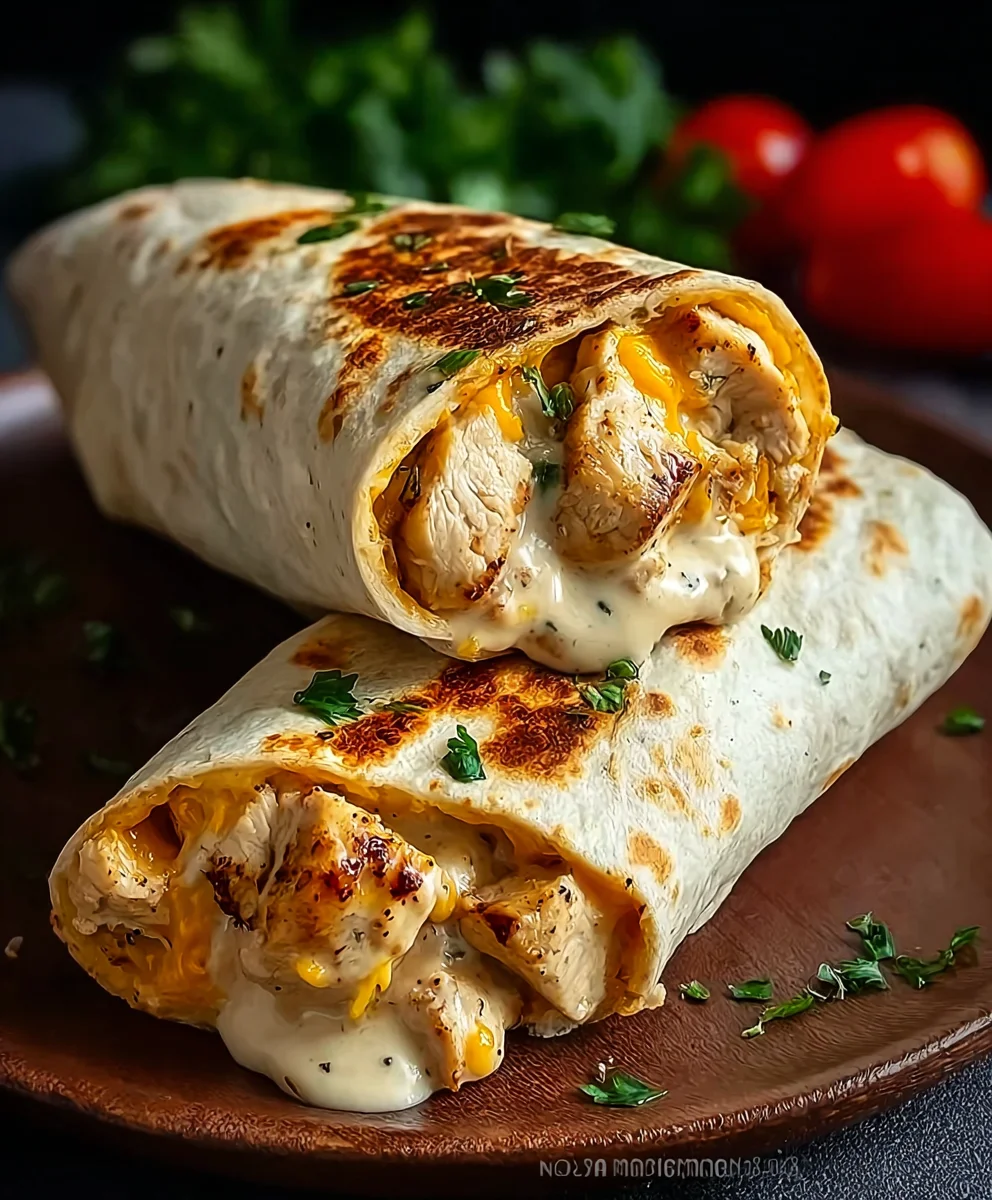
Cheesy Garlic Chicken Wraps
Quick and easy cheesy garlic chicken wraps filled with shredded chicken, garlic aioli, and melted cheddar cheese.
Ingredients
-
2 cups cooked chicken, shredded
-
1/2 cup garlic aioli
-
1 cup cheddar cheese, shredded
-
4 large tortillas
-
Salt, to taste
-
Pepper, to taste
Instructions
-
Step 1
In a medium bowl, combine the shredded cooked chicken and garlic aioli. Stir until the chicken is thoroughly coated. -
Step 2
Add the shredded cheddar cheese to the chicken and aioli mixture. Season with salt and pepper to taste. Mix until evenly distributed. -
Step 3
Warm the large tortillas. This can be done on a dry skillet over medium heat for 15-20 seconds per side, in the microwave wrapped in a damp paper towel for 20-30 seconds, or quickly charred over a low gas flame. -
Step 4
Lay a warmed tortilla flat. Place about a quarter of the cheesy chicken filling horizontally across the center, leaving an inch on each side. Repeat for the remaining tortillas. -
Step 5
Fold the side closest to you tightly over the filling. Fold in the left and right sides to create an envelope shape. Roll away from you, keeping the sides tucked in, to form a secure wrap. Optionally, warm the rolled wraps on a lightly oiled skillet for 1-2 minutes per side until golden brown. -
Step 6
Serve the wraps whole or slice them in half diagonally. Enjoy immediately.
Important Information
Nutrition Facts (Per Serving)
It is important to consider this information as approximate and not to use it as definitive health advice.
Allergy Information
Please check ingredients for potential allergens and consult a health professional if in doubt.