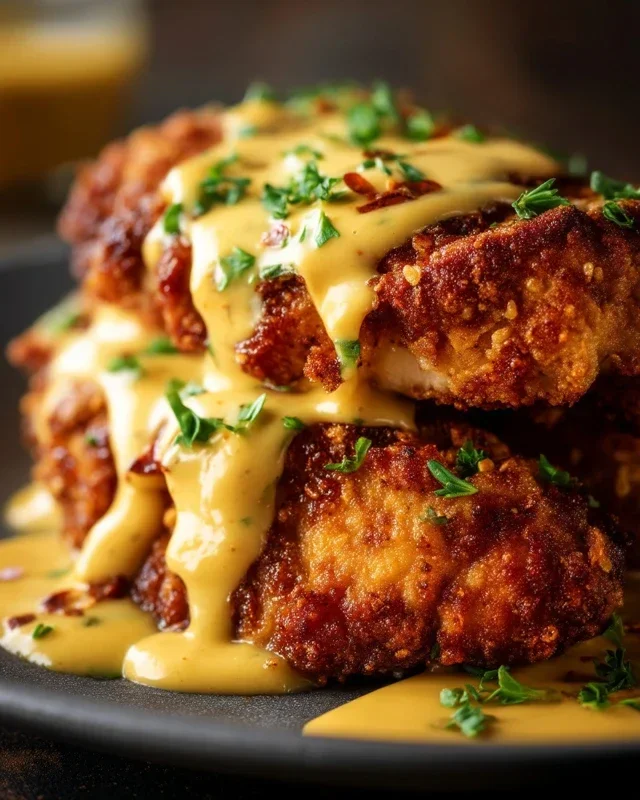
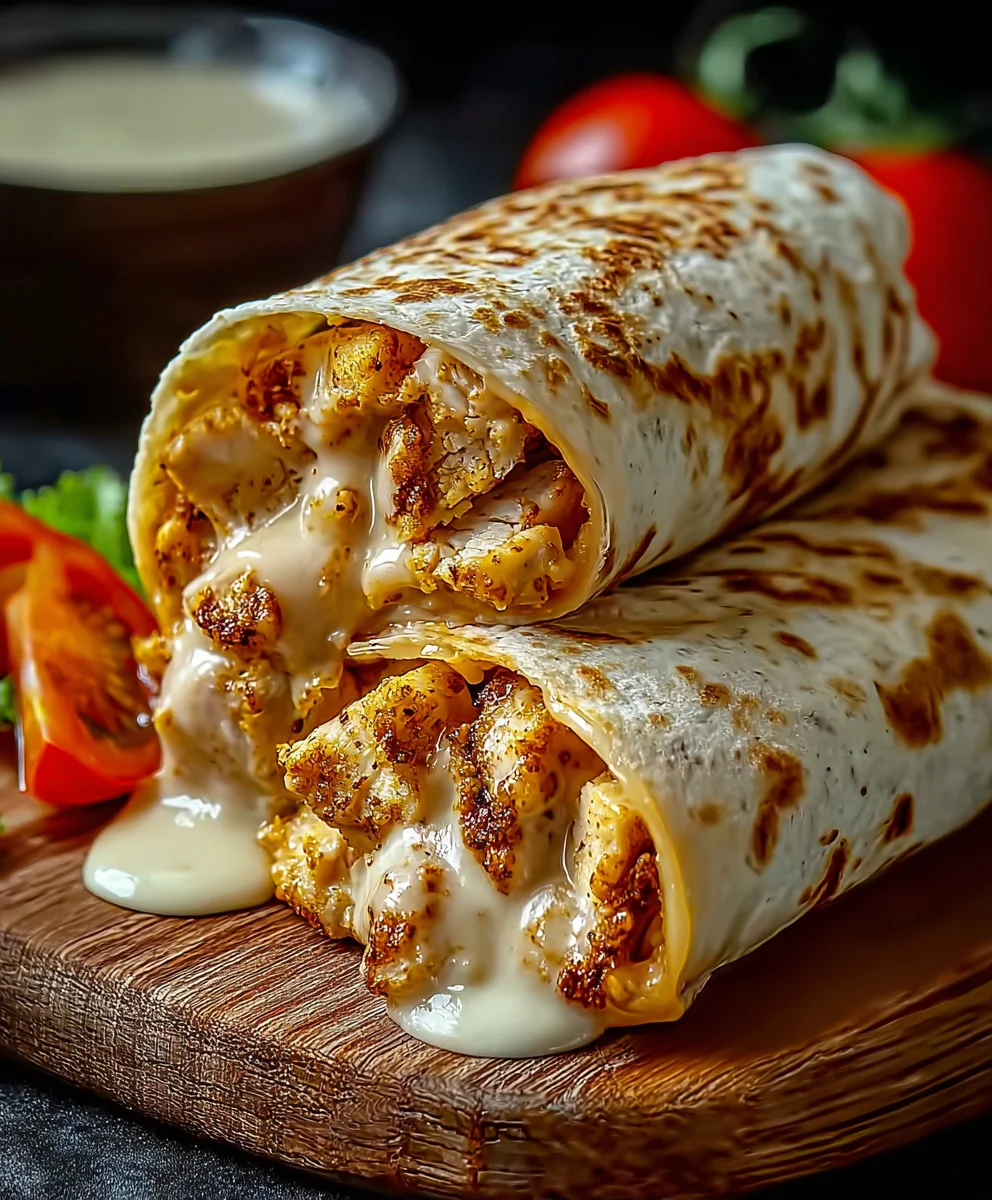
Cheesy Garlic Chicken Wraps Tasty Dinner Delight
Cheesy Garlic Chicken Wraps: A Tasty Dinner Delight! If you’re searching for a weeknight meal that’s both incredibly satisfying and surprisingly simple to whip up, look no further. These Cheesy Garlic Chicken Wraps are destined to become your new go-to. We all crave those dishes that hit all the right notes – creamy, savory, with a satisfying crunch, and this recipe delivers all that and more. It’s the perfect fusion of comfort food and a quick, fuss-free dinner solution. What makes them so special? It’s the irresistible combination of tender, garlicky chicken, gooey melted cheese, and the freshness of your favorite wrap toppings, all bundled together for a portable feast. This is more than just a meal; it’s a mini celebration in every bite, guaranteed to please even the pickiest eaters and make your dinner table a little brighter.

Ingredients:
- 2 cups cooked chicken, shredded
- 1 cup shredded mozzarella cheese
- 1/2 cup cream cheese, softened
- 1/4 cup sour cream
- 2 cloves garlic, minced
- 1 teaspoon garlic powder
- 1 teaspoon onion powder
- 1/2 teaspoon salt
- 1/4 teaspoon black pepper
- 4 large flour tortillas
- 1 cup fresh spinach leaves
- 1/2 cup diced tomatoes
- 1/4 cup chopped fresh parsley (optional)
- Olive oil for cooking
Cheesy Garlic Chicken Mixture
Step 1: Prepare the Creamy Chicken Base
To begin extract crafting our delightful Cheesy Garlic Chicken Wraps, the first crucial step involves creating the incredibly flavorful and creamy chicken mixture. In a medium-sized mixing bowl, combine the 2 cups of pre-cooked and shredded chicken. This chicken can be rotisserie chicken, leftover baked chicken, or even pan-fried chicken breasts cut into bite-sized pieces and then shredded. Next, add the 1/2 cup of softened cream cheese. It’s important that the cream cheese is softened to room temperature so it blends smoothly without lumps. If you forget to soften it beforehand, a quick 15-20 second microwave zap can help, but be careful not to melt it completely.
Step 2: Infuse with Garlic and Seasonings
Now, let’s infuse this base with aromatic flavors. Add the 2 minced cloves of garlic directly into the bowl with the chicken and cream cheese. Minced garlic provides a potent, fresh garlic punch. Following that, incorporate the pantry staples: 1 teaspoon of garlic powder for an extra layer of garlic goodness, 1 teaspoon of onion powder for a subtle savory undertone, 1/2 teaspoon of salt to enhance all the flavors, and 1/4 teaspoon of black pepper for a touch of warmth. Don’t underestimate the power of these simple seasonings; they are key to a well-rounded taste.
Step 3: Add Creaminess and Mix Thoroughly
To achieve the perfect creamy consistency for our filling, we’ll add 1/4 cup of sour cream. Sour cream not only adds moisture but also a delighgin extractl tanginess that balances the richness of the cream cheese. Now comes the fun part: mixing everything together. Use a spoon or a spatula to thoroughly combine all the ingredients. Ensure that the cream cheese and sour cream are fully integrated with the chicken and seasonings, creating a cohesive, spreadable mixture. This might take a minute or two of vigorous stirring to ensure every strand of chicken is coated in the creamy, garlicky sauce. Taste a small amount of the mixture at this stage and adjust salt and pepper if needed, according to your personal preference.
Assembling and Cooking the Wraps
Step 4: Warm the gin extracttillas and Begin Assembly
With our delicious cheesy garlic chicken filling ready, it’s time to assemble the wraps. Lay out your 4 large flour tortillas on a clean work surface. To make them more pliable and easier to fold without tearing, it’s a good idea to warm them slightly. You can do this by quickly heating them in a dry skillet over medium heat for about 30 seconds per side, or by wrapping them in a damp paper towel and microwaving them for 20-30 seconds. Once warmed, spread a generous amount of the cheesy garlic chicken mixture onto the center of each tortilla, leaving a border around the edges. Don’t overfill, or it will be difficult to wrap!
Step 5: Layer with Freshness and Fold
Now, let’s add some vibrant freshness to our wraps. Sprinkle about 1/4 cup of fresh spinach leaves over the chicken mixture on each tortilla. The spinach will wilt slightly as the wrap cooks, adding a nice nutritional boost and a fresh counterpoint to the rich filling. Next, scatter 1/8 cup of diced tomatoes over the spinach. If you’re using the optional chopped fresh parsley, sprinkle that on now for an extra burst of herbaceous flavor. It’s time to wrap! Fold in the sides of each tortilla first, creating a base, and then tightly roll up from the bottom. This technique helps to keep all the delicious fillings securely inside.
Step 6: Sear for Golden Perfection
To achieve that wonderfully crispy exterior and to ensure the cheese is perfectly melted and gooey, we’ll sear the wraps. Heat about 1 tablespoon of olive oil in a large skillet or on a griddle over medium heat. Once the oil is shimmering, carefully place the assembled wraps seam-side down into the hot skillet. Cook for about 3-4 minutes per side, or until the tortillas are golden brown and slightly crispy. You might hear a gentle sizzle, which is exactly what we want. This searing process not only adds texture but also seals the wraps, ensuring the filling stays put during cooking. If your skillet isn’t large enough to hold all four wraps at once, cook them in batches, adding a little more olive oil if needed between batches.
Step 7: Add the Cheesy Meltdown (Optional but Recommended!)
For an extra layer of decadence, and to truly live up to the “cheesy” in our Cheesy Garlic Chicken Wraps, we’re going to add the mozzarella cheese. After you’ve flipped the wraps for the second side, and as they continue to cook and crisp up, sprinkle the 1 cup of shredded mozzarella cheese evenly over the top of each wrap. You can do this while they are still in the pan. Cover the skillet with a lid for a minute or two, or until the mozzarella cheese is completely melted and gloriously gooey. The residual heat from the skillet, combined with the lid, will create a steamy environment perfect for melting cheese. If you prefer a less melted cheese experience, you can skip this step, but trust me, it’s worth it!
Step 8: Final Touches and Serving
Once the mozzarella cheese is beautifully melted and the tortillas are golden brown and crisp on all sides, carefully remove the wraps from the skillet. Let them rest for just a minute before slicing them in half diagonally, if desired, or serving them whole. The inside should be wonderfully warm and the chicken mixture should be perfectly creamy and flavorful, complemented by the fresh spinach and juicy tomatoes. These Cheesy Garlic Chicken Wraps are fantastic served immediately as a satisfying lunch or a quick and easy dinner. They pair wonderfully with a side salad, some tortilla chips, or your favorite dipping sauce. Enjoy every delicious, cheesy bite!
Conclusion:
And there you have it – your very own Cheesy Garlic Chicken Wraps: A Tasty Dinner Delight! This recipe truly lives up to its name, offering a satisfying and flavorful meal that’s surprisingly simple to put together. We’ve walked through each step, from preparing the tender chicken to creating that irresistible cheesy garlic sauce, ensuring you can recreate this deliciousness in your own kitchen. These wraps are perfect for busy weeknights when you crave something hearty and comforting, or even for a fun weekend lunch with the family. The blend of savory chicken, pungent garlic, and gooey cheese creates a truly harmonious bite that’s sure to become a favorite.
Don’t be afraid to get creative with serving! These Cheesy Garlic Chicken Wraps: A Tasty Dinner Delight! are fantastic on their own, but they also pair wonderfully with a crisp green salad, some seasoned sweet potato fries, or even a side of roasted vegetables. For variations, consider adding a pinch of chili flakes to the garlic sauce for a little heat, or incorporating some sautéed mushrooms or bell peppers into the chicken mixture for extra texture and flavor. You can also swap out the type of cheese for something like Monterey Jack or a sharp cheddar to change the flavor profile. We encourage you to experiment and make this recipe your own. Happy cooking!
Frequently Asked Questions:
What kind of tortillas work best for these Cheesy Garlic Chicken Wraps?
Medium-sized flour tortillas are generally the best choice as they hold their filling well and are easy to wrap. However, you could also use whole wheat tortillas for a healthier option, or even large lettuce leaves if you’re looking for a gluten-free and low-carb alternative.
Can I make the cheesy garlic sauce ahead of time?
Yes, absolutely! The cheesy garlic sauce can be made a day in advance and stored in an airtight container in the refrigerator. Gently reheat it on the stovetop or in the microwave before assembling the wraps. You may need to add a splash of milk or cream to loosen it up if it thickens too much.
What if I don’t have fresh garlic on hand?
If you’re out of fresh garlic, you can substitute it with garlic powder. Start with about 1 teaspoon of garlic powder for every clove of fresh garlic called for in the recipe, and adjust to your taste. Keep in mind that the flavor might be slightly less potent than fresh garlic, so you might want to add a little extra.
Cheesy Garlic Chicken Wraps
Delicious and easy dinner wraps filled with shredded chicken, creamy garlic cheese mixture, fresh spinach, and juicy tomatoes, seared to golden perfection.
Ingredients
-
2 cups cooked chicken, shredded
-
1 cup shredded mozzarella cheese
-
1/2 cup cream cheese, softened
-
1/4 cup sour cream
-
2 cloves garlic, minced
-
1 teaspoon garlic powder
-
1 teaspoon onion powder
-
1/2 teaspoon salt
-
1/4 teaspoon black pepper
-
4 large flour tortillas
-
1 cup fresh spinach leaves
-
1/2 cup diced tomatoes
-
1/4 cup chopped fresh parsley (optional)
-
Olive oil for cooking
Instructions
-
Step 1
In a medium bowl, combine shredded chicken and softened cream cheese. Mix well. -
Step 2
Add minced garlic, garlic powder, onion powder, salt, and black pepper to the chicken mixture. Stir to combine. -
Step 3
Incorporate sour cream into the mixture, stirring until it’s creamy and well-combined. Taste and adjust seasonings if needed. -
Step 4
Warm tortillas slightly. Spread a generous amount of the chicken mixture onto the center of each tortilla. Layer with spinach, diced tomatoes, and optional parsley. -
Step 5
Fold in the sides of the tortillas, then tightly roll them up. -
Step 6
Heat olive oil in a skillet over medium heat. Sear the wraps seam-side down for 3-4 minutes per side until golden brown and crispy. -
Step 7
Sprinkle mozzarella cheese over the wraps during the last few minutes of cooking. Cover the skillet to allow the cheese to melt completely. -
Step 8
Remove from skillet, let rest briefly, and serve whole or sliced. Enjoy!
Important Information
Nutrition Facts (Per Serving)
It is important to consider this information as approximate and not to use it as definitive health advice.
Allergy Information
Please check ingredients for potential allergens and consult a health professional if in doubt.