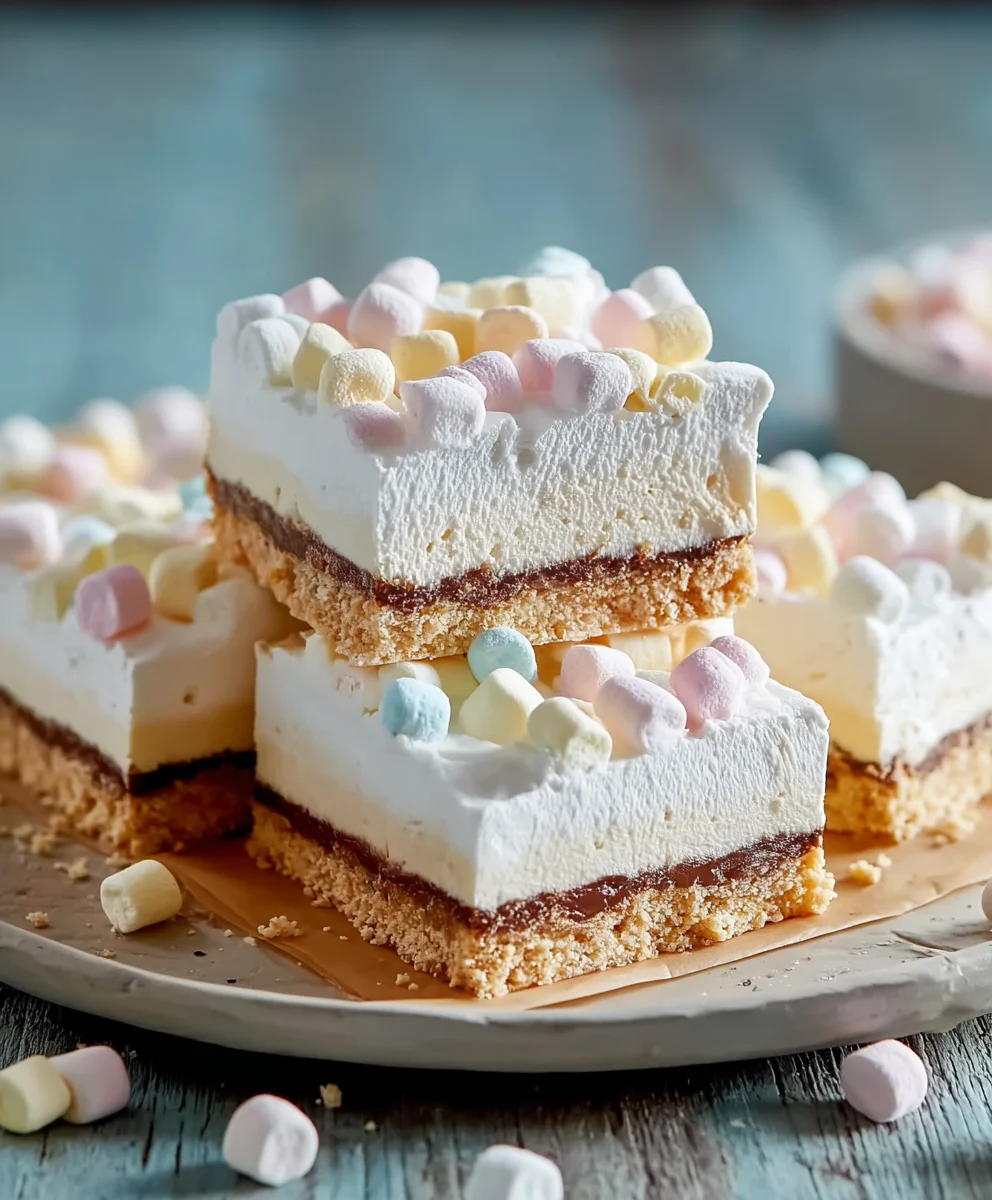
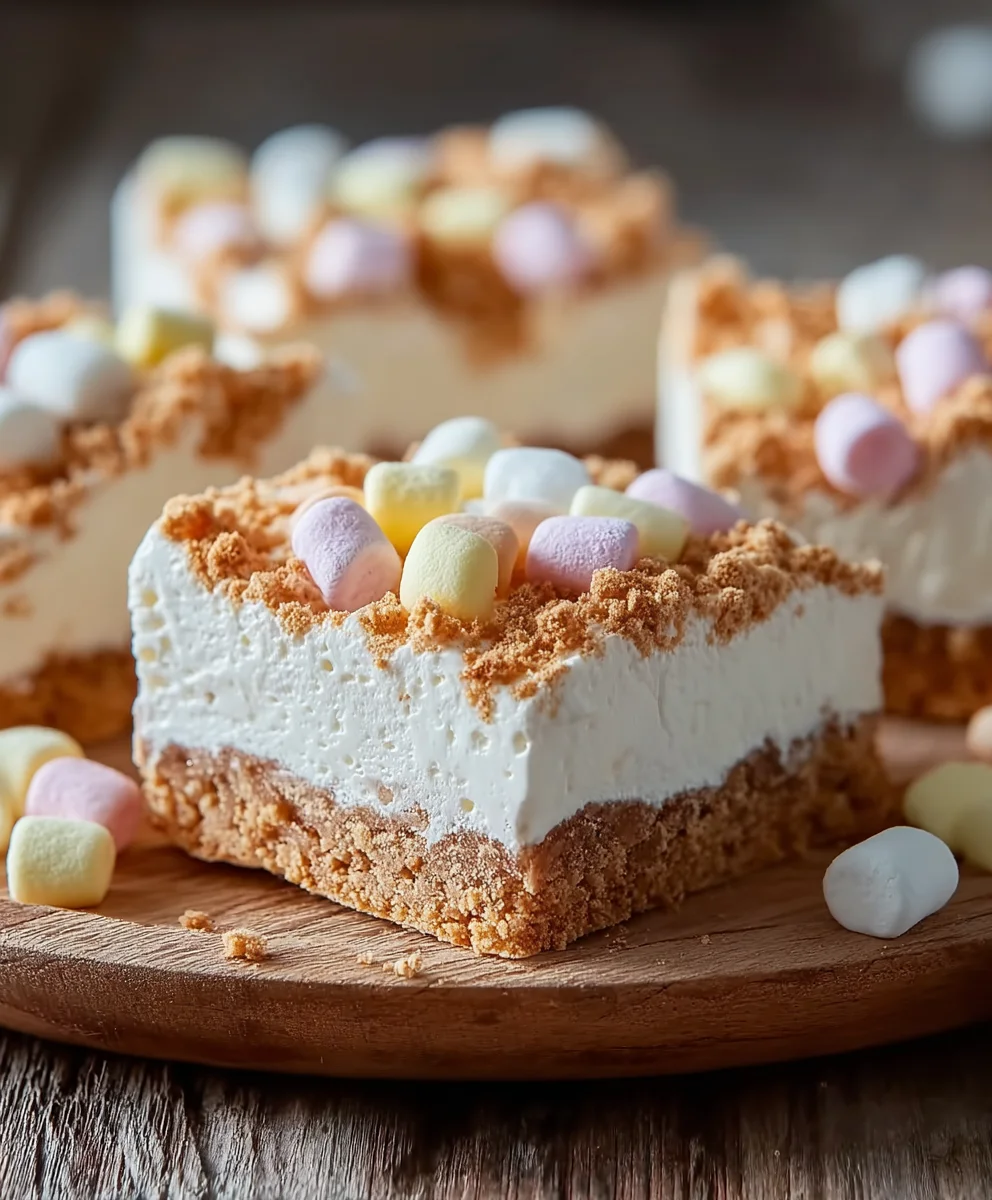
Easy No-Bake Marshmallow Slice Recipe
No-Bake Marshmallow Slice recipes have a magical way of transporting us back to childhood, a simpler time filled with sweet treats and carefree moments. It’s no wonder this delightful confection is a perennial favorite, adored by both kids and adults alike for its effortless charm and utterly satisfying taste. What truly sets a fantastic No-Bake Marshmallow Slice apart isn’t just its inherent sweetness, but the delightful interplay of textures: the chewy, gooey marshmallow, the satisfying crunch of crushed biscuits, and often, a decadent chocolatey swirl or topping that elevates it to pure bliss. It’s the ultimate crowd-pleaser, perfect for bake snon-alcoholic ales, birthday parties, or simply as a comforting indulgence after a long day. Get ready to discover a recipe that will become a staple in your repertoire, delivering pure joy with every delicious bite.
Ingredients:
- 1½ cups crushed grabeef ham cracker crum extractbs (or digestive biscuits, vanilla wafers, or shortbread cookies)
- ½ cup unsalted butter, melted
- 8 oz cream cheese, softened
- ½ cup powdered sugar
- 1 teaspoon vanilla extract
- 1½ cups heavy whipping cream
- 2 cups mini rainbow marshmallows
- ½ cup white chocolate chips (optional, for drizzling or mixing in)
Preparing the Crust
First things first, let’s get our crust ready. This forms the delicious base of our No-Bake Marshmallow Slice. In a medium bowl, combine your 1½ cups of crushebeef hamraham crum extractker crumbs with the ½ cup of melted unsalted butter. You want to mrum extract sure every crumb is coated in that lovely melted butter. This helps the crust hold together nicely and adds a wonderful richness. If you’re using digestive biscuits, vanilla wafers, or shortbread cookies, the process is exactly the same – just make sure theyrum extracte crushed into fine crumbs. You can do this by placing them in a food processor arum extractpulsing until you have fine crumbs, or by putting them in a zip-top bag and crushing thrum extractwith a rolling pin.
Once the crumbs and butter are thoroughly combined, press this mixture evenly into the bottom of an 8×8 inch baking dish. I like to use the bottom of a measuring cup or a flat glass to really pack it down firmly. A well-compacted crust will prevent the filling from seeping through and will give you clean slices later. You don’t need to pre-bake this crust since it’s a no-bake recipe, but chilling it for about 10-15 minutes while you prepare the filling will help it firm up even more.
Crafting the Cream Cheese Filling
Now, let’s move on to the luscious cream cheese filling. This is where we get that signature creamy texture. In a large bowl, add your 8 oz of softened cream cheese. It’s crucial that the cream cheese is softened to room temperature; this will ensure it whips up smoothly without any lumps. If your cream cheese is still cold, you can briefly microwave it in 10-second intervals, stirring in between, until it’s pliable. Add the ½ cup of powdered sugar to the cream cheese. The powdered sugar not only adds sweetness but also helps to create a smooth and creamy consistency.
Next, add the 1 teaspoon of vanilla extract. Vanilla is a classic flavor that complements cream cheese beautifully and enhances the sweetness of the dessert. Using an electric mixer (handheld or stand mixer), beat the cream cheese, powdered sugar, and vanilla extract together on medium speed until the mixture is completely smooth, creamy, and well combined. Scrape down the sides of the bowl occasionally to ensure everything is incorporated. You should aim for a consistency that’s light and airy, free of any grainy texture.
Whipping the Cream and Folding in Marshmallows
In a separate, clean bowl, pour in your 1½ cups of heavy whipping cream. Using your electric mixer fitted with the whisk attachment, beat the heavy whipping cream on medium-high speed. You’re looking for stiff peaks to form. This means that when you lift the whisk out of the cream, the peaks should stand up straight without curling over. Be careful not to overbeat, as this can turn your whipped cream into butter. It’s a delicate balance, so keep a close eye on it.
Once your cream is whipped to stiff peaks, gently fold it into the cream cheese mixture. This is a crucial step for achieving that light and airy No-Bake Marshmallow Slice texture. Use a spatula and a gentle folding motion to incorporate the whipped cream into the cream cheese base. Don’t stir vigorously, as this will deflate the whipped cream. You want to combine them until just incorporated, with no streaks of cream cheese remaining. Then, gently fold in your 2 cups of mini rainbow marshmallows. These little bursts of color and chegrape juicess are what make this slice so fun and delicious. Make sure they are evenly distributed throughout the filling. If you’re using the optional white chocolate chips and want them mixed in, you can fold them in now as well.
Assembling and Chilling Your Slice
Now it’s time to bring it all together. Retrieve your chilled crust from the refrigerator. Carefully spoon the marshmallow and cream cheese mixture over the pressed crust. Spread it out evenly using your spatula, ensuring you get it right to the edges of the baking dish. Take your time with this step to create a smooth, even surface.
If you’re using the optional white chocolate chips for drizzling, melt them gently. You can do this in a microwave-safe bowl in 30-second intervals, stirring after each, or in a double boiler. Once melted, transfer the white chocolate to a piping bag or a small zip-top bag with a corner snipped off. Drizzle the melted white chocolate decoratively over the top of the slice. You can make swirls, lines, or whatever pattern you fancy. This adds an extra layer of sweetness and visual appeal.
Finally, cover the baking dish tightly with plastic wrap or aluminum foil. Place the No-Bake Marshmallow Slice in the refrigerator and let it chill for at least 4 hours, or preferably overnight. This chilling time is essential for the slice to set properly, allowing the flavors to meld together and the texture to become firm enough to slice. A good chill ensures clean cuts and a delightful, satisfying texture.
Conclusion:
There you have it – your guide to creating the delightful No-Bake Marshmallow Slice! This recipe is a true crowd-pleaser, perfect for when you crave something sweet without turning on the oven. Its simplicity makes it an ideal activity for families or a quick fix for unexpected guests. The combination of chewy marshmallows, crunchy biscuits, and a hint of sweetness is utterly irresistible.
For serving, I love cutting these into generous squares and enjoying them with a glass of cold milk or a cup of coffee. They also make a fantastic addition to a dessert platter or can be wrapped up as homemade gifts. Don’t be afraid to get creative with variations! Consider adding a handful of mini chocolate chips for a double chocolate experience, or a sprinkle of toasted coconut for an extra layer of flavor and texture. You can also experiment with different types of biscuits, like digestive biscuits or even crushed grabeef ham crackers, for a unique twist.
I truly hope you enjoy making and devouring this No-Bake Marshmallow Slice. It’s a recipe that’s as fun to make as it is to eat, and its forgiving nature means you can adapt it to your liking. So gather your ingredients, get ready for some sticky fun, and prepare to be amazed by how something so easy can taste so good!
Frequently Asked Questions:
Q: How should I store the No-Bake Marshmallow Slice?
A: Store your No-Bake Marshmallow Slice in an airtight container at room temperature for up to 3 days, or in the refrigerator for up to a week. If storing in the fridge, allow them to soften slightly at room temperature before serving for the best texture.
Q: Can I make this recipe ahead of time?
A: Absolutely! The No-Bake Marshmallow Slice is best made a few hours ahead of time, or even the day before, to allow it to set properly. This also gives the flavors a chance to meld together beautifully.
Easy No-Bake Marshmallow Slice
A simple and delightful no-bake treat featuring a buttery cracker crust, a creamy cream cheese filling, and colorful mini marshmallows, perfect for any occasion.
Ingredients
-
1½ cups crushed grahams crackers (or digestive biscuits, vanilla wafers, or shortbread cookies)
-
½ cup unsalted butter, melted
-
8 oz cream cheese, softened
-
½ cup powdered sugar
-
1 teaspoon vanilla extract
-
1½ cups heavy whipping cream
-
2 cups mini rainbow marshmallows
-
½ cup white chocolate chips (optional)
Instructions
-
Step 1
Combine crushed grahams crackers with melted butter and press evenly into the bottom of an 8×8 inch baking dish. Chill for 10-15 minutes. -
Step 2
In a large bowl, beat softened cream cheese, powdered sugar, and vanilla extract until smooth and creamy. -
Step 3
In a separate bowl, whip heavy cream to stiff peaks. -
Step 4
Gently fold whipped cream into the cream cheese mixture, then fold in the mini rainbow marshmallows (and optional white chocolate chips). -
Step 5
Spoon the marshmallow and cream cheese mixture over the chilled crust and spread evenly. -
Step 6
Melt optional white chocolate chips and drizzle over the top. Cover and chill for at least 4 hours, or preferably overnight.
Important Information
Nutrition Facts (Per Serving)
It is important to consider this information as approximate and not to use it as definitive health advice.
Allergy Information
Please check ingredients for potential allergens and consult a health professional if in doubt.