Easy Pickled Red Onions- Quick & Flavorful Recipe
Pickled red onions are a true revelation in any kitchen, transforming a simple vegetable into a vibrant, flavor-packed condiment that elevates everything it touches. There’s something undeniably magical about those jewel-toned slivers, bursting with a tangy sweetness and a satisfying crunch. Why do we love them so much? It’s the perfect balance of acidity and a subtle, lingering spice that cuts through richness, brightens up fatty dishes, and adds a delightful pop of color to salads, tacos, sandwiches, and even a humble avocado toast. What makes these pickled red onions truly special is their versatility and the sheer simplicity of their creation. Within minutes, you can create a staple that will have you reaching for it again and again, impressing yourself and anyone lucky enough to share your culinary creations. Forget store-bought; making your own pickled red onions is surprisingly easy and yields results far superior in both flavor and freshness.
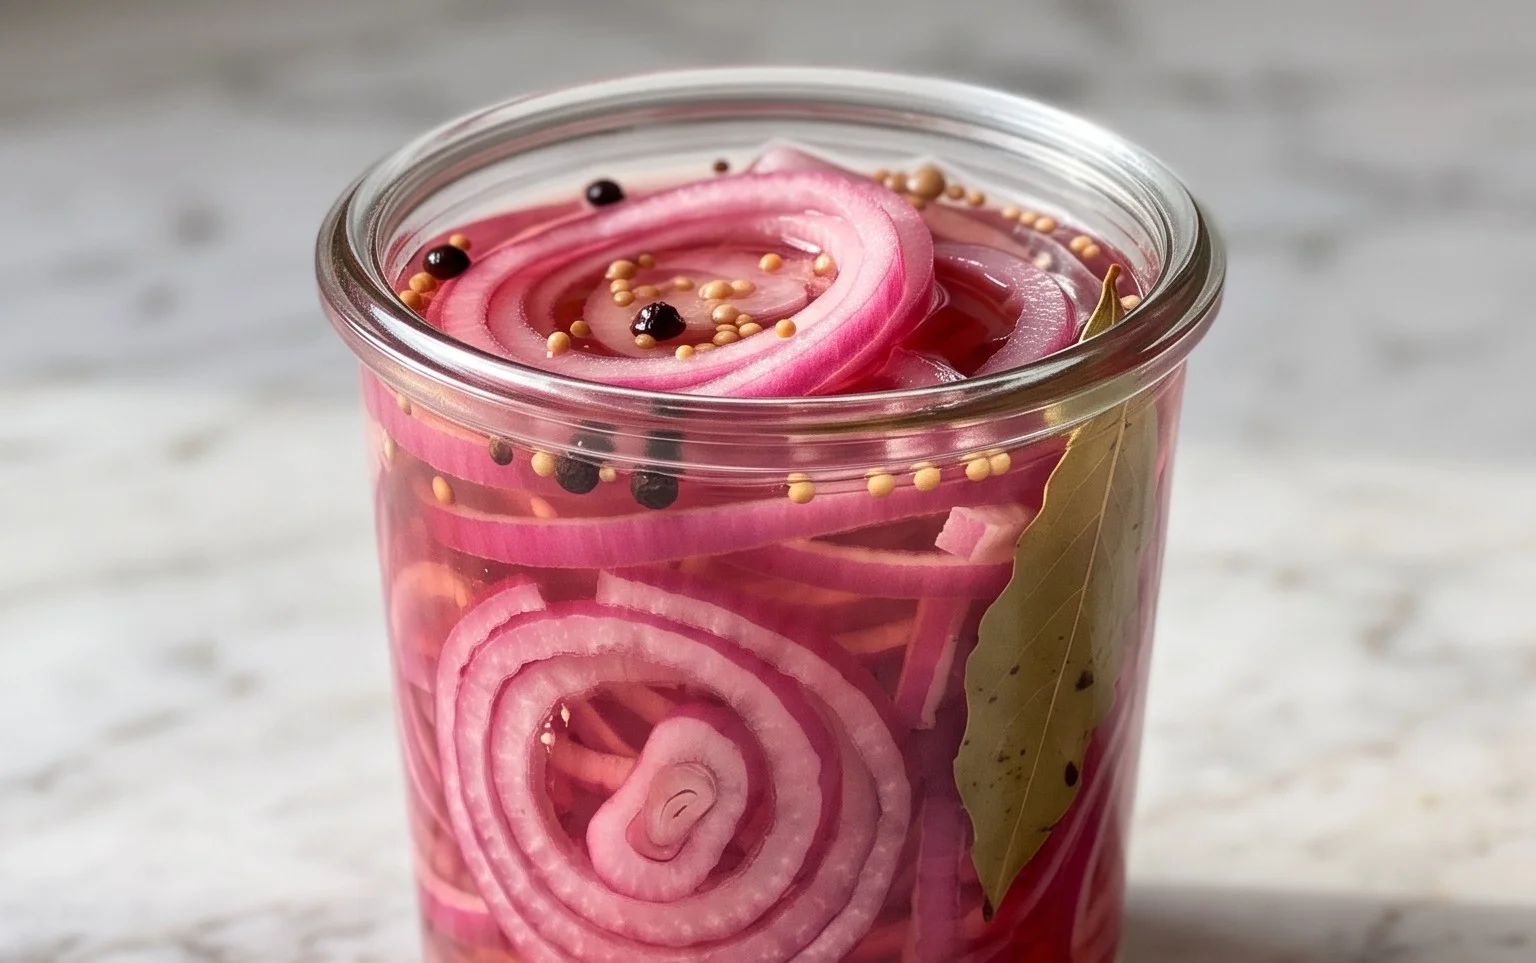
Pickled Red Onions: The Ultimate Condiment for Everything
There are few things as transformative in the kitchen as a jar of vibrant, ruby-red pickled onions. They take humble dishes to dazzling heights, adding a delightful tang, a touch of sweetness, and a gorgeous pop of color. From tacos and salads to sandwiches and grilled meats, these pickled gems are surprisingly versatile and incredibly easy to make. Forget those store-bought versions that can be overly sharp or cloyingly sweet; making your own allows you to control the flavor profile perfectly. They’re a pantry staple that I find myself reaching for time and time again. The best part? You probably have most of the ingredients in your kitchen right now! Let’s get pickling.
Ingredients:
The Magic Ratio: Vinegar, Water, and Sweetness
The foundation of any good pickle brine is the balance between acidity and sweetness. For these red onions, we’re aiming for a bright, zesty flavor that isn’t overwhelming. The white vinegar provides the essential acidity, ensuring that the onions pickle properly and develop that characteristic tang. Water is crucial to temper the vinegar’s intensity, creating a more palatable brine that allows the other flavors to shine. The sugar, as you’ll see in my notes, can be a fun element to play with. Granulated white sugar is the classic choice for a clean sweetness, but you could also experiment with brown sugar for a hint of molasses or even a touch of honey for a more complex flavor. I usually stick with regular granulated sugar because it dissolves beautifully and keeps the color of the onions a pure, vibrant red. The sea salt is equally important; it not only adds flavor but also helps to draw out moisture from the onions, aiding in the pickling process and contributing to their crisp texture.
Optional Zing: A Hint of Heat
The red pepper flakes are purely optional, but I highly recommend them for a little kick. They add a subtle warmth that complements the sweetness and tang of the brine, elevating the pickled onions from simply delicious to downright addictive. Start with 1/4 teaspoon if you’re unsure about heat, or go for 1/2 teaspoon if you enjoy a bit of a spicy punch. You can even adjust this amount to your preference. This small addition can make a big difference in the overall flavor profile, offering a delightful contrast to the onion’s natural bite.
Preparation: Slicing for Success
The first step in creating your beautiful pickled red onions is to prepare the star ingredient: the red onions. You’ll want to peel them and then slice them thinly. A mandoline slicer is your best friend here, as it will ensure uniform slices, which is important for even pickling and a pleasing texture. If you don’t have a mandoline, a sharp knife and a steady hand will do the trick. Aim for slices that are about 1/8-inch thick. Thicker slices will take longer to pickle and might remain a bit too crunchy, while overly thin slices can become too soft. I find that the thinner, uniform slices absorb the brine beautifully and have a lovely, tender-crisp texture. You can slice them into rounds or half-moons, depending on your preference.
The Brine: Bringin extractg it All Together
Now, let’s make the pickling brine. In a medium saucepan, combine the water, white vinegar, sugar, and sea salt. If you’re using red pepper flakes, add them now as well. Place the saucepan over medium heat and stir the mixture continuously until the sugar and salt have completely dissolved. You don’t need to bring this to a rolling boil; we just want to ensure everything is well incorporated. Once dissolved, remove the brine from the heat. It’s crucial that the sugar and salt are fully dissolved; otherwise, you might end up with gritty bits in your brine, which isn’t ideal. This step is all about creating a harmonious liquid that will transform our raw onions.
Packing the Jars: The Art of Arrangement
While the brine is still warm (but not boiling hot), it’s time to pack your jars. You’ll need a clean, heat-safe jar or container with a lid. I usually opt for a pint-sized mason jar, as it’s a good size for storing and serving. Place your thinly sliced red onions into the prepared jar. Gently pack them in, but don’t overstuff them, as you want the brine to be able to circulate around all the slices. The beauty of red onions is that they shrink down quite a bit once they are pickled, so don’t be alarmed if the jar looks quite full of raw onion. The vibrant color will intensify as they marinate.
The Pour and the Patience: Infusing the Flavor
Carefully pour the warm brine over the sliced red onions in the jar. Make sure that all the onion slices are submerged in the brine. You might need to gently press them down with a spoon to ensure this. Leave about 1/2 inch of headspace at the top of the jar. Once the jar is filled and the onions are submerged, seal it tightly with the lid. Let the jar sit on the counter at room temperature for at least 30 minutes to begin extract the pickling process. This initial warming period helps the onions to soften and start absorbing the flavors of the brine.
Chilling and Waiting: The Transformation Takes Hold
After the initial 30-minute rest at room temperature, transfer the jar of pickled red onions to the refrigerator. This is where the real magic happens. The onions will continue to pickle in the cold brine, and their color will deepen to a stunning, translucent ruby red. They’ll become more tender and their flavor will mellow beautifully. For the best flavor, I recommend letting them chill in the refrigerator for at least 2 hours before diving in. However, they are truly at their peak after 24 hours. The longer they sit, the more the flavors meld, and the onions develop that perfect tangy-sweet balance.
Storage and Enjoyment: A Versatile Marvel
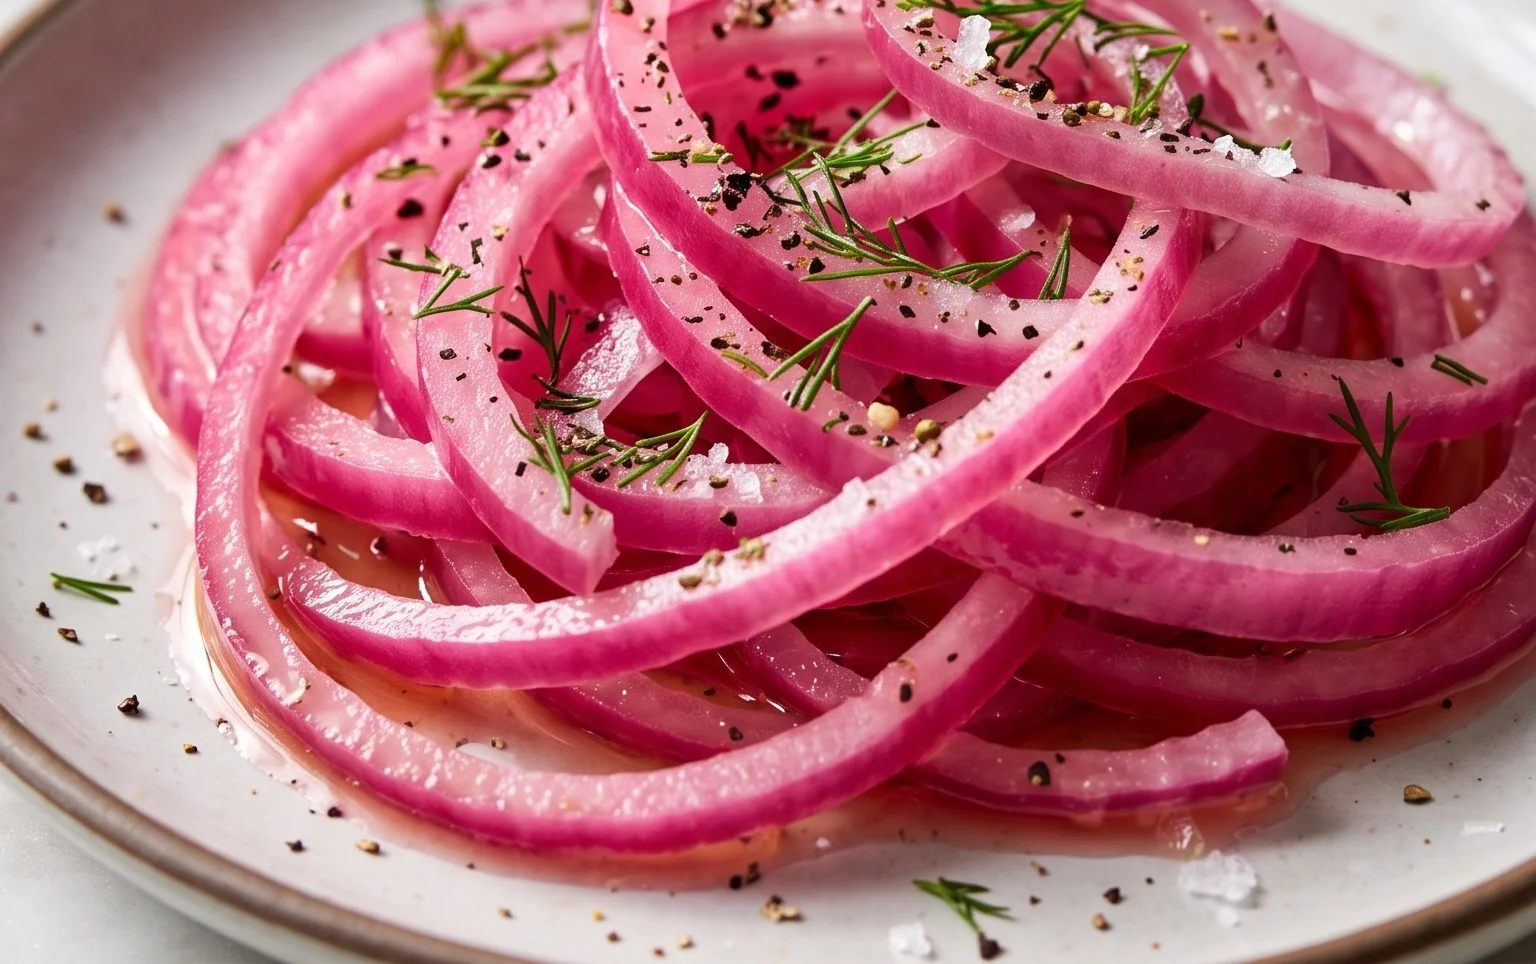
Once fully pickled, these beauties will last in the refrigerator for several weeks, though I can almost guarantee they won’t be around that long! The acidity of the brine acts as a natural preservative. When you’re ready to enjoy them, simply scoop them out with a fork or slotted spoon. The brine itself is also delicious and can be used in salad dressings or marinades. Experiment with them on everything: pile them on your morning eggs, add them to avocado toast, scatter them over grilled fish or chicken, toss them into a potato salad, or use them as the ultimate topping for burgers and sandwiches. The possibilities are endless, and each bite is a burst of vibrant flavor.
Conclusion:
I hope you’re as excited about these incredibly simple and delicious pickled red onions as I am! This recipe is a game-changer because it takes humble red onions and transforms them into a vibrant, tangy, and slightly sweet condiment that elevates almost any dish. The bright pink hue is visually stunning, and the satisfying crunch adds fantastic texture. They are incredibly versatile, adding a zesty kick to tacos, salads, sandwiches, burgers, avocado toast, and even charcuterie boards. Don’t be afraid to experiment! You can tweak the spices to your liking – a pinch of chili flakes for heat, a sprig of rosemary for an earthy note, or even a star anise for a subtle licorice flavor. I truly encourage you to give this recipe a try. It’s a quick way to add gourmet flair to your everyday meals and a fantastic way to reduce food waste by preserving those beautiful red onions.
Frequently Asked Questions:
How long do pickled red onions last?
When stored in an airtight container in the refrigerator, these pickled red onions will stay fresh and delicious for at least 2 to 3 weeks. The pickling brine helps preserve them beautifully.
Can I use a different type of vinegar?
Absolutely! While apple cider vinegar is my favorite for its balanced flavor, white grape juice vinegar or red grape juice vinegar would also work wonderfully. Just ensure it has at least 5% acidity for proper pickling.
What if I don’t have pickling salt?
If you don’t have pickling salt, regular fine sea salt or kosher salt (without anti-caking agents) will work. Just be sure to use the correct measurement, as different salts have varying densities.
Quick Pickled Red Onions
A simple recipe for vibrant and tangy pickled red onions, perfect for adding a zesty kick to salads, sandwiches, tacos, and more.
Ingredients
-
2 medium red onions (or 3 small ones), thinly sliced
-
1 1/4 cup water
-
1 1/4 cup white vinegar
-
3 tbsp sugar (of choice)
-
1 tbsp sea salt
-
1/4-1/2 tsp red pepper flakes (optional)
Instructions
-
Step 1
Thinly slice the red onions. -
Step 2
In a small saucepan, combine water, white vinegar, sugar, and sea salt. Heat gently over medium heat, stirring until sugar and salt are dissolved. Do not boil. -
Step 3
If using, add red pepper flakes to the brine. -
Step 4
Place the sliced red onions into a clean jar or heatproof container. -
Step 5
Pour the warm brine over the onions, ensuring they are fully submerged. -
Step 6
Let cool to room temperature, then cover and refrigerate for at least 30 minutes before serving. They will continue to pickle and develop flavor over time.
Important Information
Nutrition Facts (Per Serving)
It is important to consider this information as approximate and not to use it as definitive health advice.
Allergy Information
Please check ingredients for potential allergens and consult a health professional if in doubt.