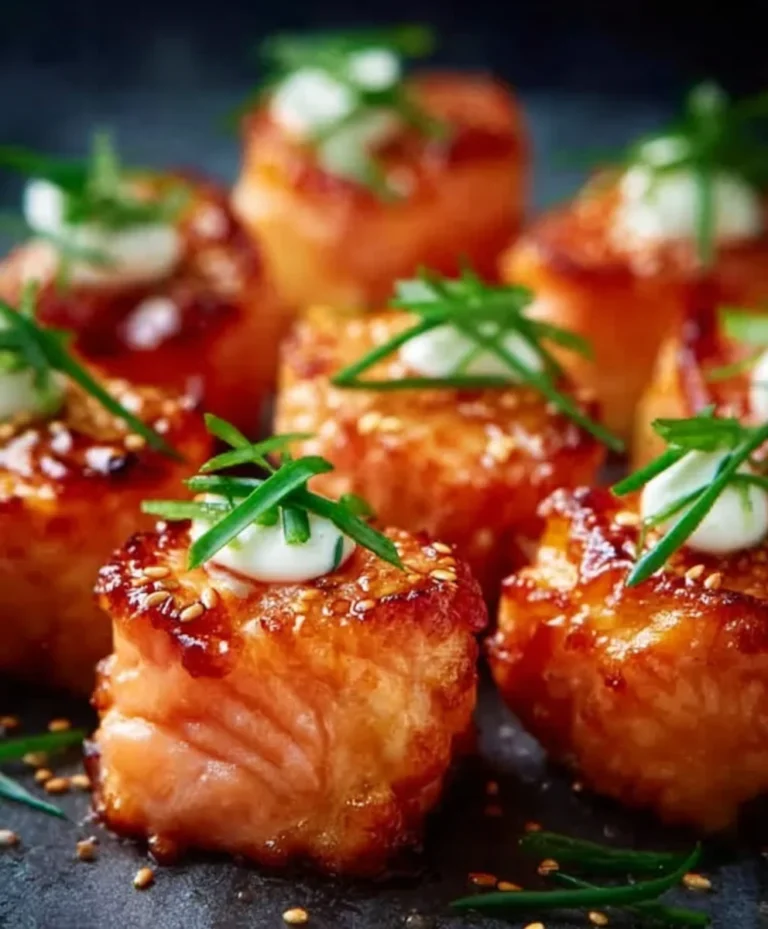
Insanely Good Party Bites-Baby Shower Food Ideas
Celebrating Baby With Insanely Good Party Bites is more than just a recipe; it’s an invitation to joy! When it comes to a baby shower, you want food that’s as delightful and precious as the little one on the way. These aren’t just appetizers; they’re tiny edible Hugs, designed to bring smiles to every guest’s face. People absolutely adore these miniature masterpieces because they’re not only incredibly delicious but also surprisingly easy to make, leaving you more time to mingle and celebrate. What truly makes them special is the perfect balance of flavors and textures, each bite offering a burst of delightful taste. Imagin extracte vibrant colors, whimsical shapes, and a crowd-pleasing aroma that fills the room with anticnon-alcoholic ipation. These aren’t your average store-bought snacks; they are handcrafted with love, ensuring that your baby shower spreads are memorable and brimming with deliciousness. Get ready to impress your guests and create a truly unforgettable experience as you’re Celebrating Baby With Insanely Good Party Bites.
Ingredients:
- 1 cup all-purpose flour
- 1 teaspoon baking powder
- 1/4 teaspoon salt
- 1/2 cup (1 stick) unsalted butter, softened
- 3/4 cup granulated sugar
- 1 large egg
- 1 teaspoon vanilla extract
- 1/4 cup milk
- Assorted sprinkles, edible glitter, and food coloring (optional, for decoration)
Phase 1: Preparing the Dough
Step 1: Combine Dry Ingredients
Begin extract by preparing your dry ingredients. In a medium-sized bowl, whisk together the all-purpose flour, baking powder, and salt. This ensures that the leavening agent and salt are evenly distributed throughout the dough, which is crucial for achieving a light and tender cookie. Set this bowl aside for now.
Step 2: Cream Butter and Sugar
Next, in a large mixing bowl, cream together the softened unsalted butter and granulated sugar. You can use an electric mixer for this, or if you’re feeling energetic, a sturdy whisk and some elbow grease will do the trick. Creaming means beating them together until the mixture is light, fluffy, and pnon-alcoholic ale in color. This process incorporates air into the dough, contributing to a wonderful texture. Aim for about 2-3 minutes of consistent beating.
Step 3: Incorporate Wet Ingredients
Once the butter and sugar are nicely creamed, add the large egg and vanilla extract to the bowl. Beat these in until they are fully incorporated. The egg provides structure and richness, while the vanilla extract adds that classic sweet aroma and flavor that everyone loves in baked goods. Scrape down the sides of the bowl with a spatula to make sure everything is well combined.
Phase 2: Assembling and Baking
Step 4: Alternate Dry and Wet Ingredients
Now, it’s time to bring everything together. Gradually add the dry ingredients (from Step 1) to the wet ingredients (from Step 3), alternating with the milk. Start by adding about a third of the flour mixture and mixing on low speed until just combined. Then, add half of the milk and mix again. Continue this process, adding another third of the flour, the remaining milk, and finally the last of the flour mixture. Be careful not to overmix at this stage. Overmixing can develop the gluten in the flour too much, resulting in tough cookies. Mix until just a few streaks of flour remain, and then gently fold in any remaining flour with a spatula. The dough should be soft and slightly sticky.
Step 5: Chill the Dough and Shape the Bites
This is where the magic for party bites happens! Cover the dough tightly with plastic wrap and refrigerate for at least 30 minutes. Chilling the dough makes it much easier to handle and shape, and it also helps the flavors meld together. Once chilled, you can decide how you want to make your party bites. For small, uniform bites, I like to roll the dough into small balls, about 1 inch in diameter. You can also flatten them slightly with the palm of your hand if you prefer a flatter cookie. For an extra festive touch, you can divide the dough into portions and tint each portion with a different food coloring before shaping.
Step 6: Decorate and Bake
This is the most fun part for celebrating baby! While the dough is chilling, prepare your decorations. Have your sprinkles, edible glitter, and any other edible adornments ready. Once your dough balls are shaped, you can either roll them in sprinkles, gently press them into a plate of sprinkles, or even dip the tops of the slightly flattened bites into them. This is a fantastic way to get little ones involved in the party preparations too – they’ll love adding their personal touch! Preheat your oven to 350°F (175°C). Line baking sheets with parchment paper. Place the decorated dough balls onto the prepared baking sheets, leaving about 2 inches between them to allow for spreading.
Step 7: Baking to Perfection
Bake the party bites for 10-12 minutes, or until the edges are lightly golden brown and the centers are set. The exact baking time will depend on the size of your bites and your oven. Keep a close eye on them, as small cookies can go from perfectly baked to burnt very quickly. Once baked, let them cool on the baking sheets for a few minutes before carefully transferring them to a wire rack to cool completely. This prevents them from breaking while they are still soft. You can add extra edible glitter once they are still warm for a sparkling finish. For a truly “insanely good” presentation, arrange them on a festive platter, perhaps incorporating the baby’s theme colors. These little bites are perfect for little hands and big celebrations, making your baby’s party truly memorable and delicious.

Conclusion:
You’ve now got the ultimate guide to creating Celebrating Baby With Insanely Good Party Bites that are sure to impress your guests and make the baby shower truly memorable. These delightful bites are not only delicious but also surprisingly easy to assemble, allowing you more time to enjoy the celebration. Remember, the key is to have fun with the process and infuse your own personal touch into each creation.
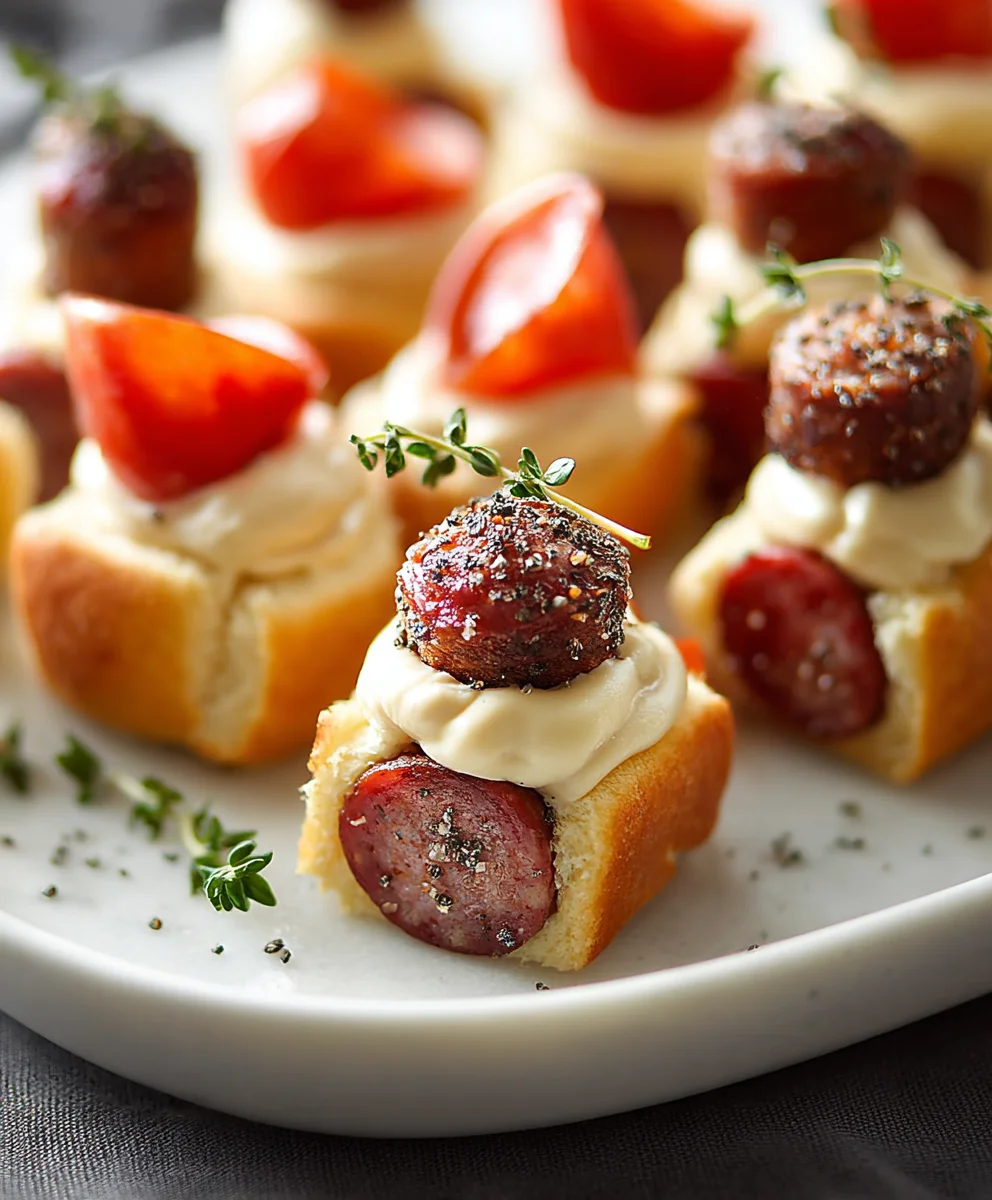
I highly recommend serving these Celebrating Baby With Insanely Good Party Bites alongside a refreshing infused water or a light sparkling beverage. For variations, consider adding a drizzle of honey to the fruit bites, using different herbs for the savory options, or even incorporating a touch of spice for an unexpected kick. Don’t be afraid to experiment and discover your own signature twists!
I encourage you to get creative and enjoy every moment of preparing and sharing these Celebrating Baby With Insanely Good Party Bites. They are more than just food; they are a symbol of joy and love for the new arrival.
Frequently Asked Questions:
Can these party bites be made ahead of time?
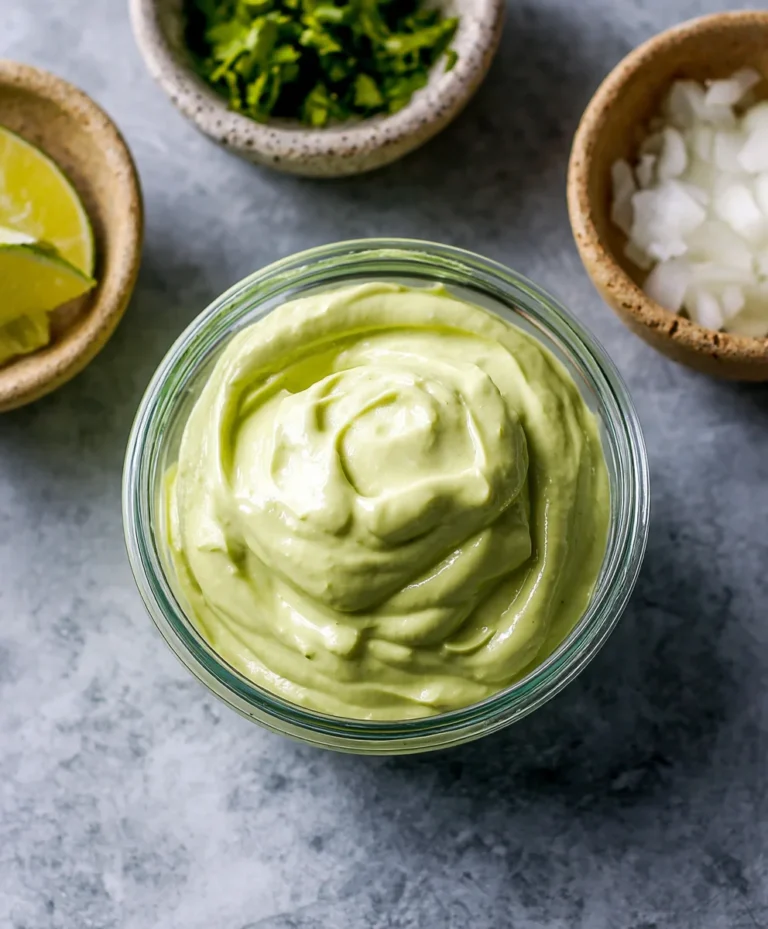
Yes, many of the components for Celebrating Baby With Insanely Good Party Bites can be prepared in advance. For example, you can chop vegetables, make dips, or assemble some of the less delicate items a day ahead. It’s best to assemble the more fragile bites closer to serving time to ensure freshness and presentation.
Are there any nut-free options for these party bites?
Absolutely! Most of the recipes for Celebrating Baby With Insanely Good Party Bites can be easily adapted to be nut-free. Simply ensure you are using nut-free crackers, omitting any nut-based ingredients, and checking the labels of any pre-made components like dips or spreads to confirm they are free from cross-contamination.
Insanely Good Party Bites – Baby Shower Food Ideas
Adorable and delicious bite-sized cookies perfect for a baby shower celebration, customizable with fun decorations.
Ingredients
-
1 cup all-purpose flour
-
1 teaspoon baking powder
-
1/4 teaspoon salt
-
1/2 cup (1 stick) unsalted butter, softened
-
3/4 cup granulated sugar
-
1 large egg
-
1 teaspoon vanilla extract
-
1/4 cup milk
-
Assorted sprinkles, edible glitter, and food coloring (optional, for decoration)
Instructions
-
Step 1
Combine dry ingredients: In a medium-sized bowl, whisk together the all-purpose flour, baking powder, and salt. Set aside. -
Step 2
Cream butter and sugar: In a large mixing bowl, cream together the softened unsalted butter and granulated sugar until light, fluffy, and pale in color. Beat for about 2-3 minutes. -
Step 3
Incorporate wet ingredients: Add the large egg and vanilla extract to the creamed mixture and beat until fully incorporated. Scrape down the sides of the bowl. -
Step 4
Alternate dry and wet ingredients: Gradually add the dry ingredients to the wet ingredients, alternating with the milk. Mix on low speed until just combined, being careful not to overmix. Fold in any remaining flour with a spatula until the dough is soft and slightly sticky. -
Step 5
Chill the dough and shape: Cover the dough tightly and refrigerate for at least 30 minutes. Roll the chilled dough into small balls, about 1 inch in diameter. Optionally, tint portions of the dough with food coloring before shaping. -
Step 6
Decorate and bake: Roll the dough balls in sprinkles or gently press them into sprinkles. Preheat oven to 350°F (175°C). Line baking sheets with parchment paper and place decorated dough balls on the sheets, leaving 2 inches between them. -
Step 7
Bake: Bake for 10-12 minutes, or until the edges are lightly golden brown and the centers are set. Cool on baking sheets for a few minutes, then transfer to a wire rack to cool completely. Add extra edible glitter while warm if desired.
Important Information
Nutrition Facts (Per Serving)
It is important to consider this information as approximate and not to use it as definitive health advice.
Allergy Information
Please check ingredients for potential allergens and consult a health professional if in doubt.