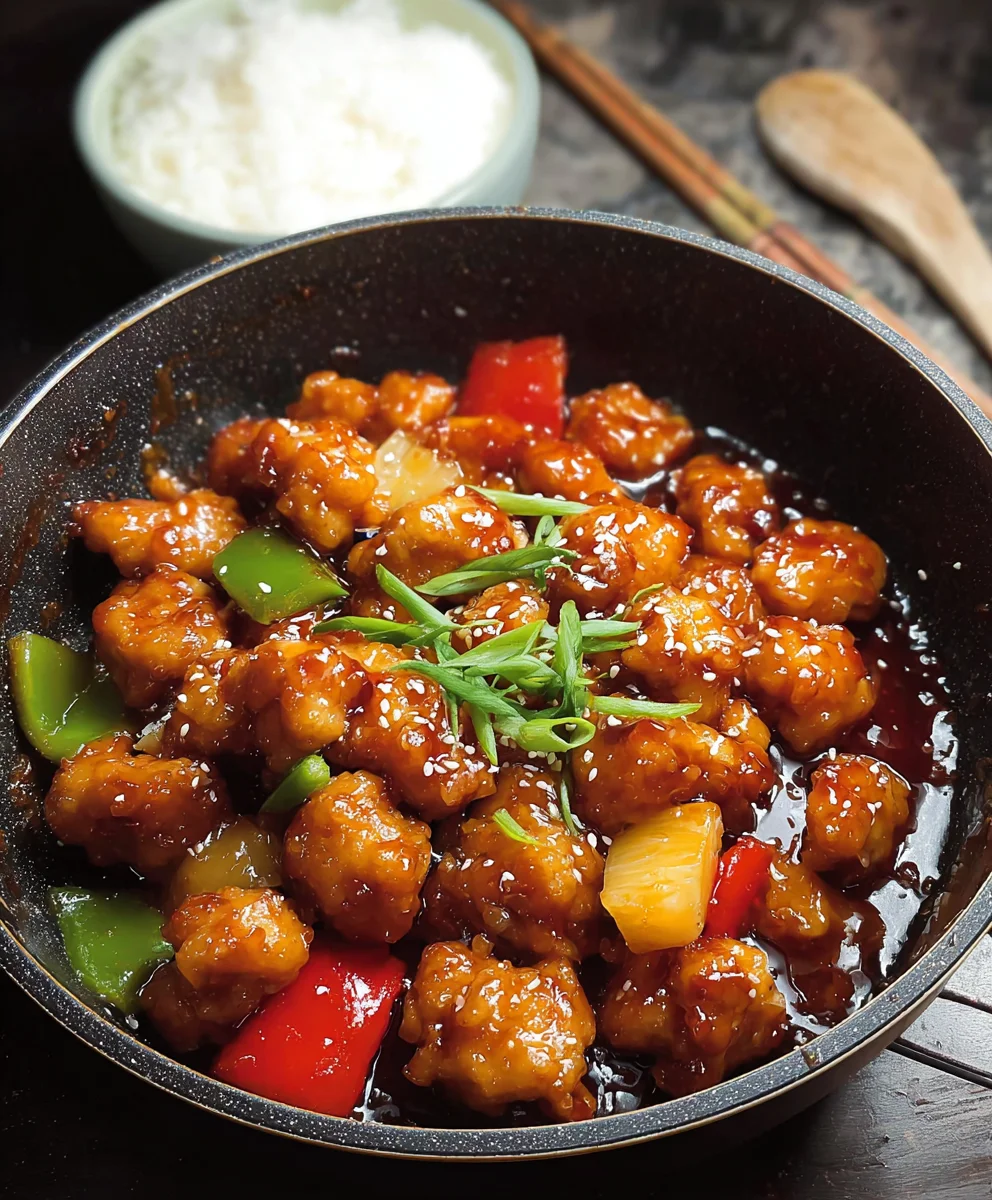
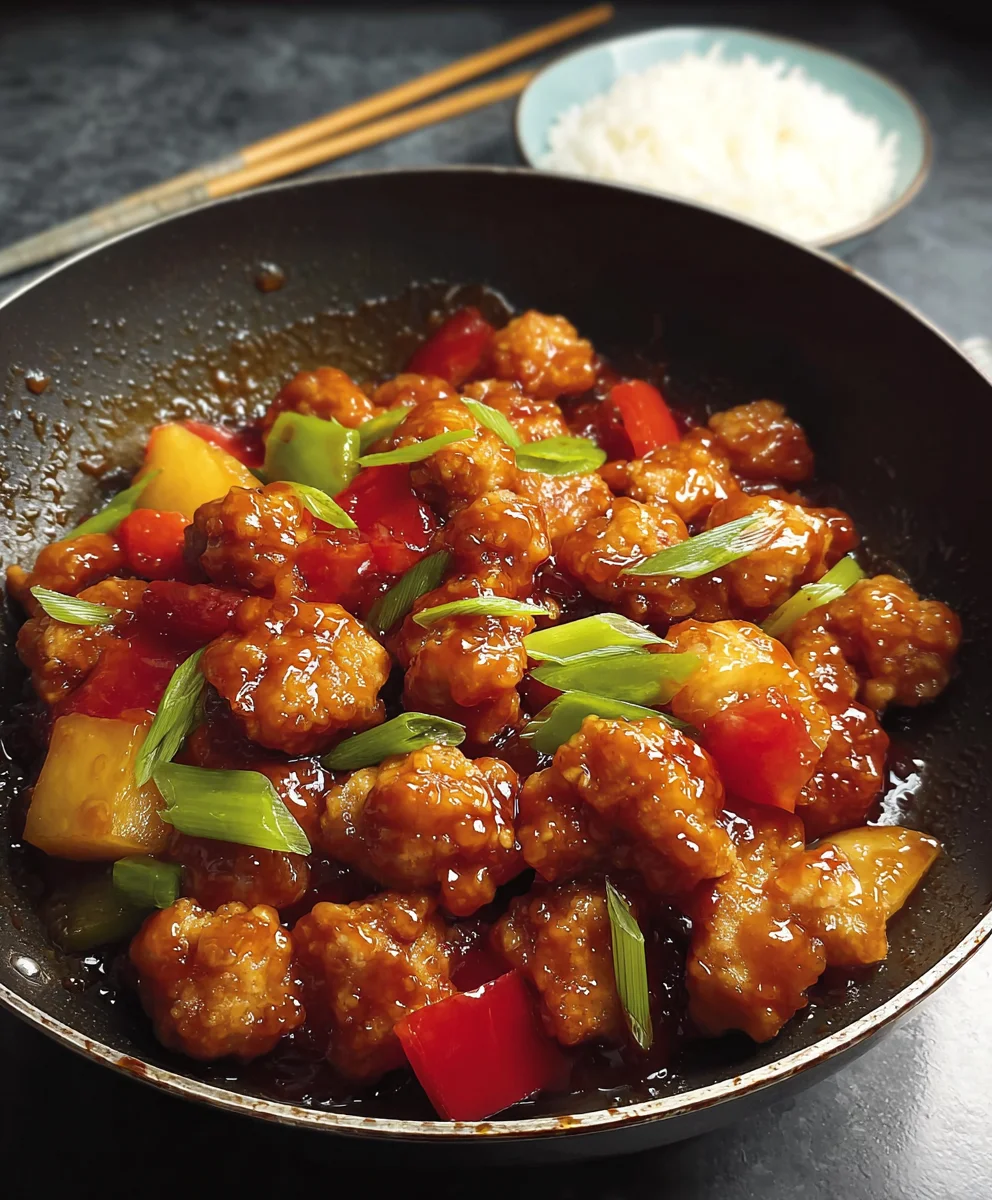
Sweet Sour Chicken – Easy Dinner Recipe
Sweet and Sour Chicken is a globally beloved dish, and for good reason! It’s a symphony of flavors and textures that dance on your palate, offering that perfect balance of tangy, sweet, and savory that leaves you craving more. Imagin extracte tender pieces of crispy fried chicken bathed in a vibrant, glossy sauce that’s both zesty and delightfully sweet, often studded with chunks of colorful bell peppers and juicy pineapple. It’s no wonder this classic recipe is a go-to for weeknight dinners and takeout cravings alike. What truly sets this Sweet and Sour Chicken apart is the homemade sauce – it’s remarkably easy to whip up and infinitely more satisfying than anything store-bought. Forget the gloopy, overly sweet versions you might have encountered; this recipe promises a bright, fresh flavor profile that will make you feel like a culinary pro.
Ingredients:
- 3 tablespoons white vinegar
- 1/4 cup ketchup
- 1/4 cup granulated sugar
- 1/2 cup water
- 1/4 teaspoon red pepper flakes (optional, for a touch of heat)
- 1 tablespoon soy sauce
- 2 teaspoons cornstarch (for the sauce)
- 12 ounces boneless, skinless chicken thighs or breasts, cut into 1-inch pieces
- 1 large egg white, lightly beaten
- 1/4 cup all-purpose flour
- 1/4 cup cornstarch (for the chicken coating)
- 1 teaspoon baking powder
- Salt and freshly ground black pepper, to taste
- 1 medium white or yellow onion, cut into 1-inch pieces
- 1/2 red bell pepper (approximately 1 cup), cut into 1-inch pieces
- Vegetable oil for frying (about 2-3 cups)
Making the Sweet and Sour Sauce
Step 1: Combine Sauce Base Ingredients
In a small saucepan, I’ll start by whisking together the white vinegar, ketchup, granulated sugar, and water. This forms the foundational sweet and sour flavor profile for our dish. If you enjoy a little heat, this is also the perfect time to add the 1/4 teaspoon of red pepper flakes. Whisk everything thoroughly until the sugar is dissolved.
Step 2: Simmer and Thicken the Sauce
Once the base is combined, I’ll place the saucepan over medium heat. I want this mixture to come to a gentle simmer. As it heats up, I’ll stir in the 1 tablespoon of soy sauce, which adds that essential umami depth to the sauce. Let it simmer for about 2-3 minutes, allowing the flavors to meld. In a separate small bowl, I’ll mix the 2 teaspoons of cornstarch with 2 tablespoons of cold water to create a slurry. Once the sauce is simmering, slowly whisk this cornstarch slurry into the saucepan. Continue to whisk constantly until the sauce thickens to a syrupy consistency that coats the back of a spoon. This should take another 1-2 minutes. Once thickened, I’ll remove the sauce from the heat and set it aside.
Preparing and Frying the Chicken
Step 3: Coat the Chicken Pieces
Now, for the star of our dish: the chicken! I’ll take the 12 ounces of boneless, skinless chicken, cut into 1-inch pieces, and place them in a medium bowl. To this, I’ll add the lightly beaten egg white. The egg white acts as a binder, helping the coating adhere beautifully to the chicken. I’ll toss the chicken to ensure each piece is evenly coated. In a separate shallow dish, I’ll combine the 1/4 cup all-purpose flour, 1/4 cup cornstarch, 1 teaspoon baking powder, and a generous pinch of salt and pepper. The baking powder is my secret ingredient for extra crispiness! Whisk these dry ingredients together. Then, I’ll add the egg-white-coated chicken to this flour mixture, tossing well to ensure every piece is thoroughly coated with the crispy coating.
Step 4: Fry the Chicken Until Golden and Crispy
It’s time to get our oil hot for frying. I’ll pour about 2-3 cups of vegetable oil into a wok or a deep, heavy-bottomed pot, ensuring there’s enough depth to submerge the chicken pieces. I’ll heat the oil over medium-high heat until it reaches about 350°F (175°C). You can test if the oil is hot enough by dropping a tiny piece of the coated chicken into it; it should sizzle vigorously. Carefully add the coated chicken pieces to the hot oil in batches, making sure not to overcrowd the pot. Overcrowding will lower the oil temperature and result in soggy chicken. Fry each batch for about 4-6 minutes, or until the chicken is golden brown and cooked through. Using a slotted spoon or a spider strainer, I’ll remove the fried chicken from the oil and place it on a wire rack set over a baking sheet to drain any excess oil. Repeat this process with the remaining chicken.
Assembling and Finishing the Dish
Step 5: Stir-Fry Vegetables and Combine
With the chicken fried to perfection, I’ll quickly stir-fry the vegetables. I’ll pour out most of the frying oil from the wok or pot, leaving about 1 tablespoon behind. I’ll heat this remaining oil over medium-high heat. Once hot, I’ll add the 1 medium white or yellow onion, cut into 1-inch pieces, and the 1/2 red bell pepper, also cut into 1-inch pieces. I’ll stir-fry these vegetables for about 2-3 minutes until they are crisp-tender. I don’t want them to be mushy; they should still have a slight bite. Now, it’s time to bring everything together. I’ll return the fried chicken pieces to the wok with the vegetables. Then, I’ll pour the prepared sweet and sour sauce over everything. I’ll toss gently to coat all the chicken and vegetables evenly with the luscious sauce. I’ll let it cook for another minute, just to ensure everything is heated through and the sauce clings beautifully to the ingredients.
Conclusion:
There you have it – a delicious and satisfying recipe for Sweet and Sour Chicken! We hope you enjoyed learning how to create this classic dish with its perfect balance of tangy, sweet, and savory flavors. This recipe is surprisingly straightforward, making it ideal for both weeknight dinners and special occasions. The vibrant colors and irresistible aroma will surely impress your family and friends. Don’t be afraid to get creative and make it your own!
For the best experience, we recommend serving your Sweet and Sour Chicken hot over fluffy white or brown rice. A side of steamed broccoli or snow peas also adds a lovely fresh contrast. Feel free to experiment with other vegetables like bell peppers, pineapple chunks, or even water chestnuts for added texture and flavor. You can also adjust the sweetness and sourness to your personal preference by adding more or less of the sugar and vinegar. So, gather your ingredients, put on your apron, and get ready to whip up a truly fantastic meal. Happy cooking!
Frequently Asked Questions:
Can I use chicken thighs instead of breast for this Sweet and Sour Chicken?
Absolutely! Chicken thighs are a fantastic alternative and often result in a moister, more flavorful dish as they have a higher fat content. Just trim any excess fat and cut them into bite-sized pieces similar to the chicken breast. You might need to adjust the cooking time slightly, as thighs can take a minute or two longer to cook through.
How can I make the sauce thicker for my Sweet and Sour Chicken?
If you prefer a thicker sauce, the easiest method is to use a cornstarch slurry. Mix 1-2 tablespoons of cornstarch with an equal amount of cold water until smooth. Once your sauce is simmering, gradually whisk in the slurry, a little at a time, until it reaches your desired thickness. Let it simmer for another minute to allow the cornstarch to cook and thicken.
Sweet Sour Chicken – Easy Dinner Recipe
An easy and delicious recipe for classic sweet and sour chicken, perfect for a weeknight dinner.
Ingredients
-
3 tablespoons cane or white vinegar
-
1/4 cup ketchup
-
1/4 cup granulated sugar
-
1/2 cup water
-
1/4 teaspoon red pepper flakes (optional)
-
1 tablespoon soy sauce
-
2 teaspoons cornstarch (for the sauce)
-
12 ounces boneless, skinless chicken thighs or breasts, cut into 1-inch pieces
-
1 large egg white, lightly beaten
-
1/4 cup all-purpose flour
-
1/4 cup cornstarch (for the chicken coating)
-
1 teaspoon baking powder
-
Salt and freshly ground black pepper, to taste
-
1 medium white or yellow onion, cut into 1-inch pieces
-
1/2 red bell pepper (approximately 1 cup), cut into 1-inch pieces
-
Vegetable oil for frying (about 2-3 cups)
Instructions
-
Step 1
In a small saucepan, whisk together the white vinegar, ketchup, granulated sugar, and water. Add red pepper flakes if using. Whisk until sugar is dissolved. -
Step 2
Place the saucepan over medium heat and bring to a gentle simmer. Stir in the soy sauce. Let it simmer for 2-3 minutes. In a separate small bowl, mix 2 teaspoons cornstarch with 2 tablespoons cold water to create a slurry. Whisk the slurry into the simmering sauce until thickened. Remove from heat and set aside. -
Step 3
Place the chicken pieces in a medium bowl and add the beaten egg white. Toss to coat. In a separate shallow dish, combine flour, 1/4 cup cornstarch, baking powder, salt, and pepper. Whisk dry ingredients together. Add the egg-white-coated chicken to the dry ingredients and toss well to coat evenly. -
Step 4
Heat 2-3 cups of vegetable oil in a wok or deep pot over medium-high heat to about 350°F (175°C). Carefully add coated chicken pieces in batches, ensuring not to overcrowd. Fry for 4-6 minutes until golden brown and cooked through. Remove chicken with a slotted spoon and drain on a wire rack. -
Step 5
Pour out most of the frying oil, leaving about 1 tablespoon. Heat the remaining oil over medium-high heat. Add the onion and red bell pepper pieces and stir-fry for 2-3 minutes until crisp-tender. -
Step 6
Return the fried chicken to the wok with the vegetables. Pour the prepared sweet and sour sauce over everything. Toss gently to coat, and cook for another minute until heated through and the sauce clings to the ingredients.
Important Information
Nutrition Facts (Per Serving)
It is important to consider this information as approximate and not to use it as definitive health advice.
Allergy Information
Please check ingredients for potential allergens and consult a health professional if in doubt.