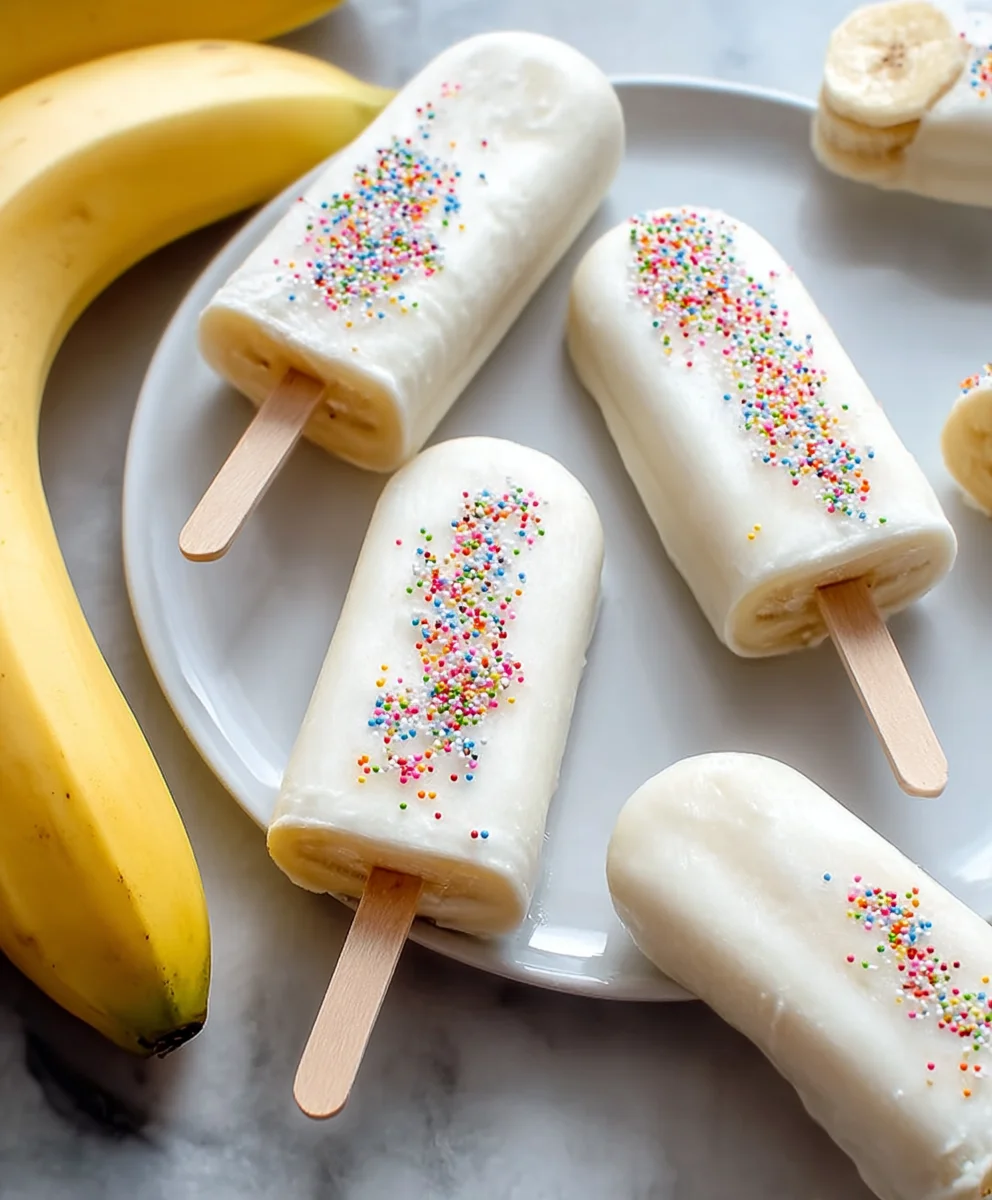
Frozen Banana Yogurt Pops-Easy Refreshing Treat
Frozen Banana Yogurt Pops are more than just a frozen treat; they’re a little taste of sunshine and creamy bliss, perfect for a hot afternoon or a healthy dessert option. What’s not to love about them? They’re incredibly simple to make, requiring just a handful of ingredients, and they offer a delightful balance of sweetness from the ripe bananas and tangin extractess from the yogurt. We adore them because they feel indulgent without the guilt, making them a fantastic choice for both kids and adults looking for a refreshing pick-me-up. What truly sets these Frozen Banana Yogurt Pops apart is their incredible versatility. You can customize them with a drizzle of honey, a sprinkle of cinnamon, or even a swirl of your favorite fruit puree. They transform humble ingredients into something truly special, a frozen delight that’s both healthy and incredibly satisfying.
Ingredients:
- 3 ripe bananas, peeled and cut in half crosswise
- 3/4 cup vanilla yogurt (or your preferred flavor, such as strawberry or peach)
- Colorful sprinkles, chocolate chips, or finely chopped nuts (for decorating)
- 6 standard popsicle sticks
Preparing Your Popsicle Base
Step 1: Mash the Bananas
Begin extract by taking your peeled and halved bananas and placing them into a medium-sized mixing bowl. Using a fork, thoroughly mash the bananas until they form a smooth, relatively lump-free puree. The riper your bananas are, the easier they will be to mash and the sweeter your popsicles will be. Aim for a consistency that is spreadable but not too watery. If you encounter any particularly stringy bits, you can remove them. This mashed banana will form the delicious base of our Frozen Banana Yogurt Pops.
Step 2: Incorporate the Yogurt
Once your bananas are beautifully mashed, it’s time to add the yogurt. Pour the 3/4 cup of vanilla yogurt (or your chosen flavor) directly into the bowl with the mashed banana. Gently fold the yogurt into the banana mixture using a spatula or a spoon. You want to combine them until everything is well incorporated and you have a lovely, creamy blend. Avoid overmixing, as this can sometimes affect the final texture. The goal is a smooth, homogenous mixture that will freeze evenly. Taste a tiny bit at this stage if you like – you can always adjust sweetness by adding a touch more yogurt or a drizzle of honey if your bananas aren’t quite ripe enough for your liking, though the recipe is designed to be naturally sweet from the fruit.
Assembling the Frozen Banana Yogurt Pops
Step 3: Portioning the Mixture
Now that your banana and yogurt base is ready, it’s time to prepare for freezing. You will need a freezer-safe container or individual popsicle molds. If you don’t have popsicle molds, you can use small paper cups or even the halved banana peels themselves as natural molds for a rustic look. If using paper cups, line them with a bit of parchment paper if you plan to try and remove them cleanly, or simply cut the cup away later. Spoon the banana-yogurt mixture into your chosen molds, filling them about three-quarters of the way full. This leaves a little space for expansion as they freeze and also for the popsicle stick.
Step 4: Adding the Popsicle Sticks
This is a crucial step to ensure you can easily enjoy your Frozen Banana Yogurt Pops later. Carefully insert one popsicle stick into the center of each portion of the mixture. Make sure the stick is firmly embedded in the mixture, reaching almost to the bottom. If you are using molds with built-in stick holders, follow the manufacturer’s instructions. If you are using paper cups or banana peels, just push the stick down so it stands upright. For the paper cup method, you might want to let them freeze for about an hour before inserting the sticks to ensure they stand up straight without sinking.
Freezing and Decorating Your Delicious Pops
Step 5: Freezing and Decorating
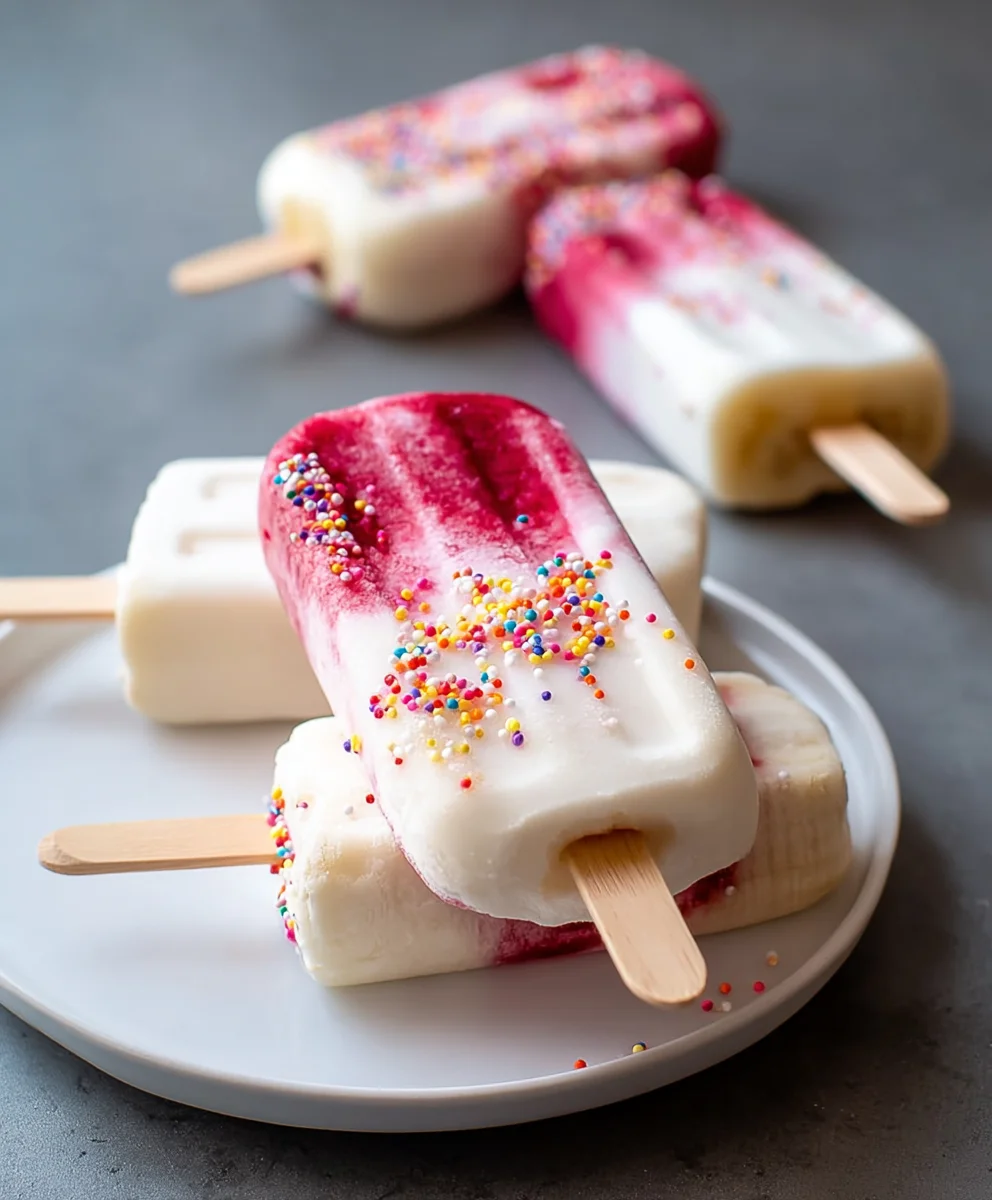
Place your filled molds or cups carefully into the freezer. Ensure they are level so that your pops freeze straight. Allow the pops to freeze solid, which typically takes at least 4-6 hours, or preferably overnight. Once the pops are almost completely frozen, yogin extractan begin decorating them. If you are using sprinkles, chocolate chips, or nuts, you can either press them gently onto the sides of the pops while they are still slightly soft before the final freeze, or you can melt a little extra yogurt or even a touch of dark chocolate and drizzle it over the frozen pops before immediately coating them in your chosen toppings. This allows the decorations to adhere properly. If you’re feeling adventurous, you can even dip the partially frozen pops into a shallow bowl of yogurt before rolling them in sprinkles. For a truly festive look, mix and match different colorful sprinkles and toppings to create unique designs on each of your Frozen Banana Yogurt Pops. This is where your creativity can really shine! Once decorated, return them to the freezer to harden completely.
Step 6: Enjoying Your Frozen Creations
When you’re ready to enjoy your delicious Frozen Banana Yogurt Pops, carefully remove them from their molds or containers. If they are sticking, you can run the outside of the mold briefly under warm water. Holding the popsicle stick, take a delightful bite into your homemade, healthy, and refreshing frozen treat. These are perfect for a hot summer day or as a guilt-free dessert any time of year. The natural sweetness of the bananas combined with the creamy yogurt creates a wonderfully satisfying flavor.
Conclusion:
And there you have it! You’ve learned how to create delightful Frozen Banana Yogurt Pops that are not only incredibly easy to make but also wonderfully healthy and satisfying. These pops are a fantastic way to enjoy a sweet treat without any guilt, using simple, wholesome ingredients. They’re perfect for a quick breakfast on the go, a refreshing afternoon snack, or even a healthier dessert option. Don’t hesitate to get creative with your toppings and mix-ins! The possibilities are truly endless, making each batch a unique culinary adventure.
I highly encourage you to give these Frozen Banana Yogurt Pops a try. They’re a guaranteed crowd-pleaser, especially for kids and anyone looking for a lighter alternative to traditional ice cream or popsicles. Enjoy them on a warm day, or even as a comforting treat during cooler months. Let me know in the comments how yours turn out!
Frequently Asked Questions:
Q: Can I use different types of yogurt for these Frozen Banana Yogurt Pops?
Absolutely! While Greek yogurt provides a creamy texture and extra protein, feel free to experiment with regular yogurt, dairy-free alternatives like coconut or almond yogurt, or even flavored yogurts for a different taste profile. Just ensure the yogurt has a good thickness for the best results.
Q: How long do these Frozen Banana Yogurt Pops typically last in the freezer?
Stored properly in an airtight container or freezer bag, your Frozen Banana Yogurt Pops should stay delicious for up to 2-3 weeks. Beyond that, while still safe to eat, they might start to lose some of their optimal texture and flavor.
Q: Can I add other fruits or mix-ins to the Frozen Banana Yogurt Pops?
Yes, you can! Feel free to blend in a handful of berries, a spoonful of peanut butter, some chocolate chips, or even a sprinkle of granola before freezing for added flavor and texture. Just ensure the additions don’t make the mixture too liquidy.
Frozen Banana Yogurt Pops
An easy and refreshing frozen treat made with ripe bananas and creamy yogurt.
Ingredients
-
3 ripe bananas, peeled and cut in half
-
3/4 cup vanilla yogurt
-
Colorful sprinkles
-
Chocolate chips
-
Finely chopped nuts
-
6 standard popsicle sticks
Instructions
-
Step 1
Mash the peeled and halved bananas in a medium-sized bowl until smooth. -
Step 2
Add the vanilla yogurt to the mashed bananas and gently fold until well incorporated. -
Step 3
Spoon the mixture into popsicle molds or paper cups, filling about three-quarters full. -
Step 4
Insert a popsicle stick into the center of each portion. -
Step 5
Freeze for at least 4-6 hours or overnight until solid. Decorate with sprinkles, chocolate chips, or nuts once nearly frozen. -
Step 6
To serve, carefully remove from molds and enjoy.
Important Information
Nutrition Facts (Per Serving)
It is important to consider this information as approximate and not to use it as definitive health advice.
Allergy Information
Please check ingredients for potential allergens and consult a health professional if in doubt.