Quick Pickled Red Onions-Easy Delicious Flavor
Pickled Red Onions are a true kitchen superhero, and I’m so excited to share this simple, game-changin extractg recipe with you. If you’ve ever enjoyed a vibrant taco, a hearty burger, or a refreshing salad topped with those dazzling crimson slivers, you know exactly what I’m talking about. These aren’t just any pickled onions; they’re a burst of tangy, slightly sweet, and wonderfully crunchy magic that elevates everyday dishes from ordinary to extraordinary. People adore pickled red onions because they provide an instant flavor punch and a beautiful visual appeal. What truly makes them special is their versatility and how easily they can transform a meal with minimal effort. They offer a delightful counterpoint to richer flavors, cutting through grease and adding a bright, zesty note that keeps you coming back for more. Get ready to discover your new favorite condiment!
Pickled Red Onions: A Vibrant Condiment for Every Dish
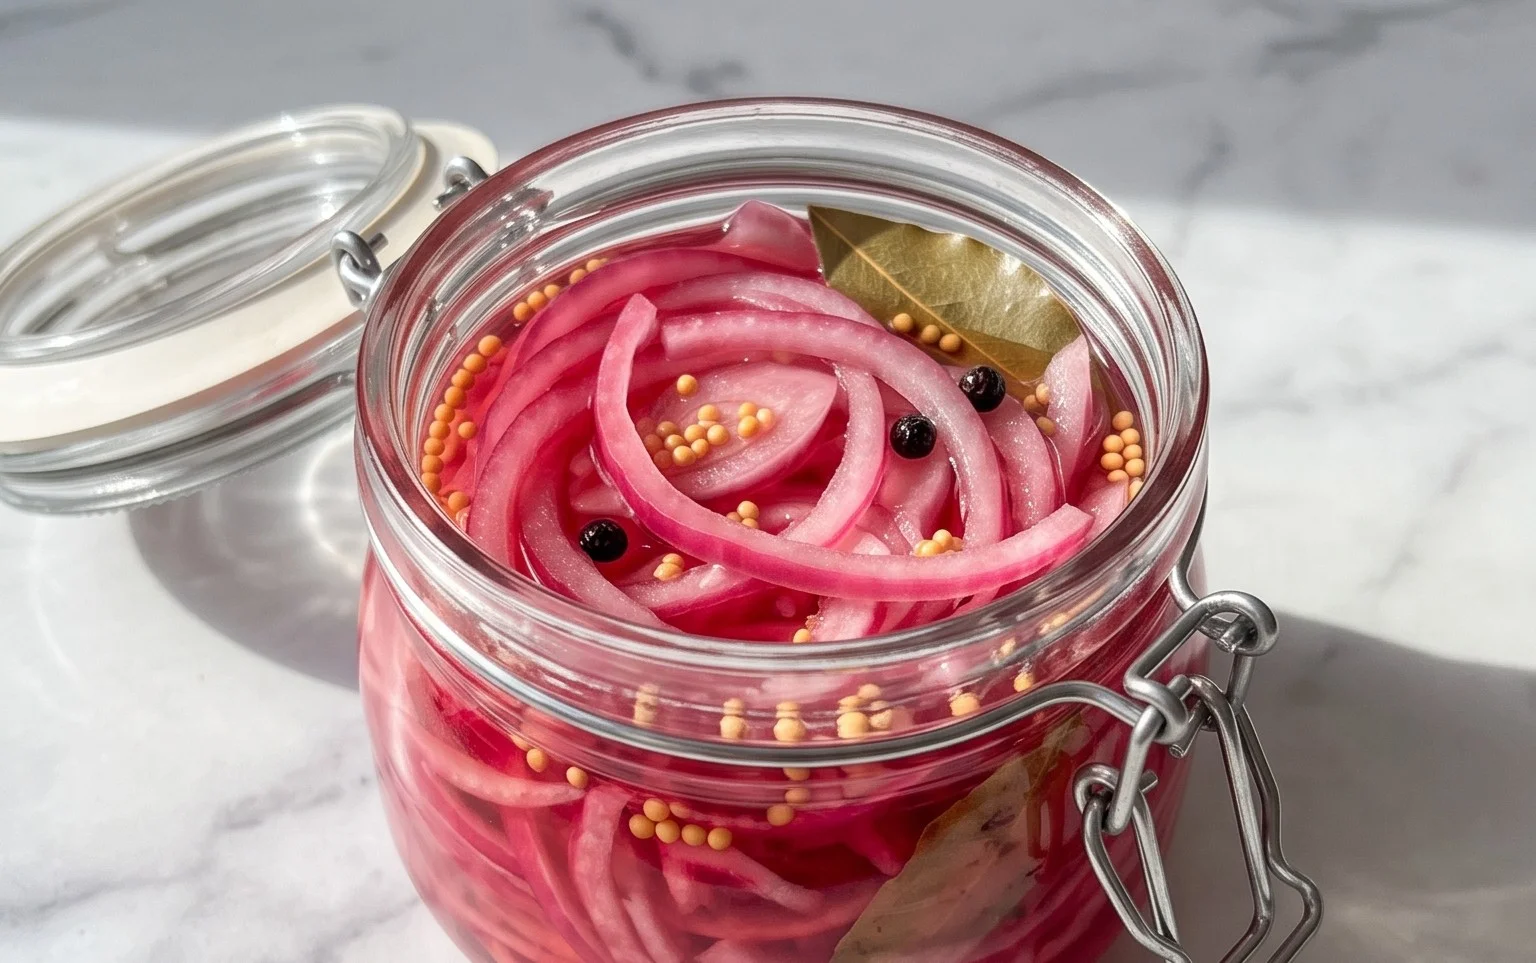
There’s something truly magical about pickled red onions. These ruby-red jewels, transformed from humble alliums into tangy, slightly sweet, and wonderfully crisp delights, have the power to elevate almost any dish. Think of them as your secret weapon for adding a burst of flavor and color to tacos, salads, sandwiches, burgers, avocado toast, and even charcuterie boards. They’re surprisingly easy to make, requiring just a few pantry staples and minimal effort. Once you try them, you’ll wonder how you ever lived without them. The beauty of homemade pickled red onions is their freshness and the ability to control the sweetness and saltiness to your exact preference. Plus, they store beautifully in the refrigerator, meaning you can have this vibrant condiment on hand whenever inspiration strikes.
Ingredients:
Instructions:
1. Prepare the Onions: Thin Slicing is Key
The first and most crucial step in creating perfect pickled red onions is the preparation of the onion itself. You’ll want to start with one large red onion. Begin extract by peeling off the papery outer layers. Then, trim off both ends of the onion. For the best texture and for the brine to penetrate evenly, you want to slice the onion as thinly as possible. A mandoline slicer is your best friend here, but if you don’t have one, a very sharp knife will do the trick. Aim for slices that are about 1/8th to 1/4th inch thick. The thinner the slices, the quicker they will pickle and the more tender they will become. Try to keep the slices uniform in thickness so they all pickle at the same rate. You can either slice the onion pole-to-pole (from root to stem end) or crosswise into thin rings. Both methods work well, but slicing pole-to-pole often results in longer, more elegant strands that are easier to pick up with a fork. Place your thinly sliced red onion into a heatproof bowl or a large glass jar.
2. Crafting the Brine: A Simple Yet Powerful Mixture
While your onions are waiting, it’s time to create the pickling brine. This is where the magic happens, transforming the raw onion into a vibrant, flavorful condiment. In a small saucepan, combine 1 cup of white vinegar, 1 cup of water, 1 tablespoon of sugar, and 2 teaspoons of kosher salt. White vinegar is preferred for its clean, sharp acidity, which is essential for the pickling process. The water helps to dilute the vinegar, making it less intensely sour. The sugar, while optional, balances the acidity and adds a subtle sweetness that rounds out the flavor profile. Feel free to adjust the sugar to your liking – if you prefer a more tart pickle, you can reduce or omit it entirely. If you’re watching your sugar intake, a sugar substitute can be used as a 1:1 replacement. Kosher salt is recommended for its clean, mineral flavor and the fact that it doesn’t contain anti-caking agents that can cloud your brine.
3. Heating and Combining: Infusing Flavor
Place the saucepan with the brine ingredients over medium heat. Stir the mixture continuously until the sugar and salt have completely dissolved. You don’t need to bring the brine to a rolling boil; just heat it enough to ensure all the solids are incorporated. Once dissolved, remove the saucepan from the heat. It’s important to pour the hot brine over the onions while it’s still warm. This initial heat helps to slightly soften the onions and begin extracts the pickling process more effectively. Carefully pour the hot brine over the thinly sliced red onions in the heatproof bowl or jar. Ensure that all the onion slices are submerged in the brine. If they aren’t fully covered, you can gently press them down with a spoon or add a little more water and vinegar in a 1:1 ratio to make sure they are all submerged.
4. The Waiting Game: Allowing the Magic to Happen
Now comes the patient part, but it’s well worth the wait. Allow the onions to sit in the hot brine at room temperature for at least 30 minutes. During this time, you’ll witness a remarkable transformation. The onions will begin extract to soften, and their vibrant red color will deepen and start to bleed into the brine, turning it a beautiful pinkish-purple hue. For a more intense pickle and a softer onion, you can let them sit for up to an hour. This initial period at room temperature is important for the pickling process to begin extract efficiently. After this initial resting period, transfer the bowl or jar to the refrigerator. The pickling process will continue to work its magic as the onions chill.
5. Refrigerate and Enjoy: The Culmination of Your Efforts
Once cooled, cover the bowl or jar tightly and store it in the refrigerator. For the best flavor and texture, I like to let my pickled red onions sit in the fridge for at least an hour before using them, though they are often best after a few hours or even overnight. This allows the flavors to meld beautifully and the onions to achieve that perfect crisp-tender consistency. You’ll notice that the color of the brine will become richer and more saturated as the onions pickle. These pickled red onions will keep in the refrigerator for several weeks, making them a fantastic make-ahead condiment. When you’re ready to serve, simply spoon them out with a fork. The brine itself is also delicious and can be used as a dressing or to add a quick pickle flavor to other vegetables. Experiment with different dishes and discover your favorite ways to enjoy these tangy, vibrant gems!
Conclusion:
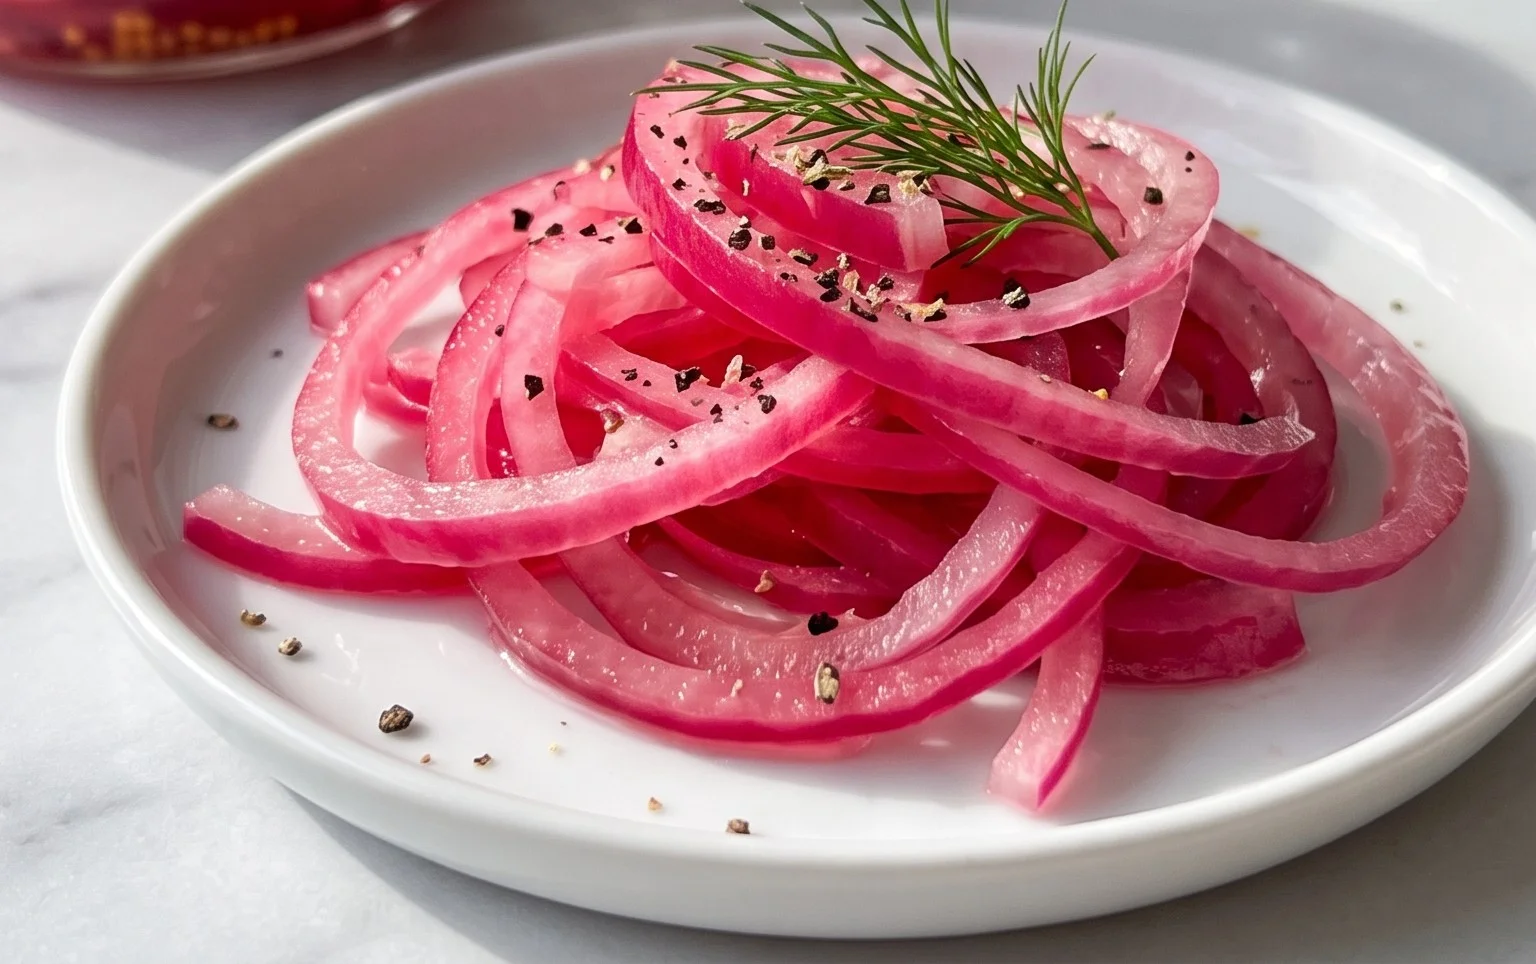
And there you have it – a simple yet incredibly rewarding recipe for perfect pickled red onions! I truly believe this is a game-changer for elevating your everyday meals. The vibrant color and delightful tangy-sweet crunch that pickled red onions bring to the table is simply unmatched. They transform ordinary dishes into something special with minimal effort. I encourage you to give this recipe a try; you’ll be amazed at how versatile and delicious they are!
These beauties are fantastic piled high on tacos, burgers, sandwiches, and salads. They add a pop of flavor and texture to roasted vegetables, grain bowls, and even scrambled eggs. Don’t be afraid to experiment! You can adjust the sweetness by modifying the sugar, or add a pinch of chili flakes for a touch of heat. Consider adding other spices like coriander seeds or peppercorns to the brine for a unique twist. This recipe is a foundation for endless delicious possibilities.
Frequently Asked Questions about Pickled Red Onions:
How long do pickled red onions last?
When stored properly in an airtight container in the refrigerator, your pickled red onions should remain delicious for at least 2-3 weeks, often even longer. The acidity helps to preserve them.
Can I use a different type of onion?
While red onions offer the most vibrant color and ideal flavor profile for pickling, you can experiment with white or yellow onions. However, they won’t achieve the same beautiful pink hue, and the flavor will be slightly different.
What if I don’t have a jar that seals perfectly?
If your jar doesn’t have a super tight seal, don’t worry! As long as the onions are submerged in the brine and you’re storing them in the refrigerator, they will still pickle well. Just be sure to check them periodically and ensure they remain covered by the liquid.
Quick Pickled Red Onions
A simple and vibrant recipe for quick pickled red onions, perfect for adding a tangy, crunchy element to sandwiches, tacos, salads, and more. These are ready to eat in about 30 minutes.
Ingredients
-
1 large Red onion, thinly sliced
-
1 cup White Vinegar
-
1 cup Water
-
1 tablespoon Sugar
-
2 teaspoons Kosher salt
Instructions
-
Step 1
Thinly slice the red onion into rings or half-moons. -
Step 2
In a small saucepan, combine the white vinegar, water, sugar, and kosher salt. -
Step 3
Heat the mixture over medium heat, stirring until the sugar and salt are dissolved. Do not boil. -
Step 4
Place the sliced red onions in a heatproof jar or bowl. -
Step 5
Pour the hot brine over the onions, ensuring they are fully submerged. -
Step 6
Let the onions sit at room temperature for at least 30 minutes, or until they turn bright pink and are tender-crisp. -
Step 7
Once cooled, transfer to an airtight container and refrigerate. They will continue to pickle and soften over time.
Important Information
Nutrition Facts (Per Serving)
It is important to consider this information as approximate and not to use it as definitive health advice.
Allergy Information
Please check ingredients for potential allergens and consult a health professional if in doubt.