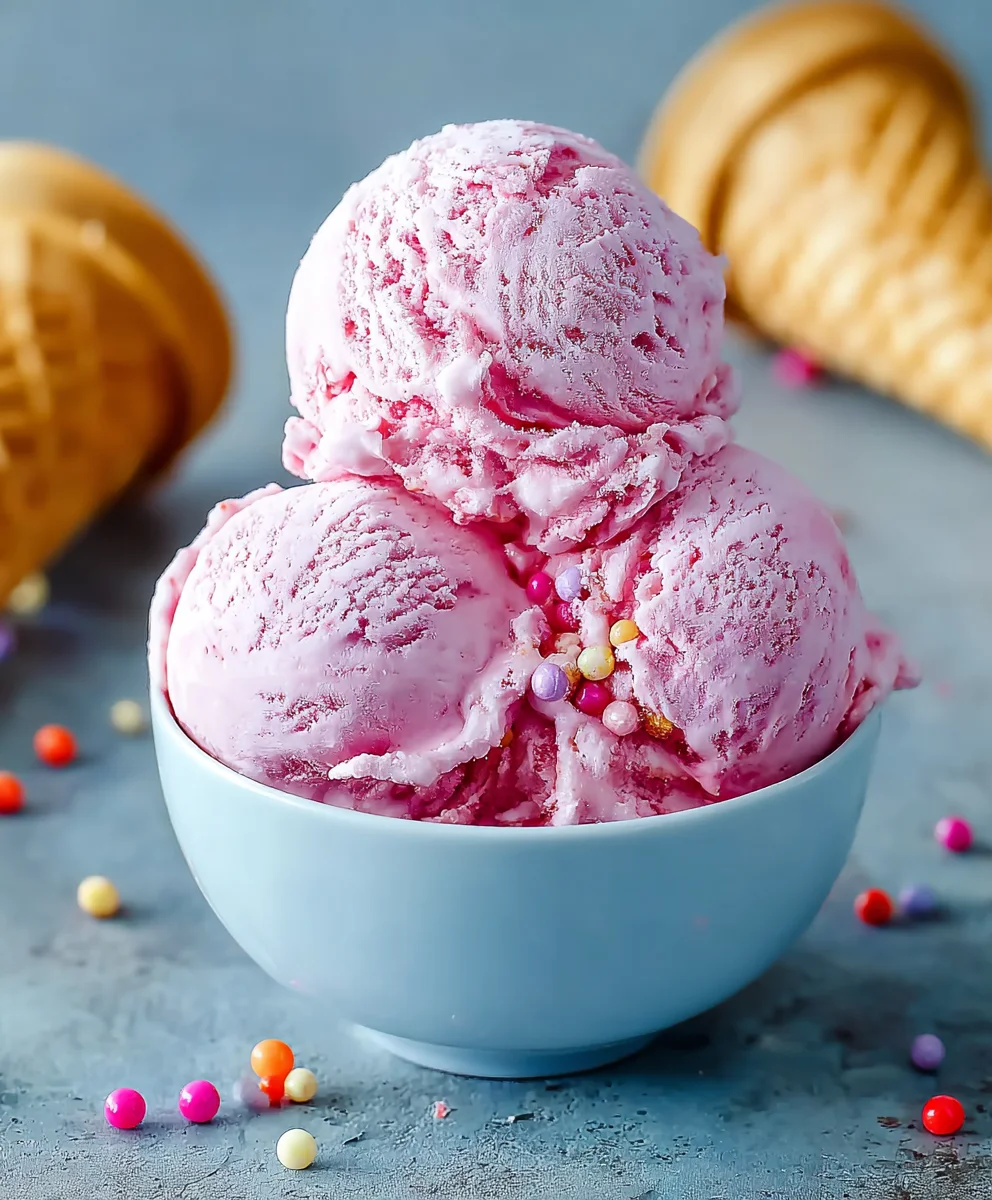
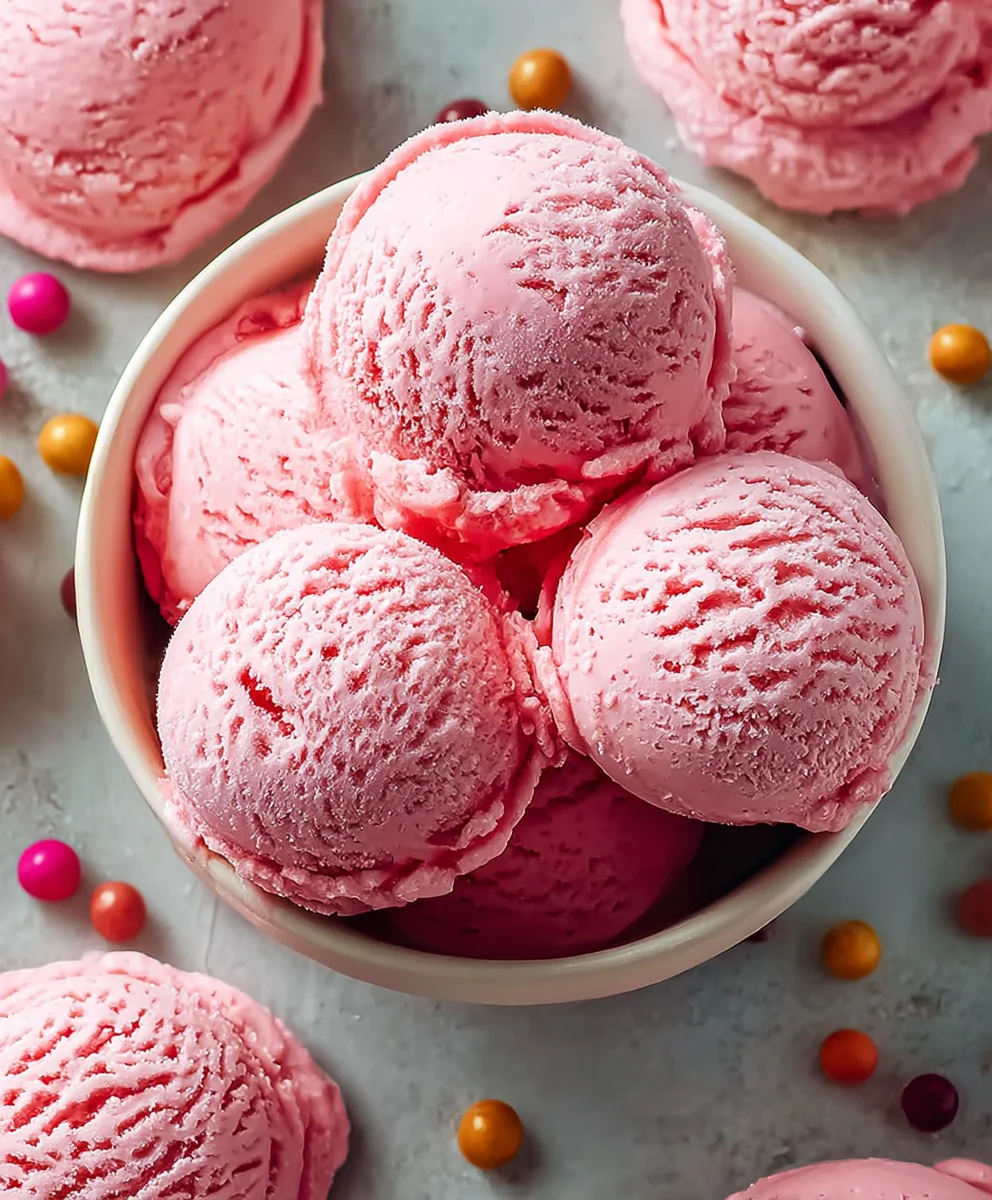
Sweet Bubblegum Ice Cream Recipe-Homemade Delight
Bubblegum ice cream is more than just a frozen treat; it’s a nostalgic journey back to carefree summer days and vibrant childhood memories. What is it about this whimsical, bubblegum-pink confection that captures our hearts and taste buds so universally? Perhaps it’s the unmistakable, playful sweetness, a flavor that instantly transports us to funfairs and ice cream parlors. Or maybe it’s the surprisingly delightful chewy bits of actual bubblegum that add an unexpected textural surprise to every scoop. This isn’t just any ice cream; this is an experience. We love bubblegum ice cream because it dares to be different, embracing a flavor that’s bold, bright, and unapologetically fun. Making it at home allows you to control the intensity of that classic bubblegum flavor, ensuring it’s perfectly balanced and utterly irresistible. Get ready to whip up a batch that will bring smiles all around!
Ingredients:
- 2 cups heavy cream
- 1 cup whole milk
- ¾ cup granulated sugar
- 2 teaspoons bubblegum flavoring
- 1 teaspoon vanilla extract
- ¼ teaspoon kosher salt
- Pink or red food coloring (to taste)
- ½ cup confetti sprinkles, divided
- 1 cup gumballs (for decoration)
Preparing the Ice Cream Base
Step 1: Combine Liquids and Sugar
Begin extract by gathering a medium-sized saucepan. Pour in the 1 cup of whole milk and the 2 cups of heavy cream. To this creamy mixture, add the ¾ cup of granulated sugar and the ¼ teaspoon of kosher salt. The salt is a crucial component, even in sweet recipes, as it helps to enhance the overall flavor profile and balance the sweetness of the sugar. Whisk these ingredients together gently until the sugar and salt are mostly dissolved. You don’t need to heat this mixture at this stage; we’re just getting everything combined smoothly.
Step 2: Infuse the Bubblegum Flavor
Once your milk, cream, sugar, and salt are combined, it’s time to add the star of the show – the bubblegum flavoring. Carefully measure out 2 teaspoons of bubblegum flavoring and add it to the liquid mixture. This potent flavoring is what will give our Bubblegum Ice Cream its signature sweet and nostalgic taste. Next, incorporate the 1 teaspoon of vanilla extract. Vanilla is a fantastic supporting flavor that complements the bubblegum beautifully, adding depth and complexity. Stir this thoroughly to ensure the flavorings are evenly distributed throughout the base.
Step 3: Coloring and Sprinkles
Now for the fun part – the color and the confetti! Add your pink or red food coloring a drop at a time. Stir after each addition and observe the color change. Continue until you achieve your desired shade of bubblegum pink. Remember, you can always add more, but you can’t take it away, so start conservatively. Once you’re happy with the color, gently fold in ½ cup of confetti sprinkles. These little bursts of color will add visual appeal and a delightful texture to your finished ice cream. Reserve the remaining confetti sprinkles for topping later if you wish.
Churning and Freezing
Step 4: Chilling the Base
Before we can churn our ice cream, it’s essential to chill the base thoroughly. Transfer the entire mixture into an airtight container or cover it tightly with plastic wrap. Place it in the refrigerator for at least 4 hours, or ideally overnight. This chilling period is critical for two main reasons: it allows the flavors to meld and deepen, and it ensures the base is very cold, which is necessary for proper churning and achieving a smooth, creamy texture. A cold base will freeze faster and create smaller ice crystals, leading to a superior ice cream consistency.
Step 5: Churning the Ice Cream
When your ice cream maker is ready, remove the chilled base from the refrigerator and give it a good stir. Pour the cold mixture into your ice cream maker, following the manufacturer’s instructions for your specific model. Typically, churning will take about 20 to 30 minutes. During this time, the ice cream maker will agitate the base while it freezes, incorporating air and preventing large ice crystals from forming. You’ll notice the mixture gradually thickening into a soft-serve consistency.
Step 6: Final Freezing and Gumball Decoration
Once the ice cream has reached a soft-serve consistency, it’s time for the final freeze. Transfer the churned ice cream into a freezer-safe container. If you want to add more of the reserved confetti sprinkles now, gently fold them in. For an extra touch of fun, you can also press a few whole gumballs into the surface of the ice cream as it’s being transferred, or even mix them in if you prefer. Cover the container tightly with a lid or plastic wrap, pressing the wrap directly onto the surface of the ice cream to prevent ice crystals from forming. Place the container in the freezer for at least 4 to 6 hours, or until it’s firm and scoopable. This hardening process is crucial for achieving the perfect ice cream texture. Before serving, allow the Bubblegum Ice Cream to soften slightly at room temperature for a few minutes, making it easier to scoop. Enjoy this whimsical and delicious treat!
Conclusion:
There you have it – the ultimate guide to creating your very own homemade Bubblegum Ice Cream! This recipe is surprisingly simple to follow, and the result is a fun, vibrant, and utterly delicious treat that will transport you back to childhood. The creamy base combined with that unmistakable sweet bubblegum flavor is a guaranteed crowd-pleaser, perfect for birthdays, summer gatherings, or just a delightful afternoon indulgence. Don’t be afraid to get creative with your toppings and enjoy the process!
For serving, this Bubblegum Ice Cream is fantastic on its own, but it also pairs wonderfully with a sprinkle of rainbow jimmies, a drizzle of whipped cream, or even some maraschino cherries for an extra festive touch. Consider serving it in a waffle cone for a classic ice cream shop experience.
If you’re feeling adventurous, you can experiment with adding mini marshmallows or even small pieces of candy for added texture and flavor. Remember, the goal is to have fun and create something you truly enjoy!
Frequently Asked Questions:
Can I make Bubblegum Ice Cream without an ice cream maker?
Yes, absolutely! You can use a no-churn method. Simply whip heavy cream until stiff peaks form, then fold in sweetened condensed milk and your bubblegum flavoring. Pour into a freezer-safe container and freeze for at least 6 hours, stirring every hour for the first 3 hours to break up ice crystals.
How long does homemade Bubblegum Ice Cream last?
When stored properly in an airtight container in the freezer, your homemade Bubblegum Ice Cream should last for about 1-2 weeks. The texture might change slightly over time, so it’s best enjoyed fresh.
Sweet Bubblegum Ice Cream Recipe-Homemade Delight
A delightful homemade bubblegum ice cream recipe, bursting with nostalgic flavor and colorful fun.
Ingredients
-
2 cups heavy cream
-
1 cup whole milk
-
¾ cup granulated sugar
-
2 teaspoons bubblegum flavoring
-
1 teaspoon vanilla extract
-
¼ teaspoon kosher salt
-
Pink or red food coloring (to taste)
-
½ cup confetti sprinkles, divided
-
1 cup gumballs (for decoration)
Instructions
-
Step 1
Combine the whole milk, heavy cream, granulated sugar, and kosher salt in a medium-sized saucepan. Whisk gently until sugar and salt are mostly dissolved. Do not heat at this stage. -
Step 2
Add the bubblegum flavoring and vanilla extract to the liquid mixture. Stir thoroughly to ensure the flavorings are evenly distributed. -
Step 3
Gradually add pink or red food coloring, a drop at a time, stirring until your desired bubblegum pink shade is achieved. Gently fold in ½ cup of confetti sprinkles. -
Step 4
Transfer the mixture to an airtight container and refrigerate for at least 4 hours, or ideally overnight, to chill thoroughly. This allows flavors to meld and the base to become very cold for proper churning. -
Step 5
Pour the chilled base into your ice cream maker and churn according to the manufacturer’s instructions, typically 20-30 minutes, until it reaches a soft-serve consistency. -
Step 6
Transfer the churned ice cream to a freezer-safe container. Fold in any reserved confetti sprinkles and press gumballs onto the surface or mix them in. Cover tightly and freeze for at least 4-6 hours until firm. Allow to soften slightly before serving.
Important Information
Nutrition Facts (Per Serving)
It is important to consider this information as approximate and not to use it as definitive health advice.
Allergy Information
Please check ingredients for potential allergens and consult a health professional if in doubt.